Install and test TensorFlow 2.7 on the new M1 Pro and M1 Max chips from Apple
Apple’s M1 chip completely revolutionized the industry back in 2020. The new M1 Pro and M1 Max are what the professional users have been waiting for. Apple markets these towards content creators, but rest assured, the performance you can squeeze as a data scientist is worth talking about.
I was a bit skeptical at first and decided not to buy the new laptop, but after seeing the 16" in the store I couldn’t resist. The camera indeed adds 10 pounds. New M1 Pro and M1 Max Macbooks don’t look as chunky in real life.
Anyhow, I opted for the “base” model 16" M1 Pro Macbook Pro with 10-core CPU, 16-core GPU, and 16 GB of RAM. It wipes the floor with my M1 Macbook Pro from the last year and in some tests comes close to my custom configuration with RTX 3060Ti. Stay tuned to the blog for the upcoming benchmarks and comparisons for data science.
Today I’ll show you how to install TensorFlow 2.7 on MacBook Pro M1 Pro. Everything you’ll see will work on regular M1 and M1 Max chips, as long as it’s Apple Silicon. We’ll also verify TensorFlow was installed by training a simple neural network.
Don’t feel like reading? Watch my video instead:
Install TensorFlow Prerequisites on MacBook Pro M1 Pro
You’ll need a couple of things installed before you can even think about TensorFlow - Homebrew, XCode tools, and Anaconda. You can install the first two through Mac’s terminal with the following commands:
/bin/bash -c "$(curl -fsSL https://raw.githubusercontent.com/Homebrew/install/HEAD/install.sh)"

xcode-select --install
If you can’t install XCode tools straight away, please restart the terminal window and try again.
Finally, you’ll need Anaconda. As of now, Miniforge runs natively on all M1 chips (M1, M1 Pro, M1 Max), so we’ll stick with it. Download the ARM64 version for Mac - the one marked on the image below:
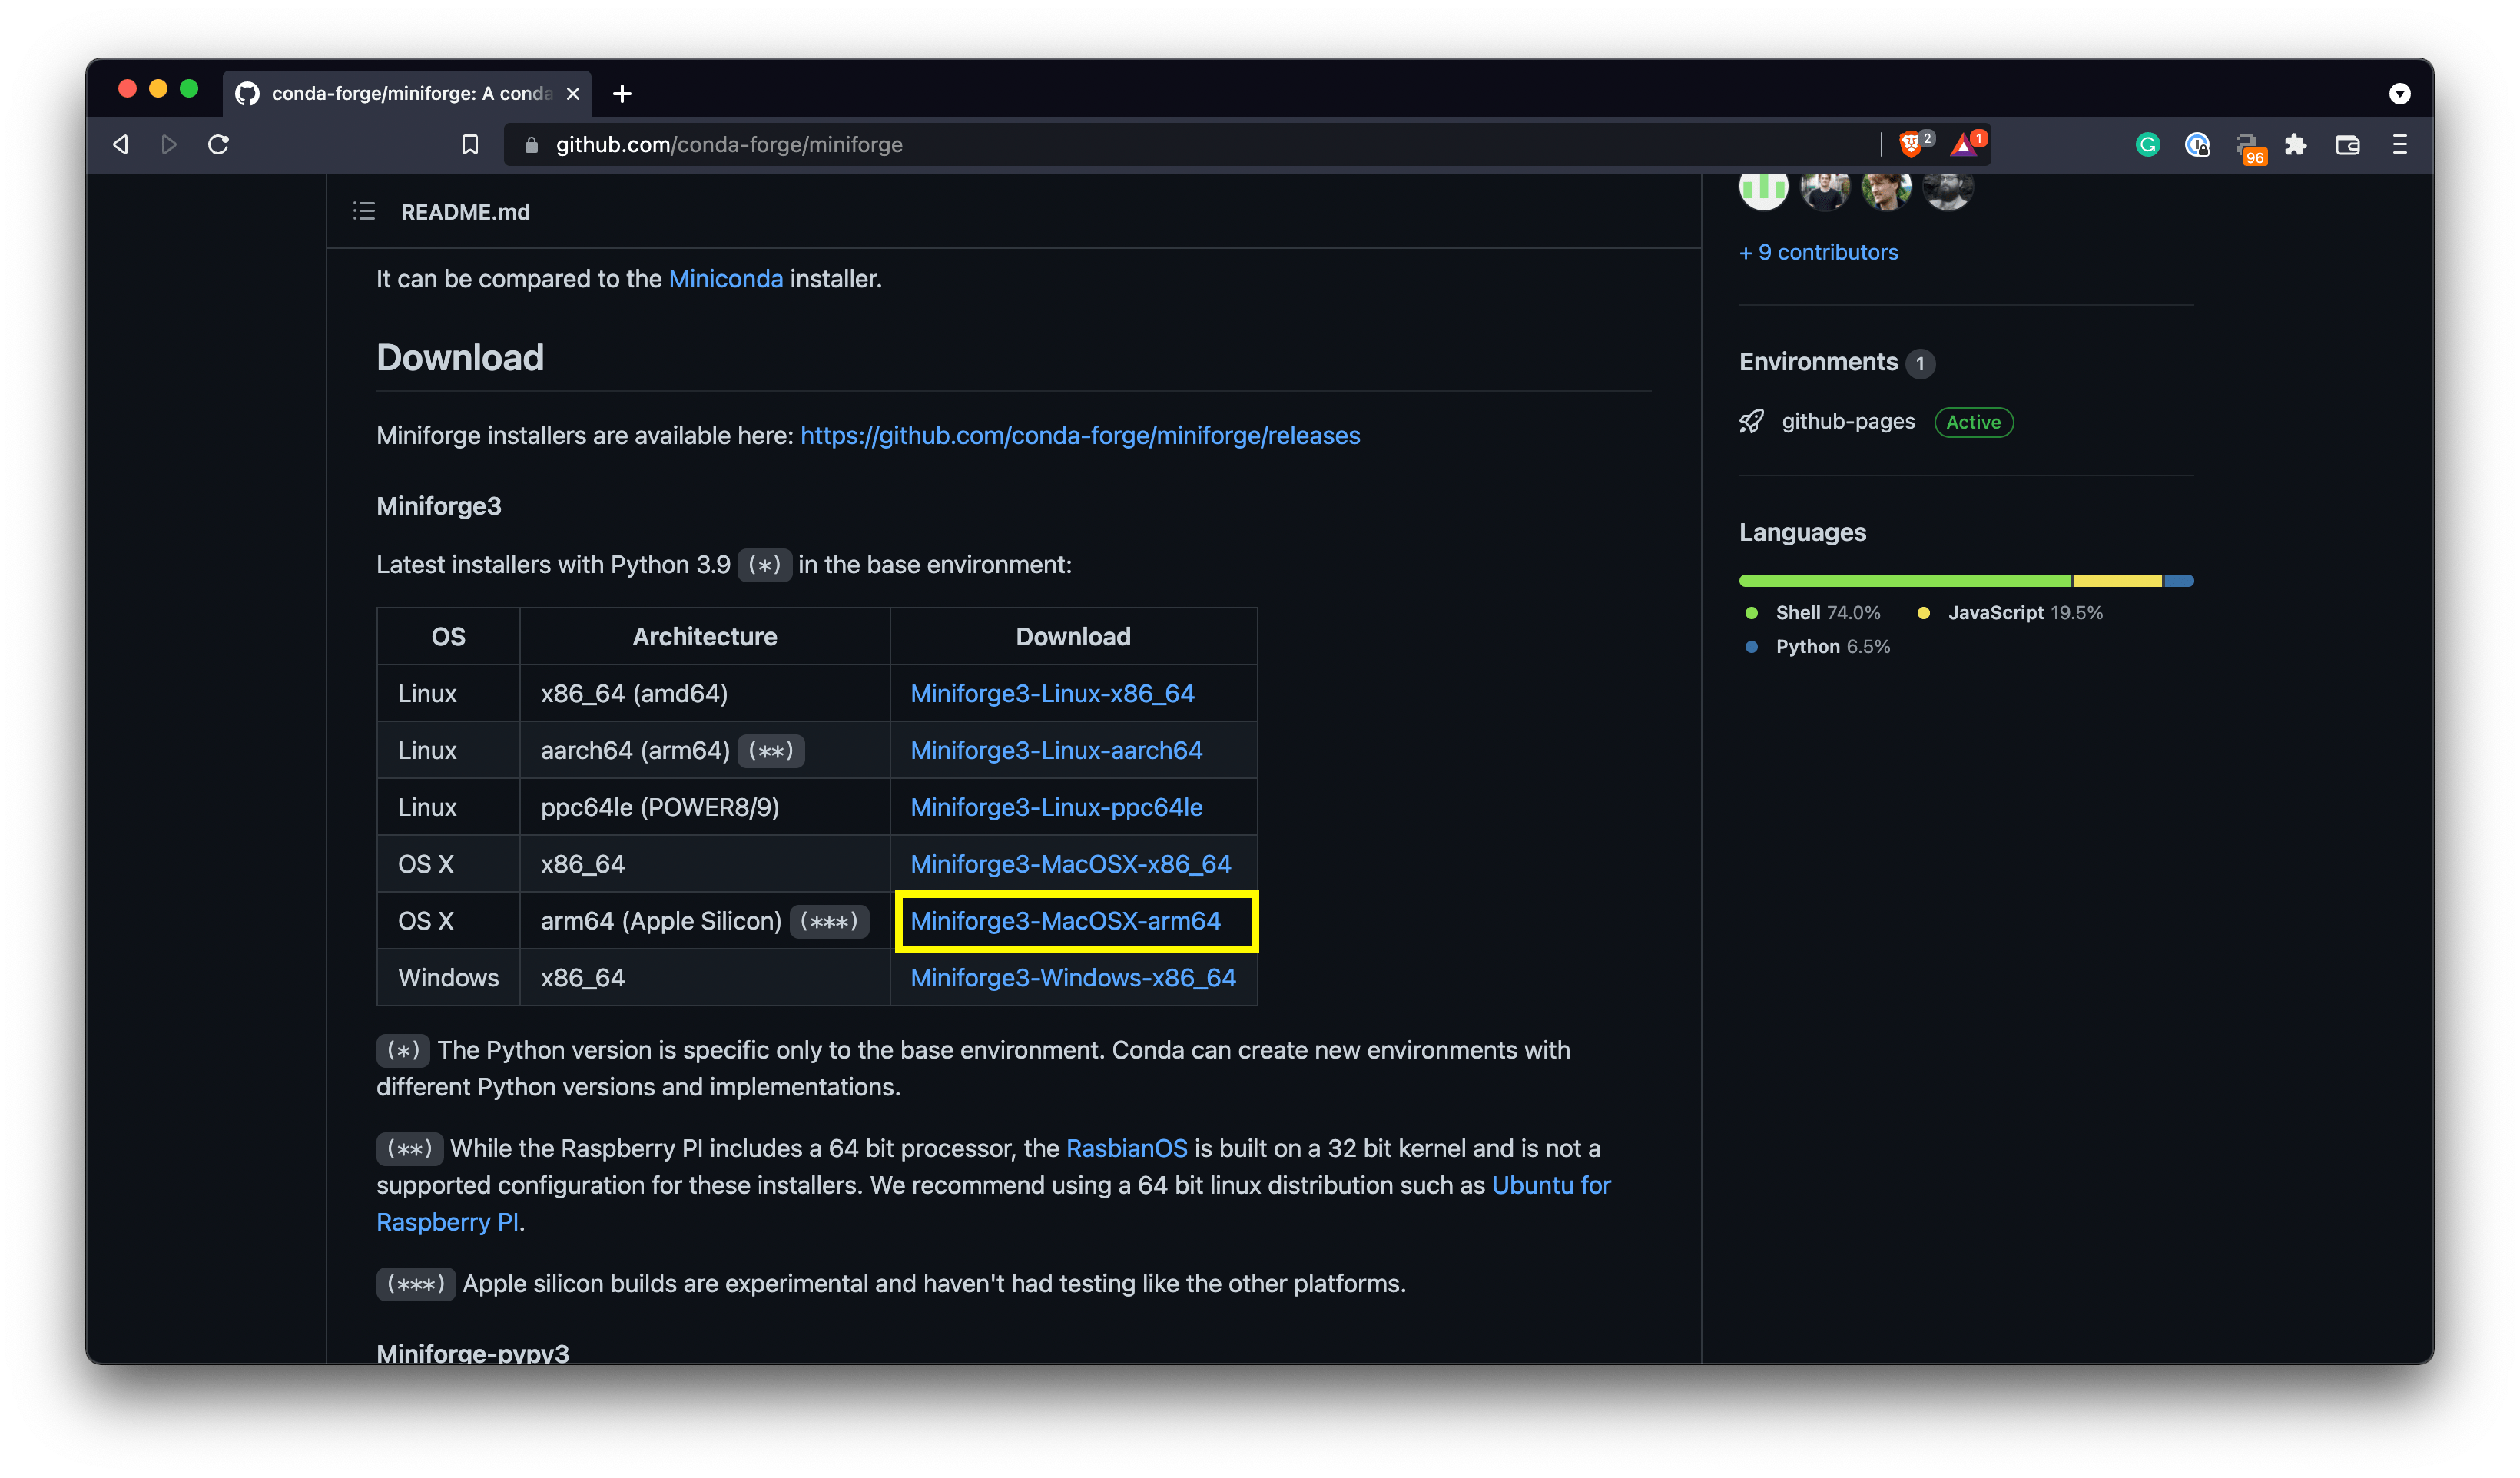
Image 1 - Miniforge download page (image by author)
It will download an SH file. You’ll have to change its permissions and run it through the terminal:
cd <path_to_the_downloaded_file>

chmod -x Miniforge3-MacOSX-arm64.sh
./Miniforge3-MacOSX-arm64.sh
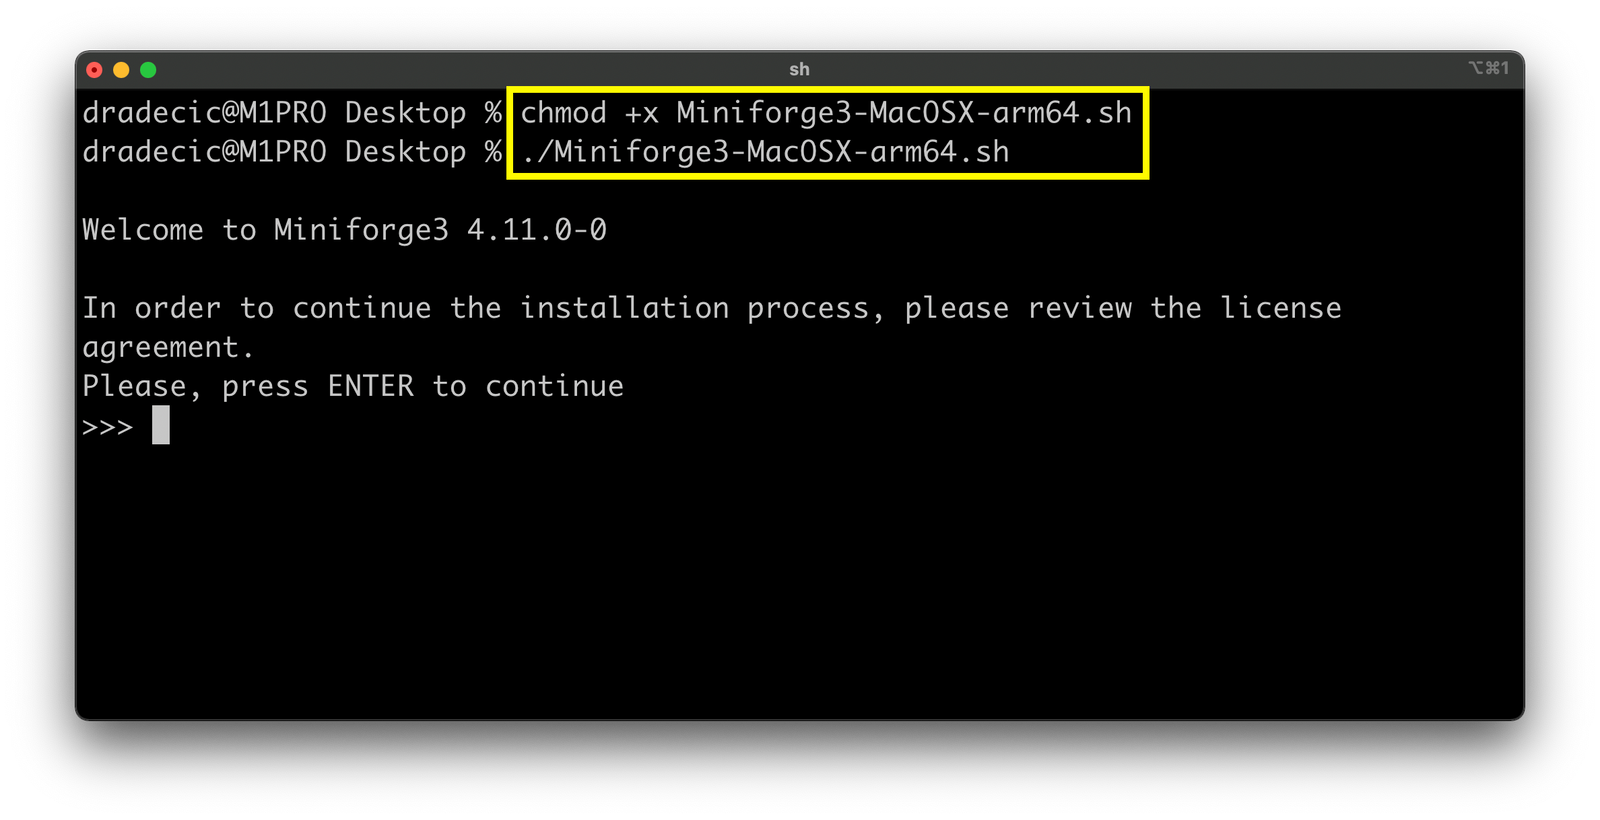
Image 2 - Installing Miniforge from the terminal (image by author)
As the instructions suggest - press Enter to continue. Stick with the default options, and in a minute or so you should have Miniforge installed!
Now create a new virtual environment based on Python 3.9. I’ve named mine env_tf:
conda create --name env_tf python=3.9
The new environment will be created after a couple of seconds:
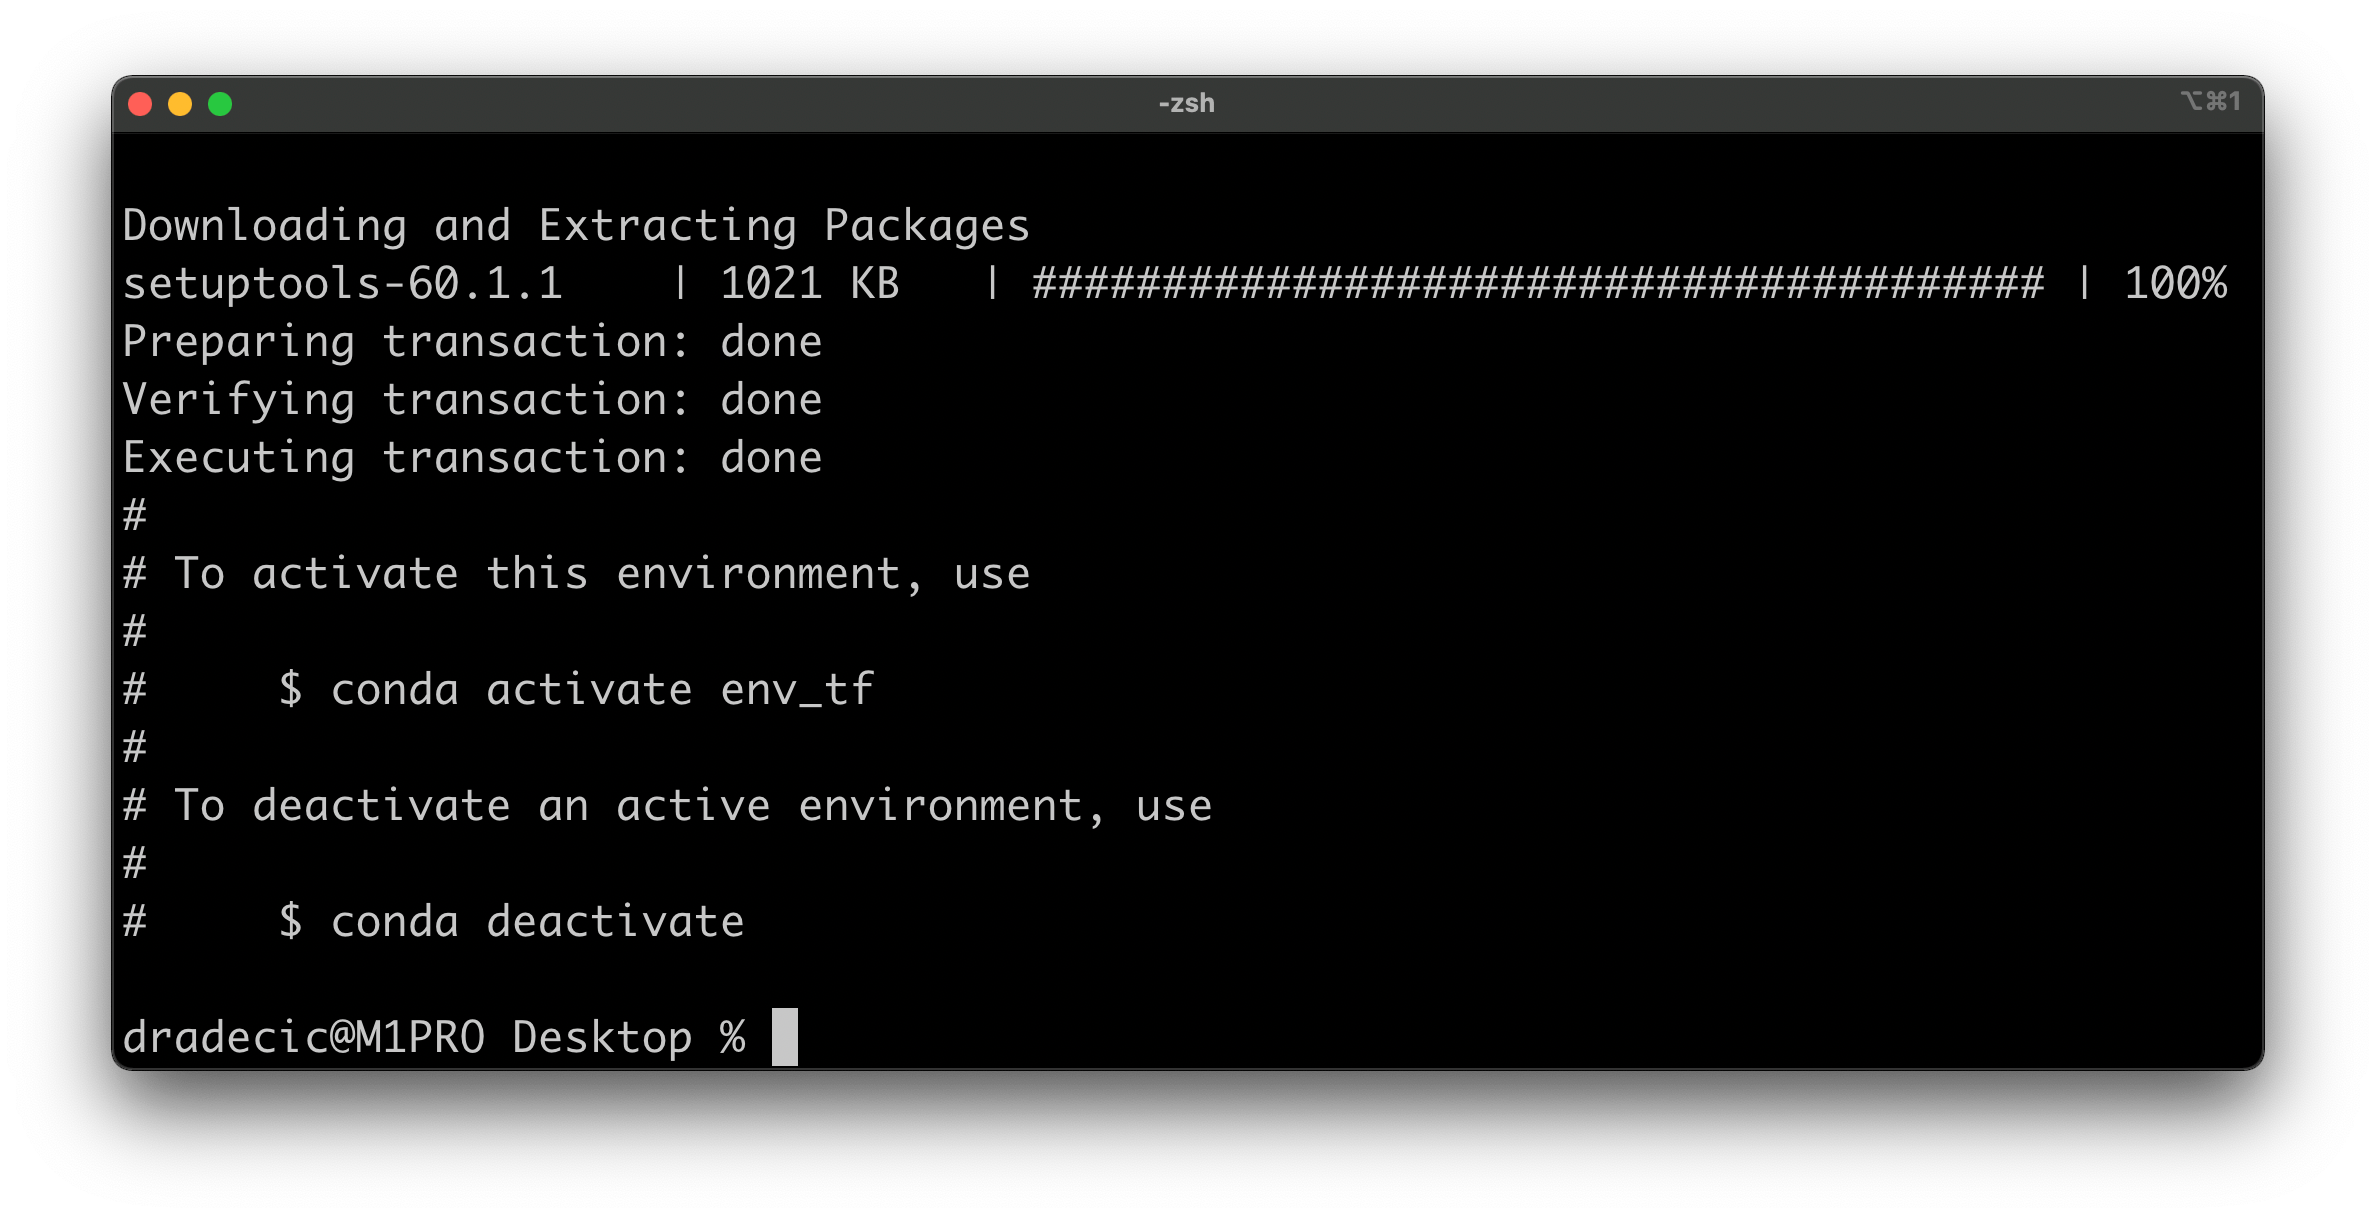
Image 3 - Creating a new virtual environment (image by author)
From here, activate the environment:
conda activate env_tf
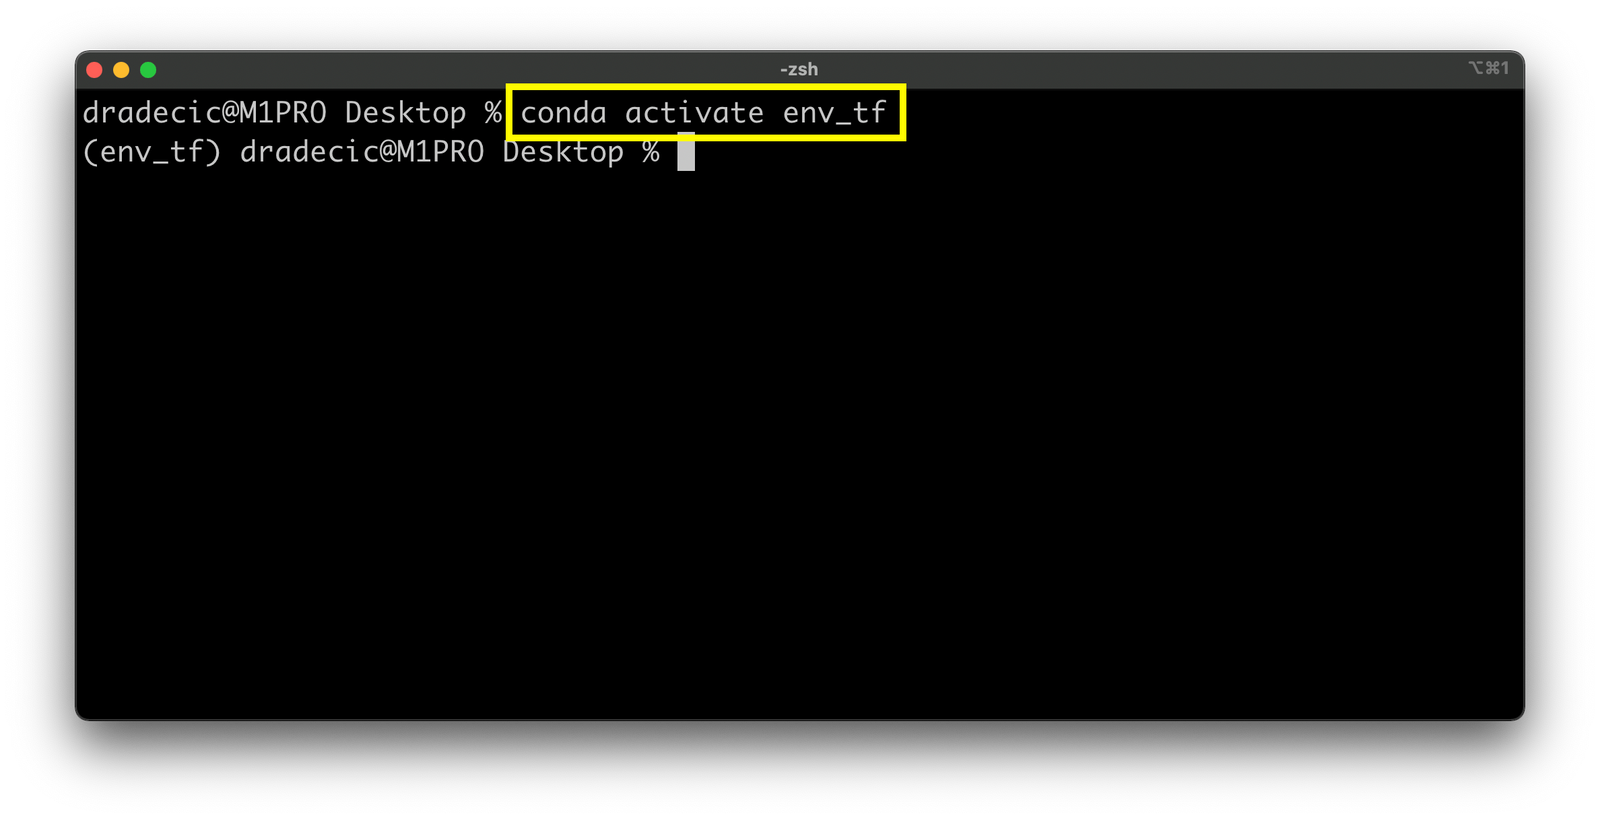
Image 4 - Activating a new virtual environment (image by author)
That’s all we need to install TensorFlow on the M1 Pro chip - let’s do that next.
How To Install TensorFlow and TensorFlow Metal on the M1 Pro Chip
The process of installing TensorFlow with GPU support has become a lot smoother over the last couple of months. Since the macOS Monterey release, I’d be amazed if anyone runs into any trouble by following these instructions.
We’ll start by installing TensorFlow dependencies from Apple:
conda install -c apple tensorflow-deps -y
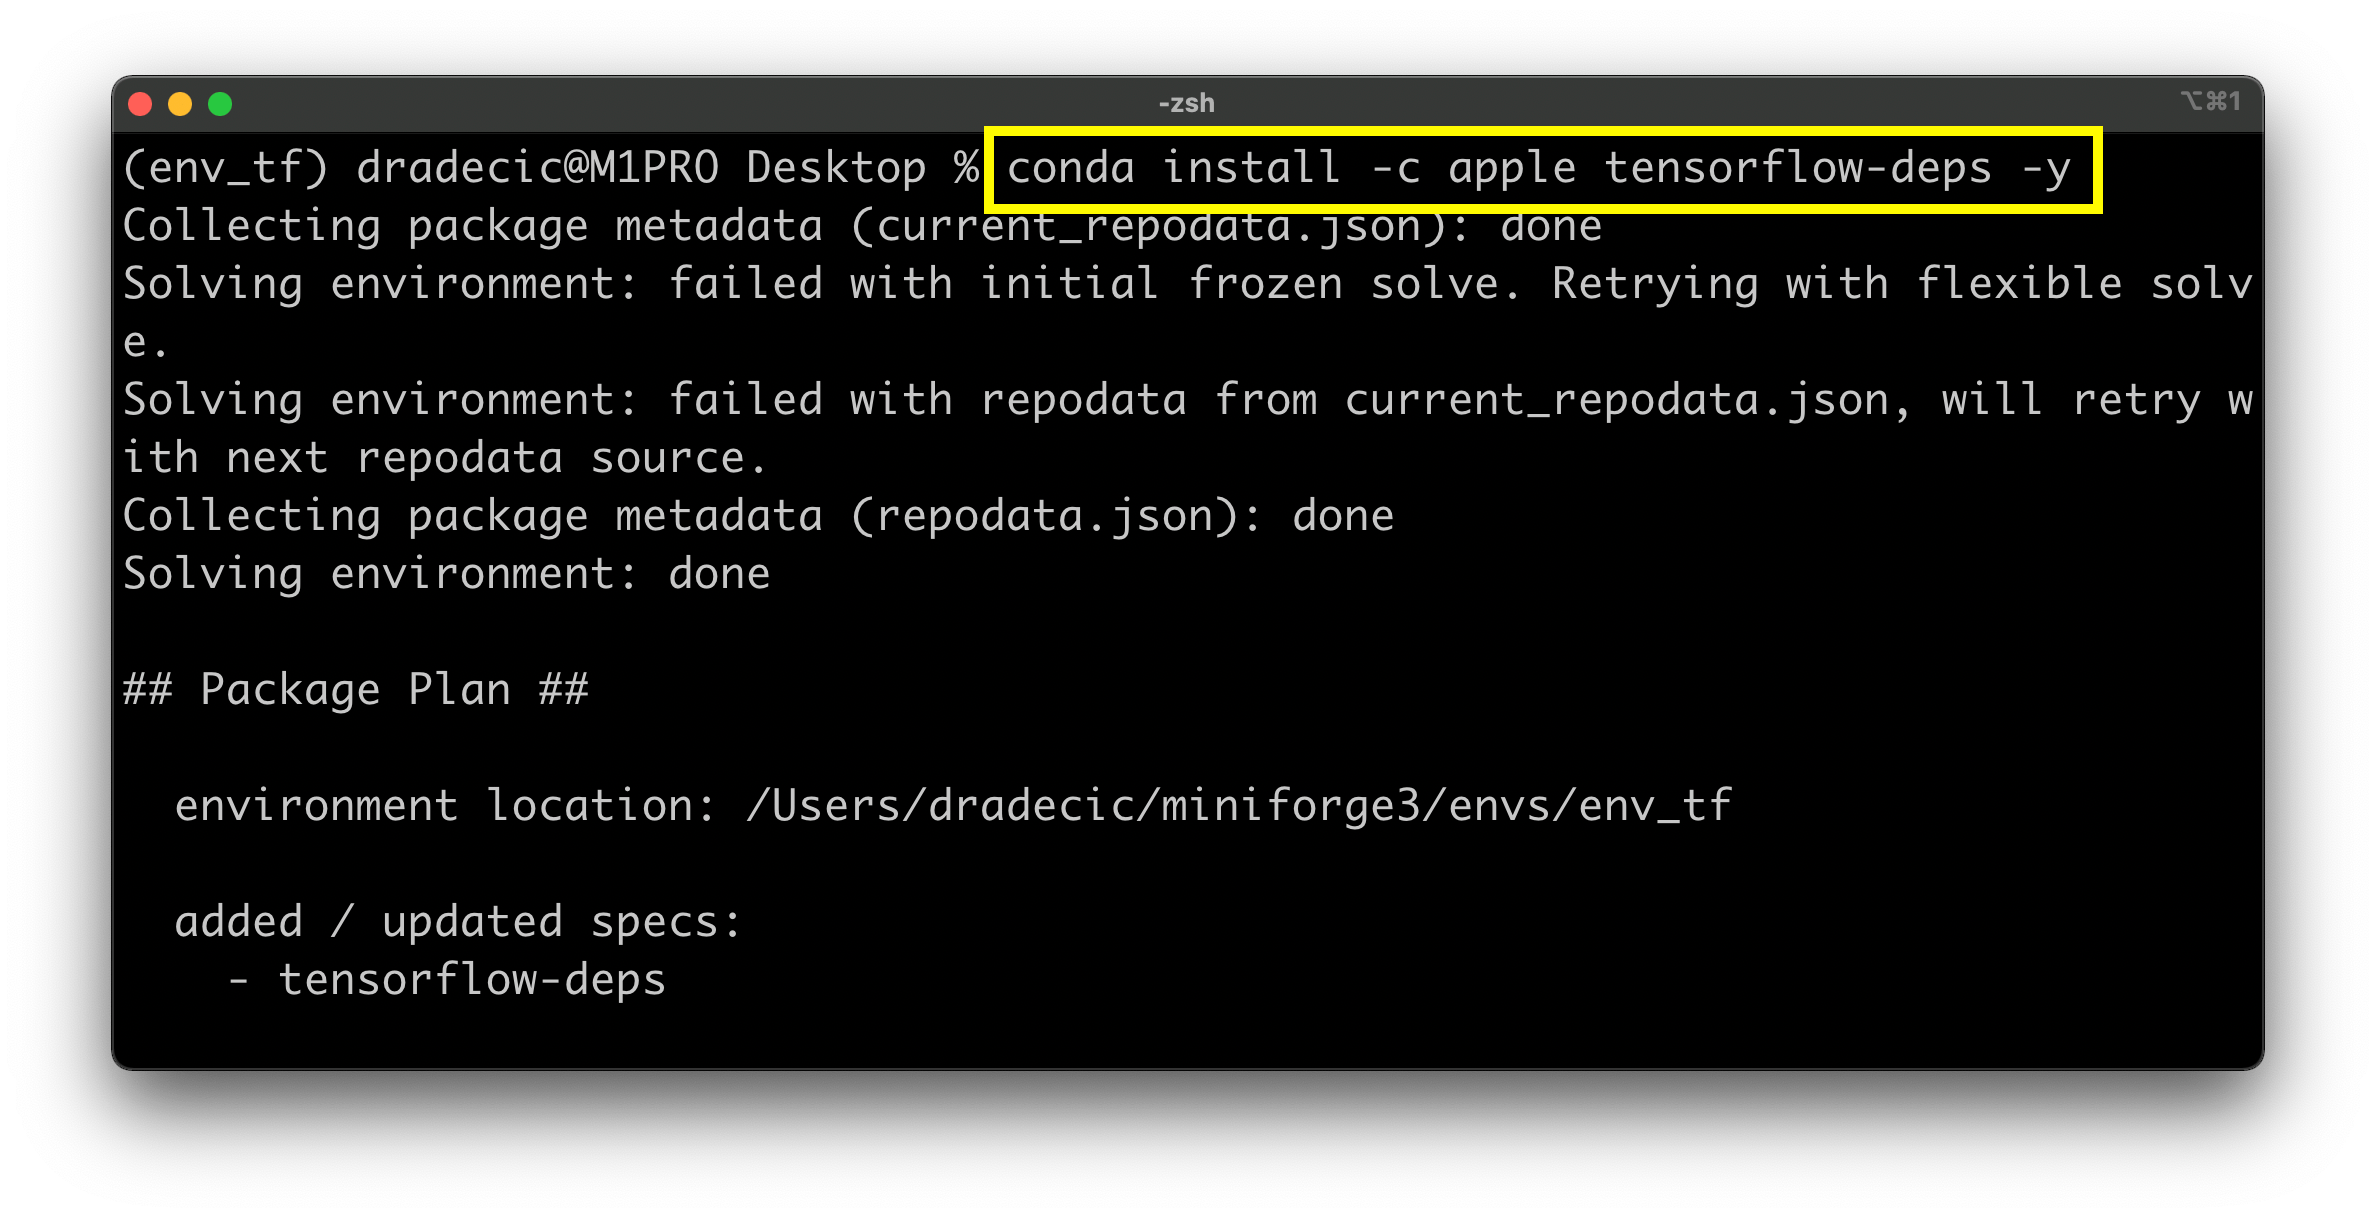
Image 5 - Installing TensorFlow dependencies from Apple (image by author)
Once installed, use the following command to install TensorFlow on M1 Pro Macbook:
python -m pip install tensorflow-macos
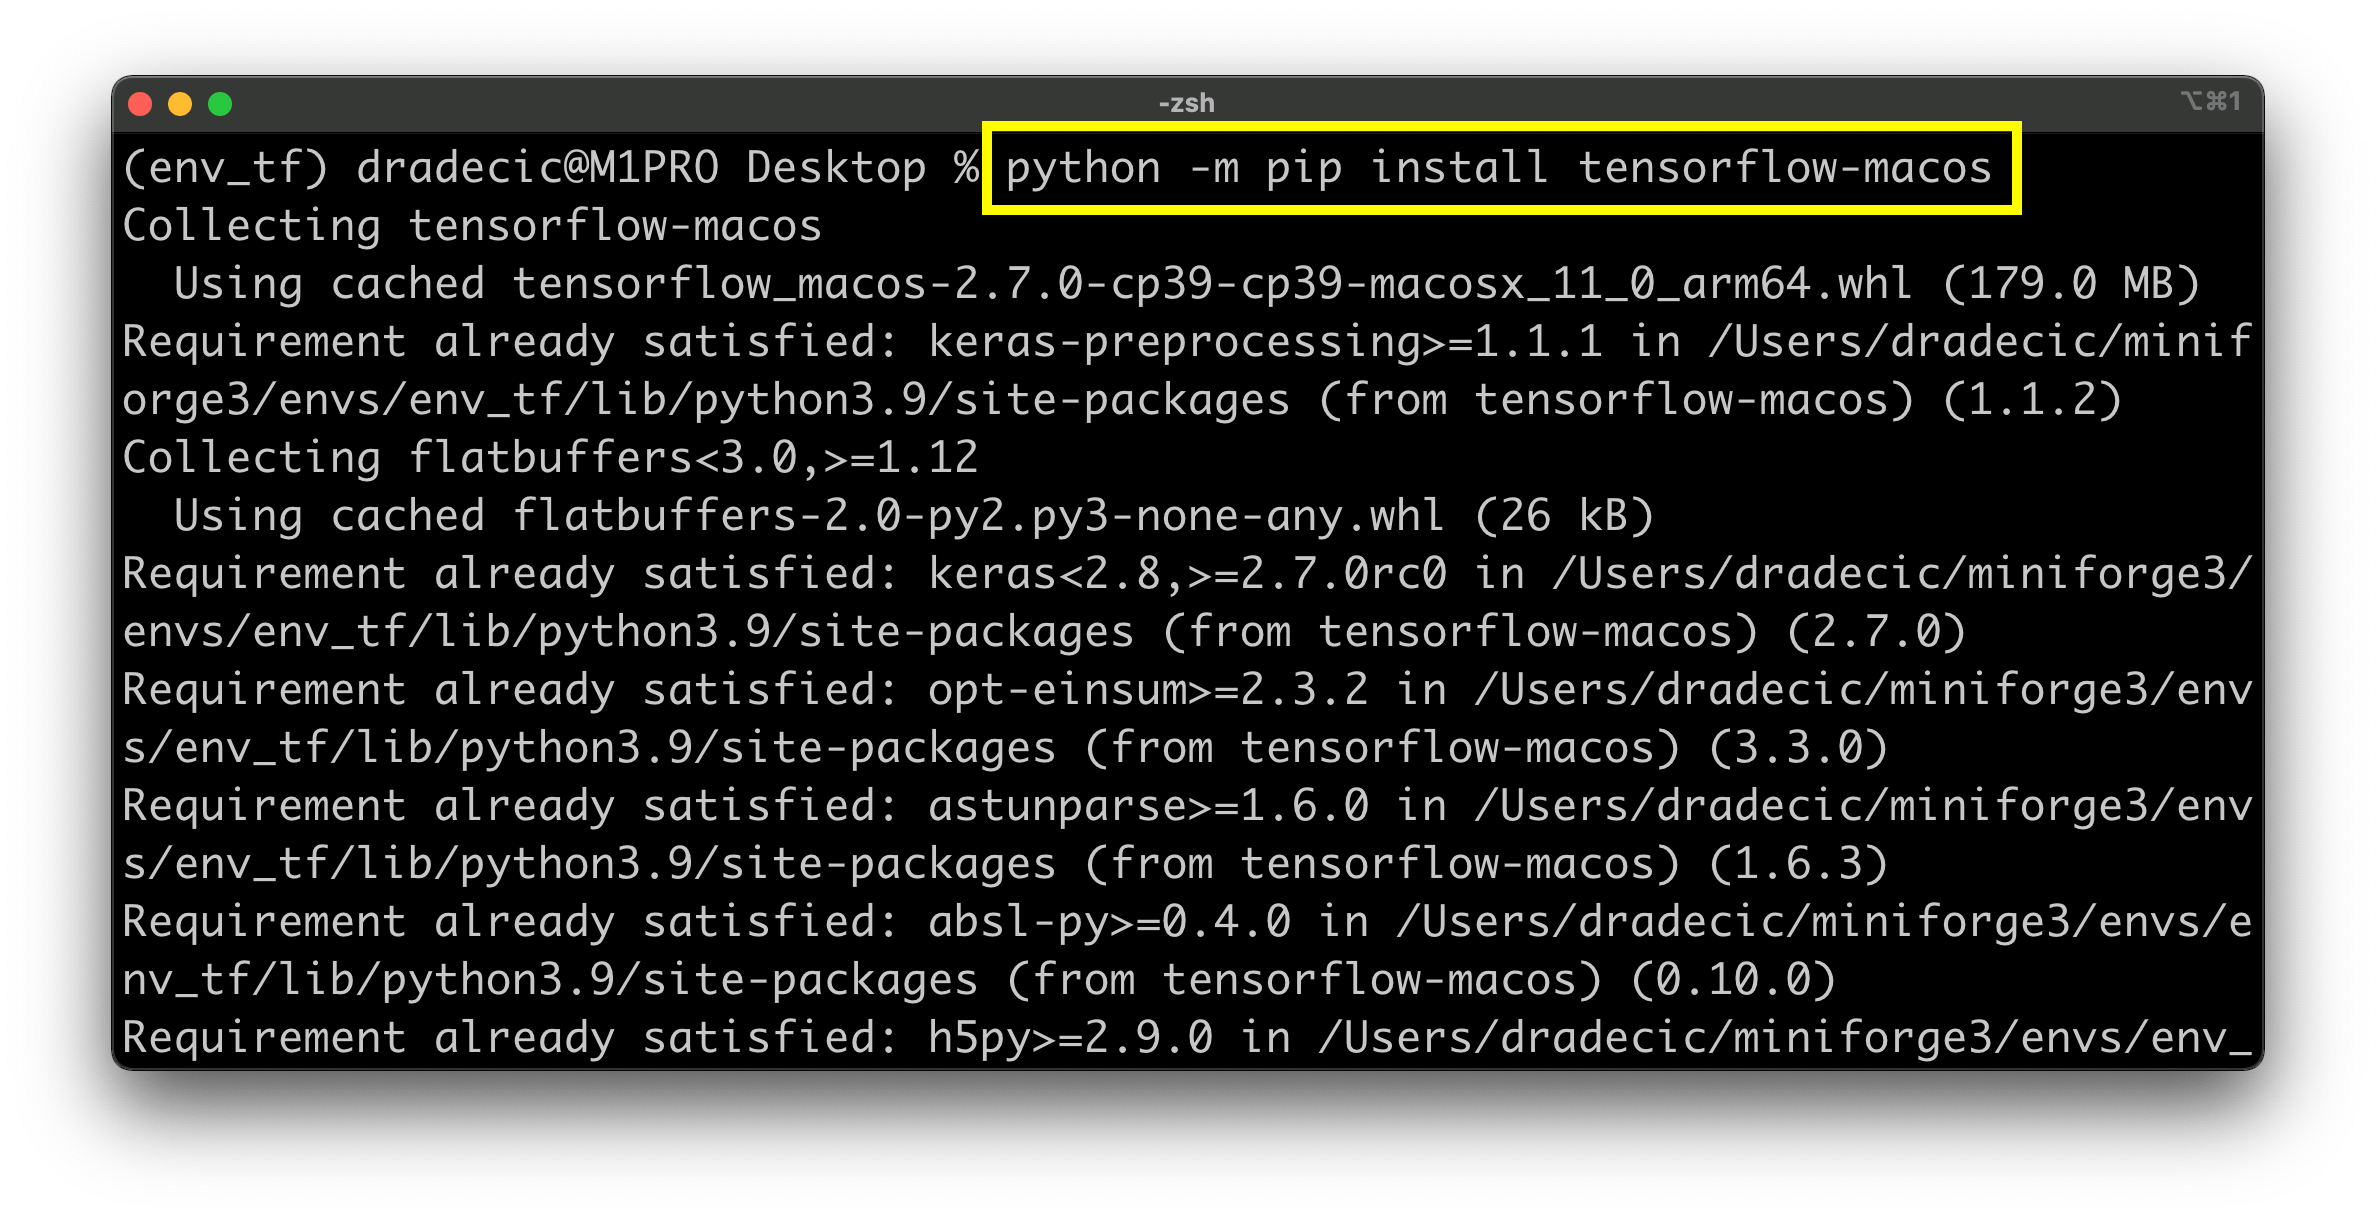
Image 6 - Installing TensorFlow on M1 Pro Macbook (image by author)
The installation will take a couple of minutes, as Miniforge has to pull a ton of fairly large packages. The last step is to install the GPU support for TensorFlow on M1 Pro Macbooks with the Metal plugin:
pip install tensorflow-metal
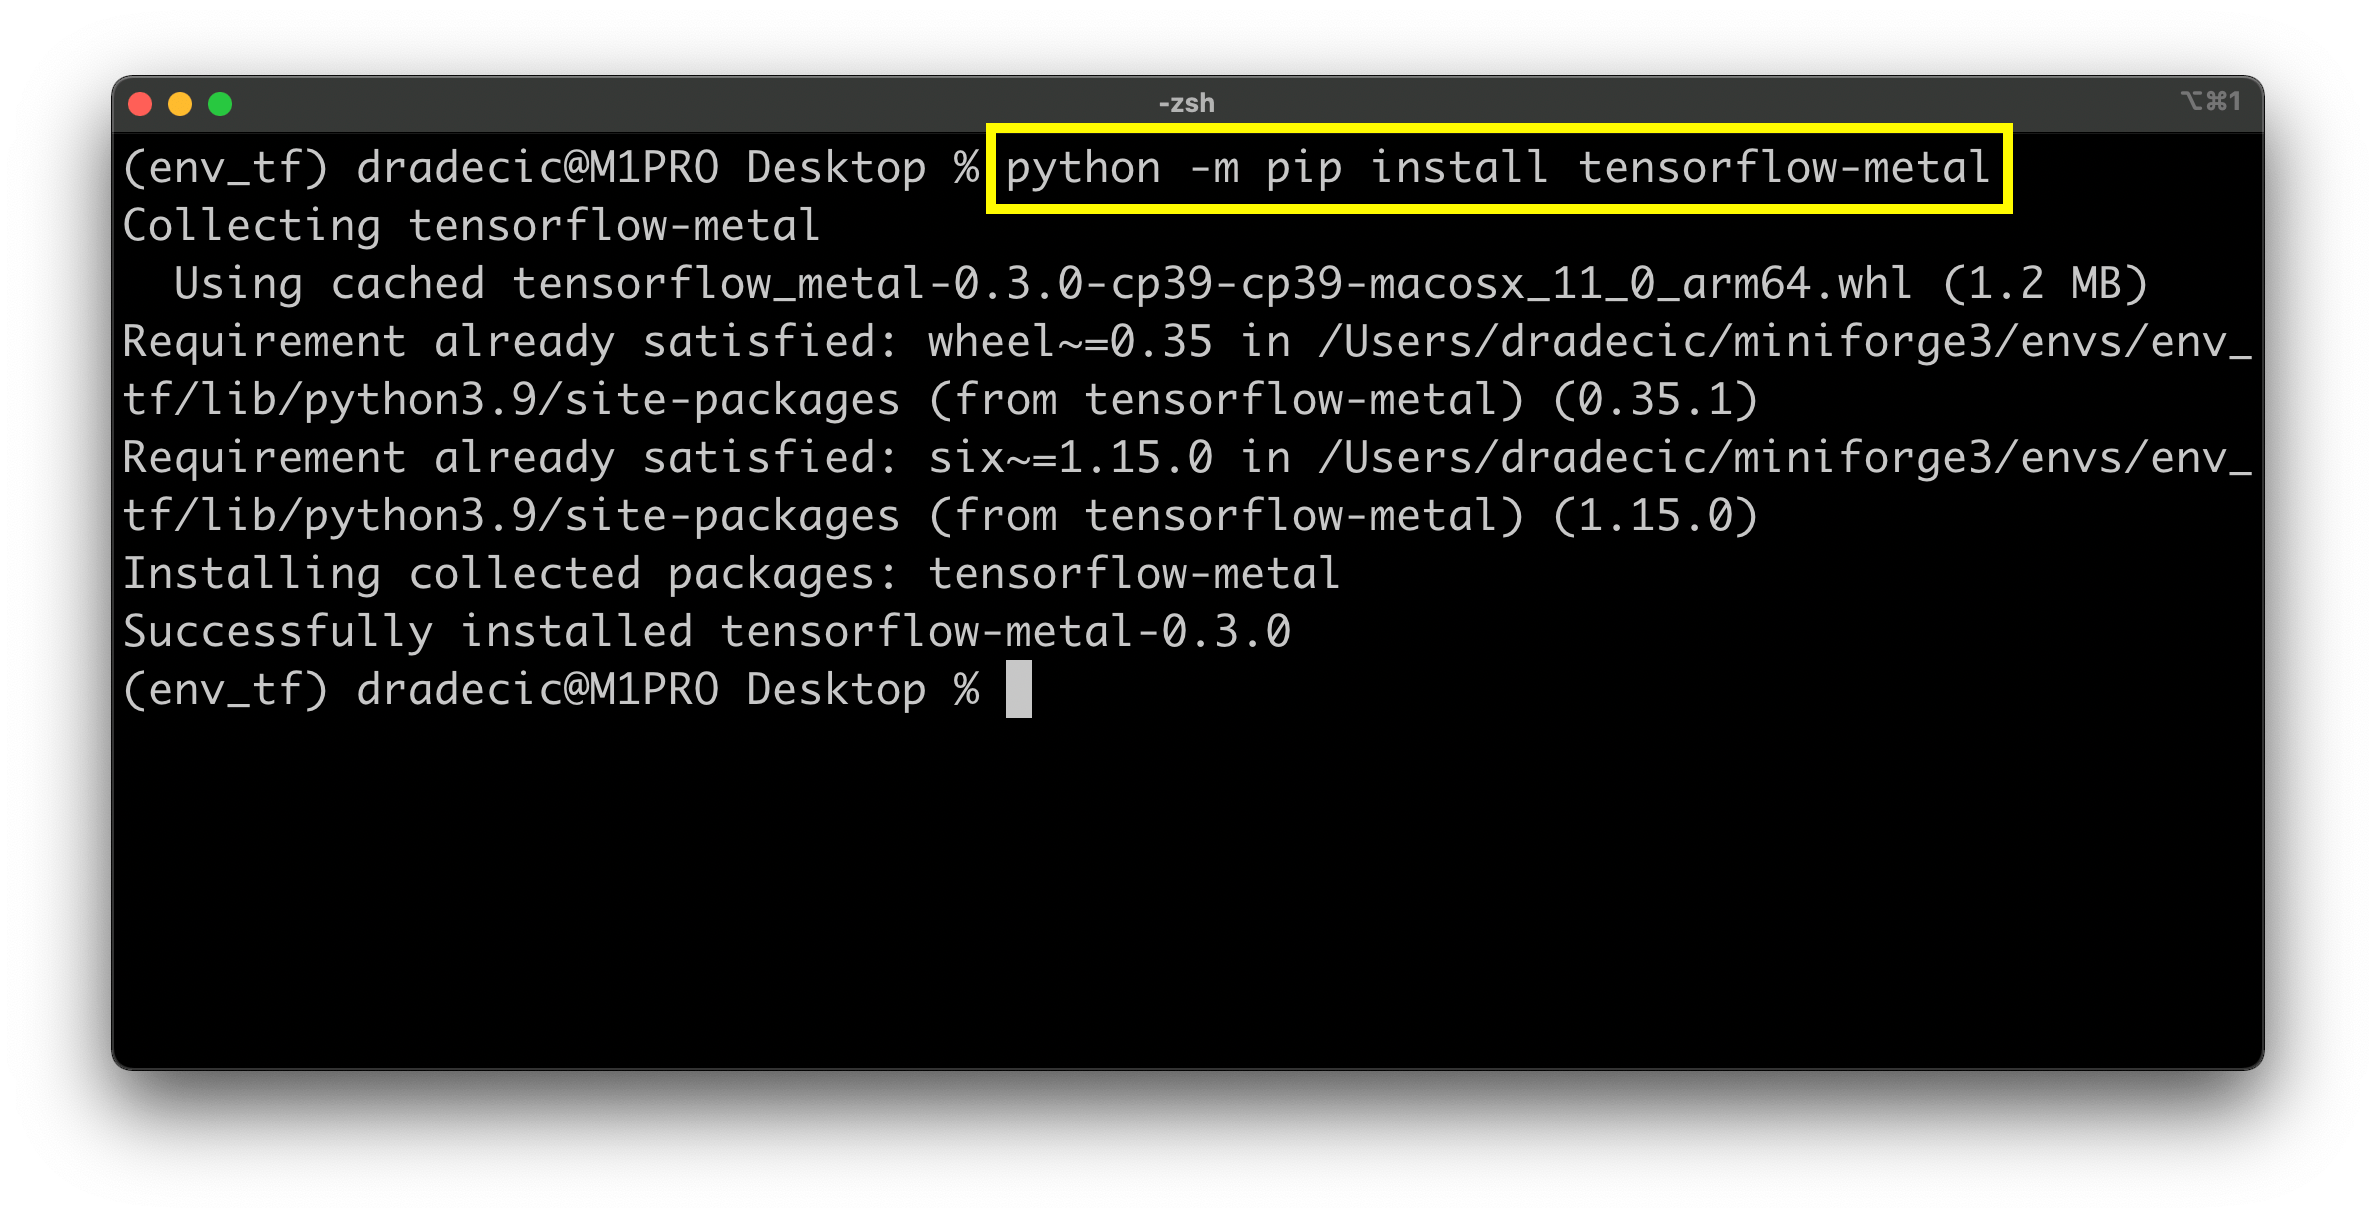
Image 7 - Installing TensorFlow Metal on M1 Pro Macbook (image by author)
And that’s all - you now have TensorFlow and all of its dependencies installed. I’ll also install JupyterLab, just so we can easily build and train a simple neural network:
conda install -c conda-forge jupyter jupyterlab -y
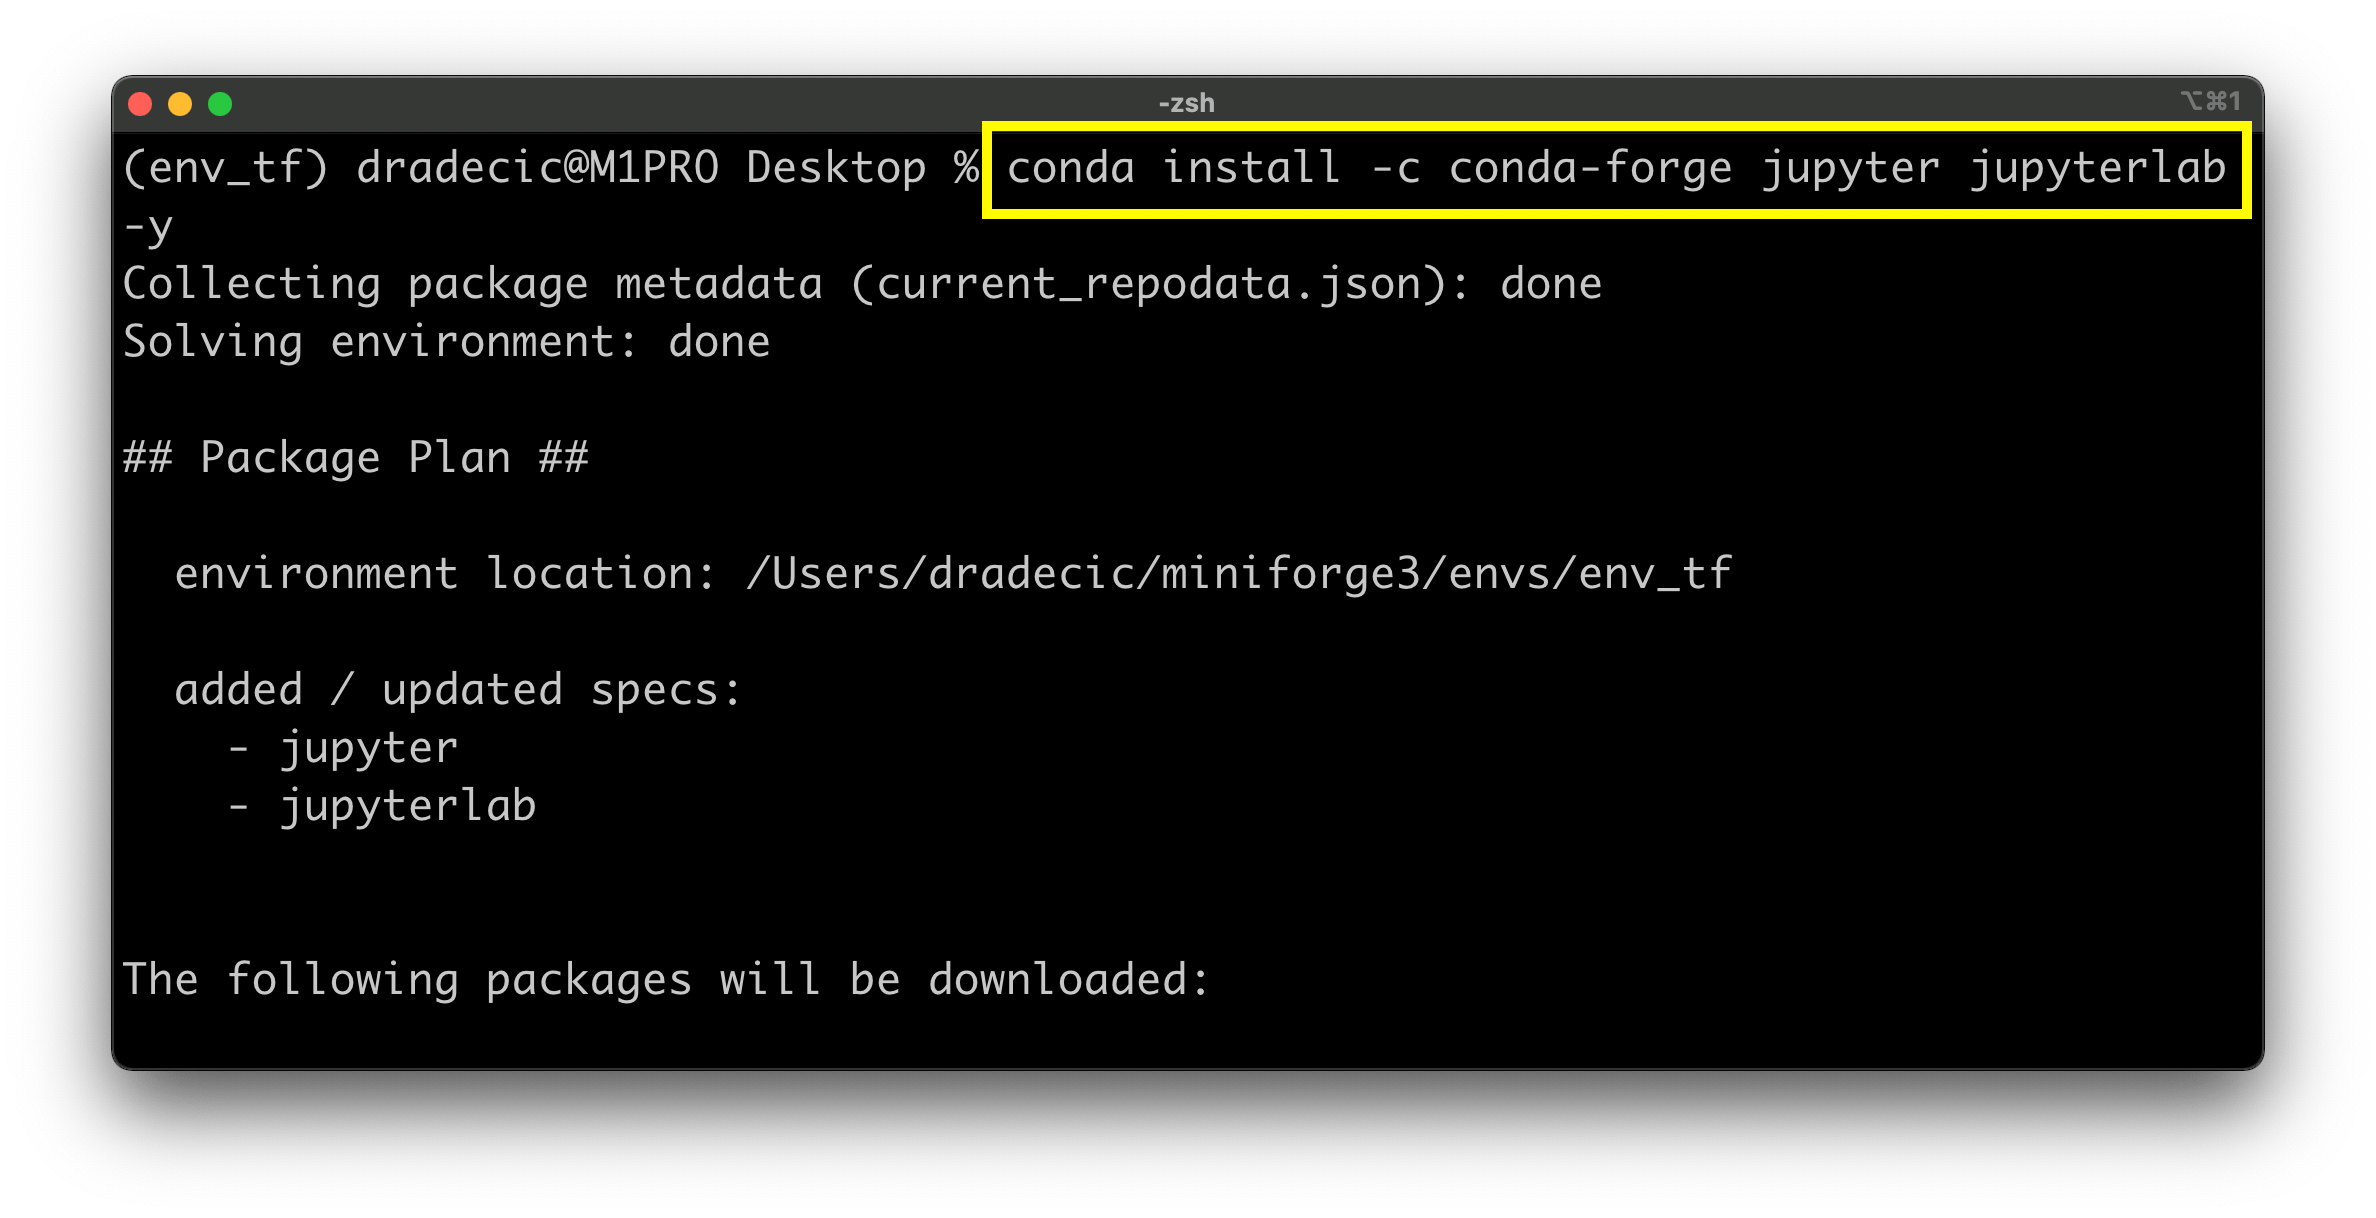
Image 8 - Installing JupyterLab (image by author=
Once installed, launch a new Jupyter session:
jupyter lab
I’ll see you in the next section where we’ll train a simple neural network with TensorFlow on the M1 Pro chip.
How to Train a Neural Network With TensorFlow on MacBook Pro M1 Pro
You should have a JupyterLab session started, or any other code editor opened before proceeding. Use the following code snippet to import TensorFlow and verify it was installed:
import tensorflow as tf
tf.__version__
Also, print the list of available training devices - just to verify TensorFlow on M1 Pro Macbook sees the GPU:
tf.config.list_physical_devices()
Here are the outputs for both:
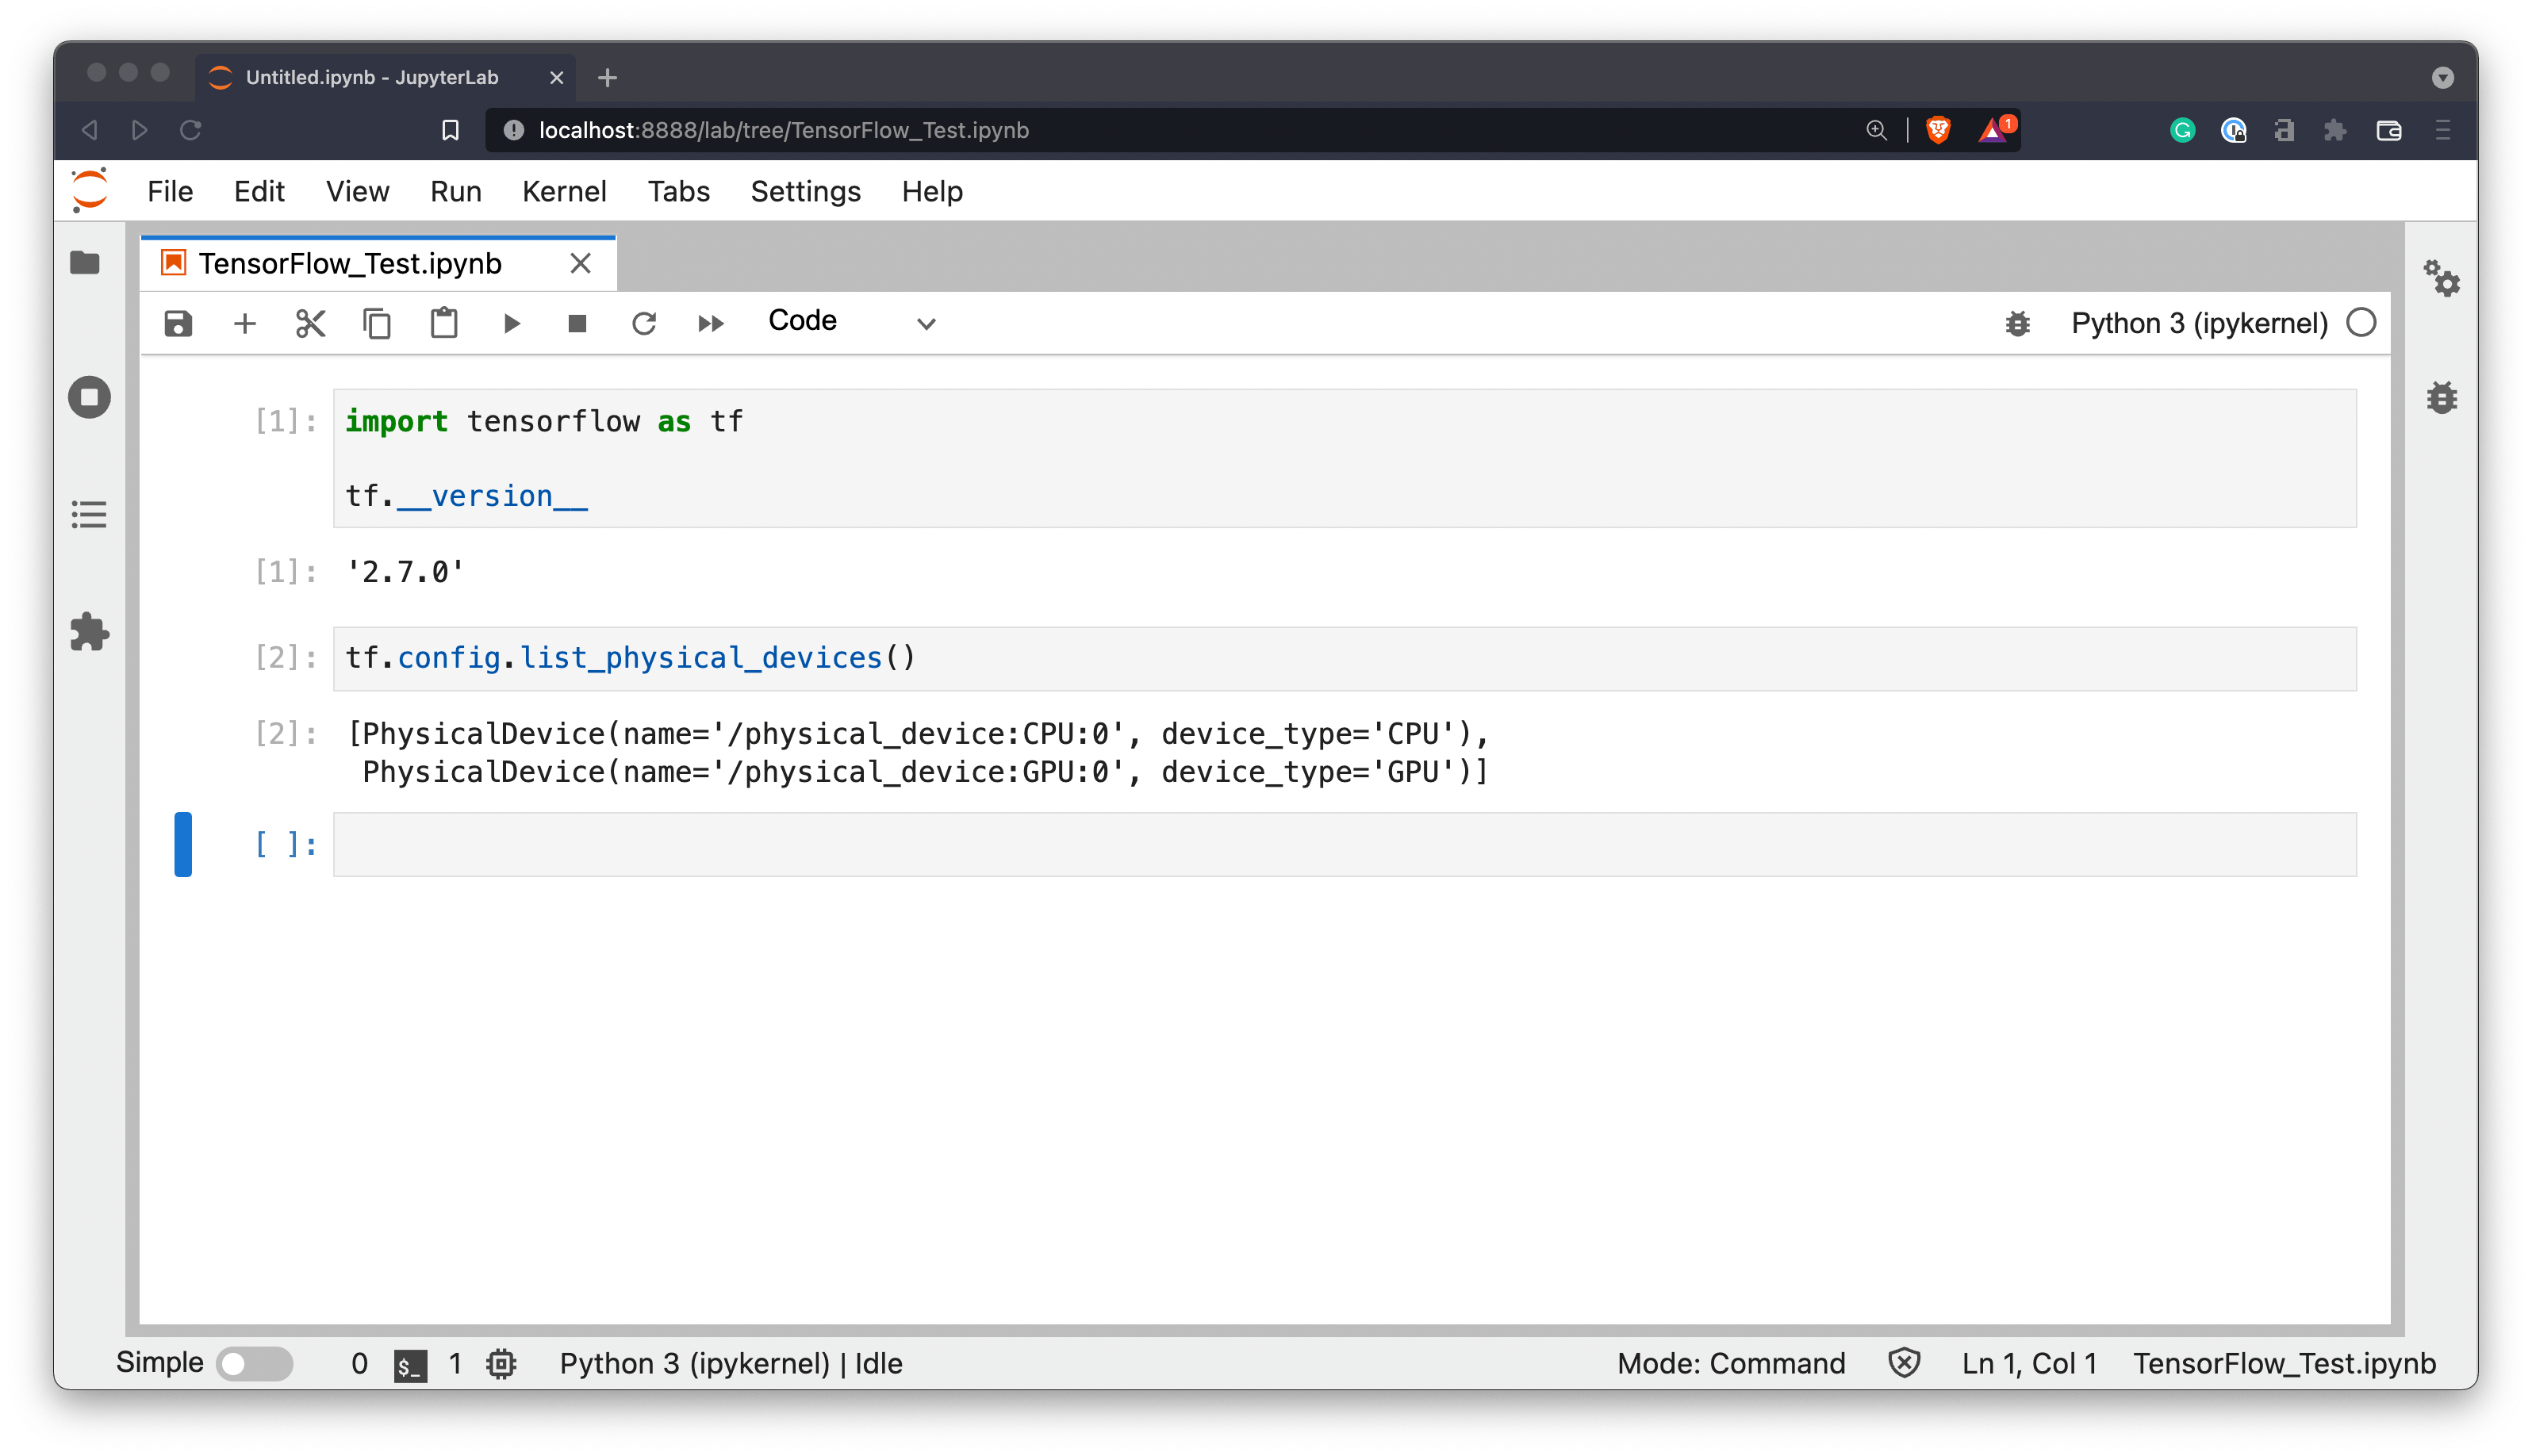
Image 9 - TensorFlow version and available devices (image by author)
And there you have it - TensorFlow on the M1 Pro chip was installed successfully, and it also sees both CPU and GPU as available training devices!
Next, let’s create a dummy dataset for model training. The only input feature is an array of 1000 numbers ranging from 1 to 100, with a step size of 0.1. The target variable is the input feature + 10. Both are cast to float Tensor objects:
import numpy as np

X = np.arange(1, 101, step=0.1)
y = [x + 10 for x in X]

X = tf.cast(tf.constant(X), dtype=tf.float32)
y = tf.cast(tf.constant(y), dtype=tf.float32)
From here, we’ll declare a neural network model. The architecture is set randomly, and the network has two layers with 64 nodes each. The model is compiled using mean absolute error to track loss, and Adam as an optimizer. Finally, the model is trained for 100 epochs:
model = tf.keras.Sequential([
    tf.keras.layers.Dense(64, input_shape=(1,), activation='relu'),
    tf.keras.layers.Dense(64, activation='relu'),
    tf.keras.layers.Dense(1)
])

model.compile(
    loss=tf.keras.losses.mean_absolute_error,
    optimizer=tf.keras.optimizers.Adam(learning_rate=0.1),
    metrics=['mean_absolute_error']
)

model.fit(X, y, epochs=100)
Here’s what you’ll see after training finishes:
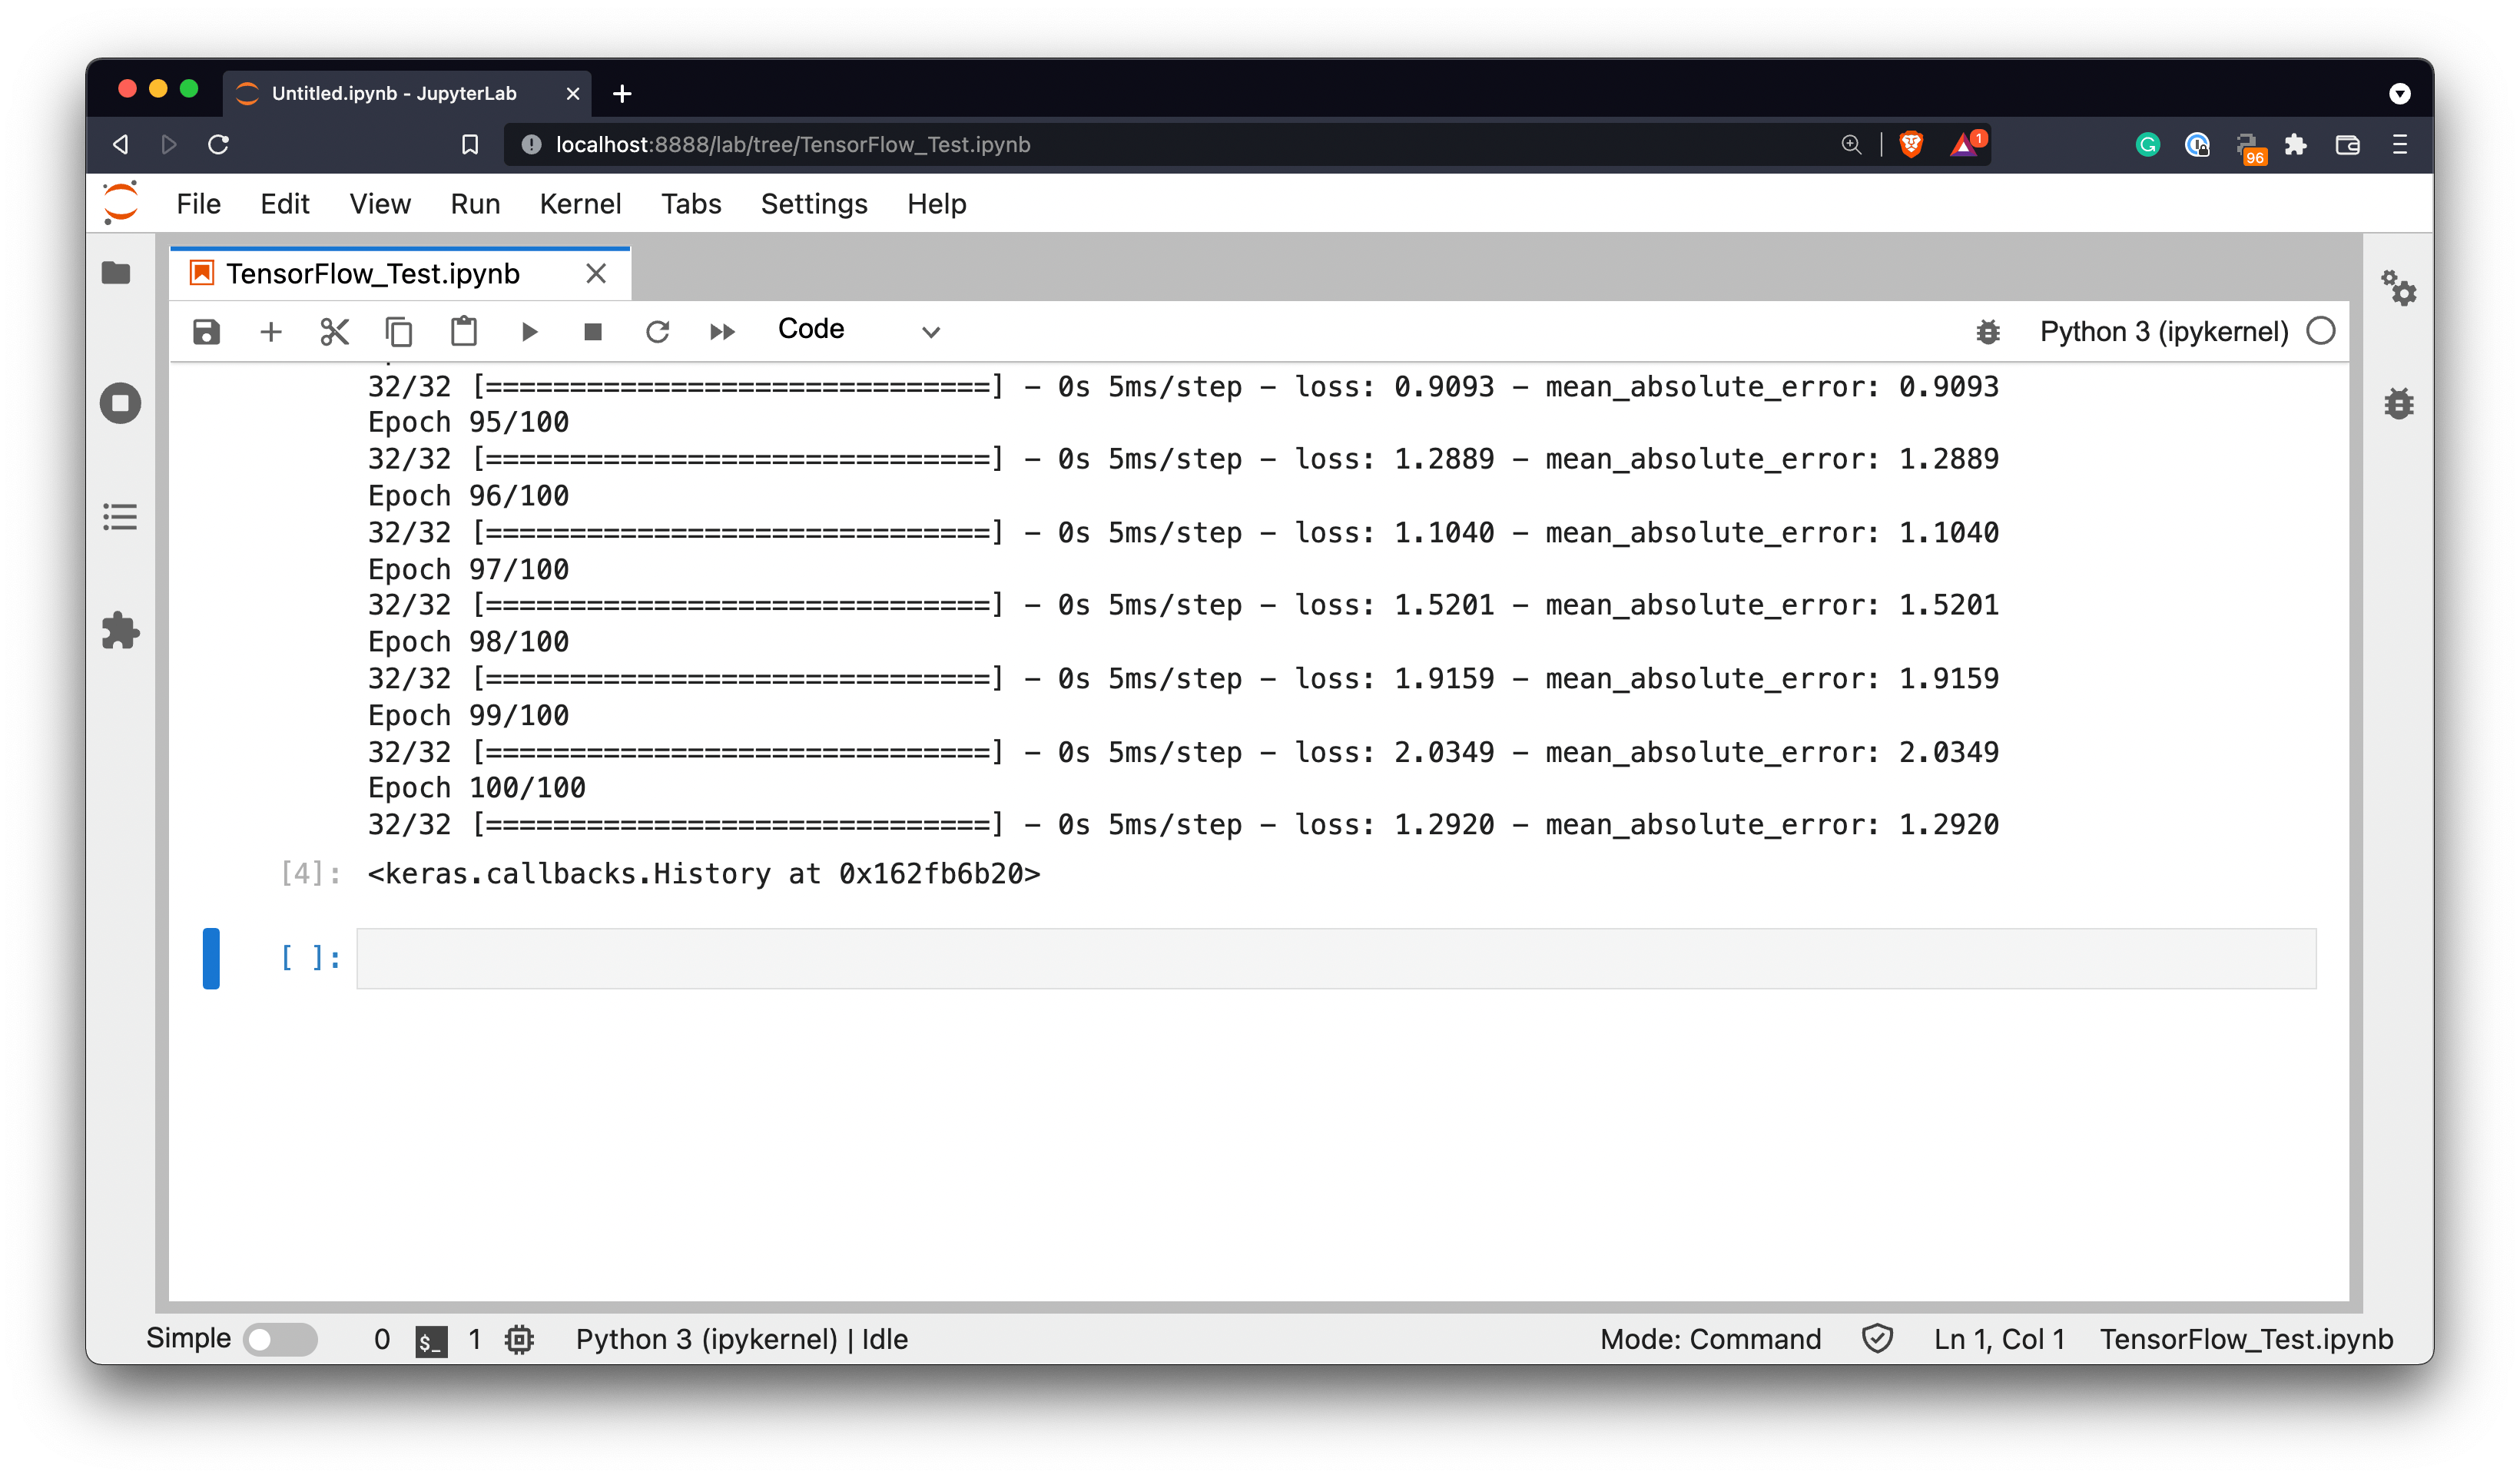
Image 10 - Training a neural network model with TensorFlow on M1 Pro chip (image by author)
Everything looks good, so let’s use the predict() function to make predictions on new data:
model.predict([10, 20, 30])
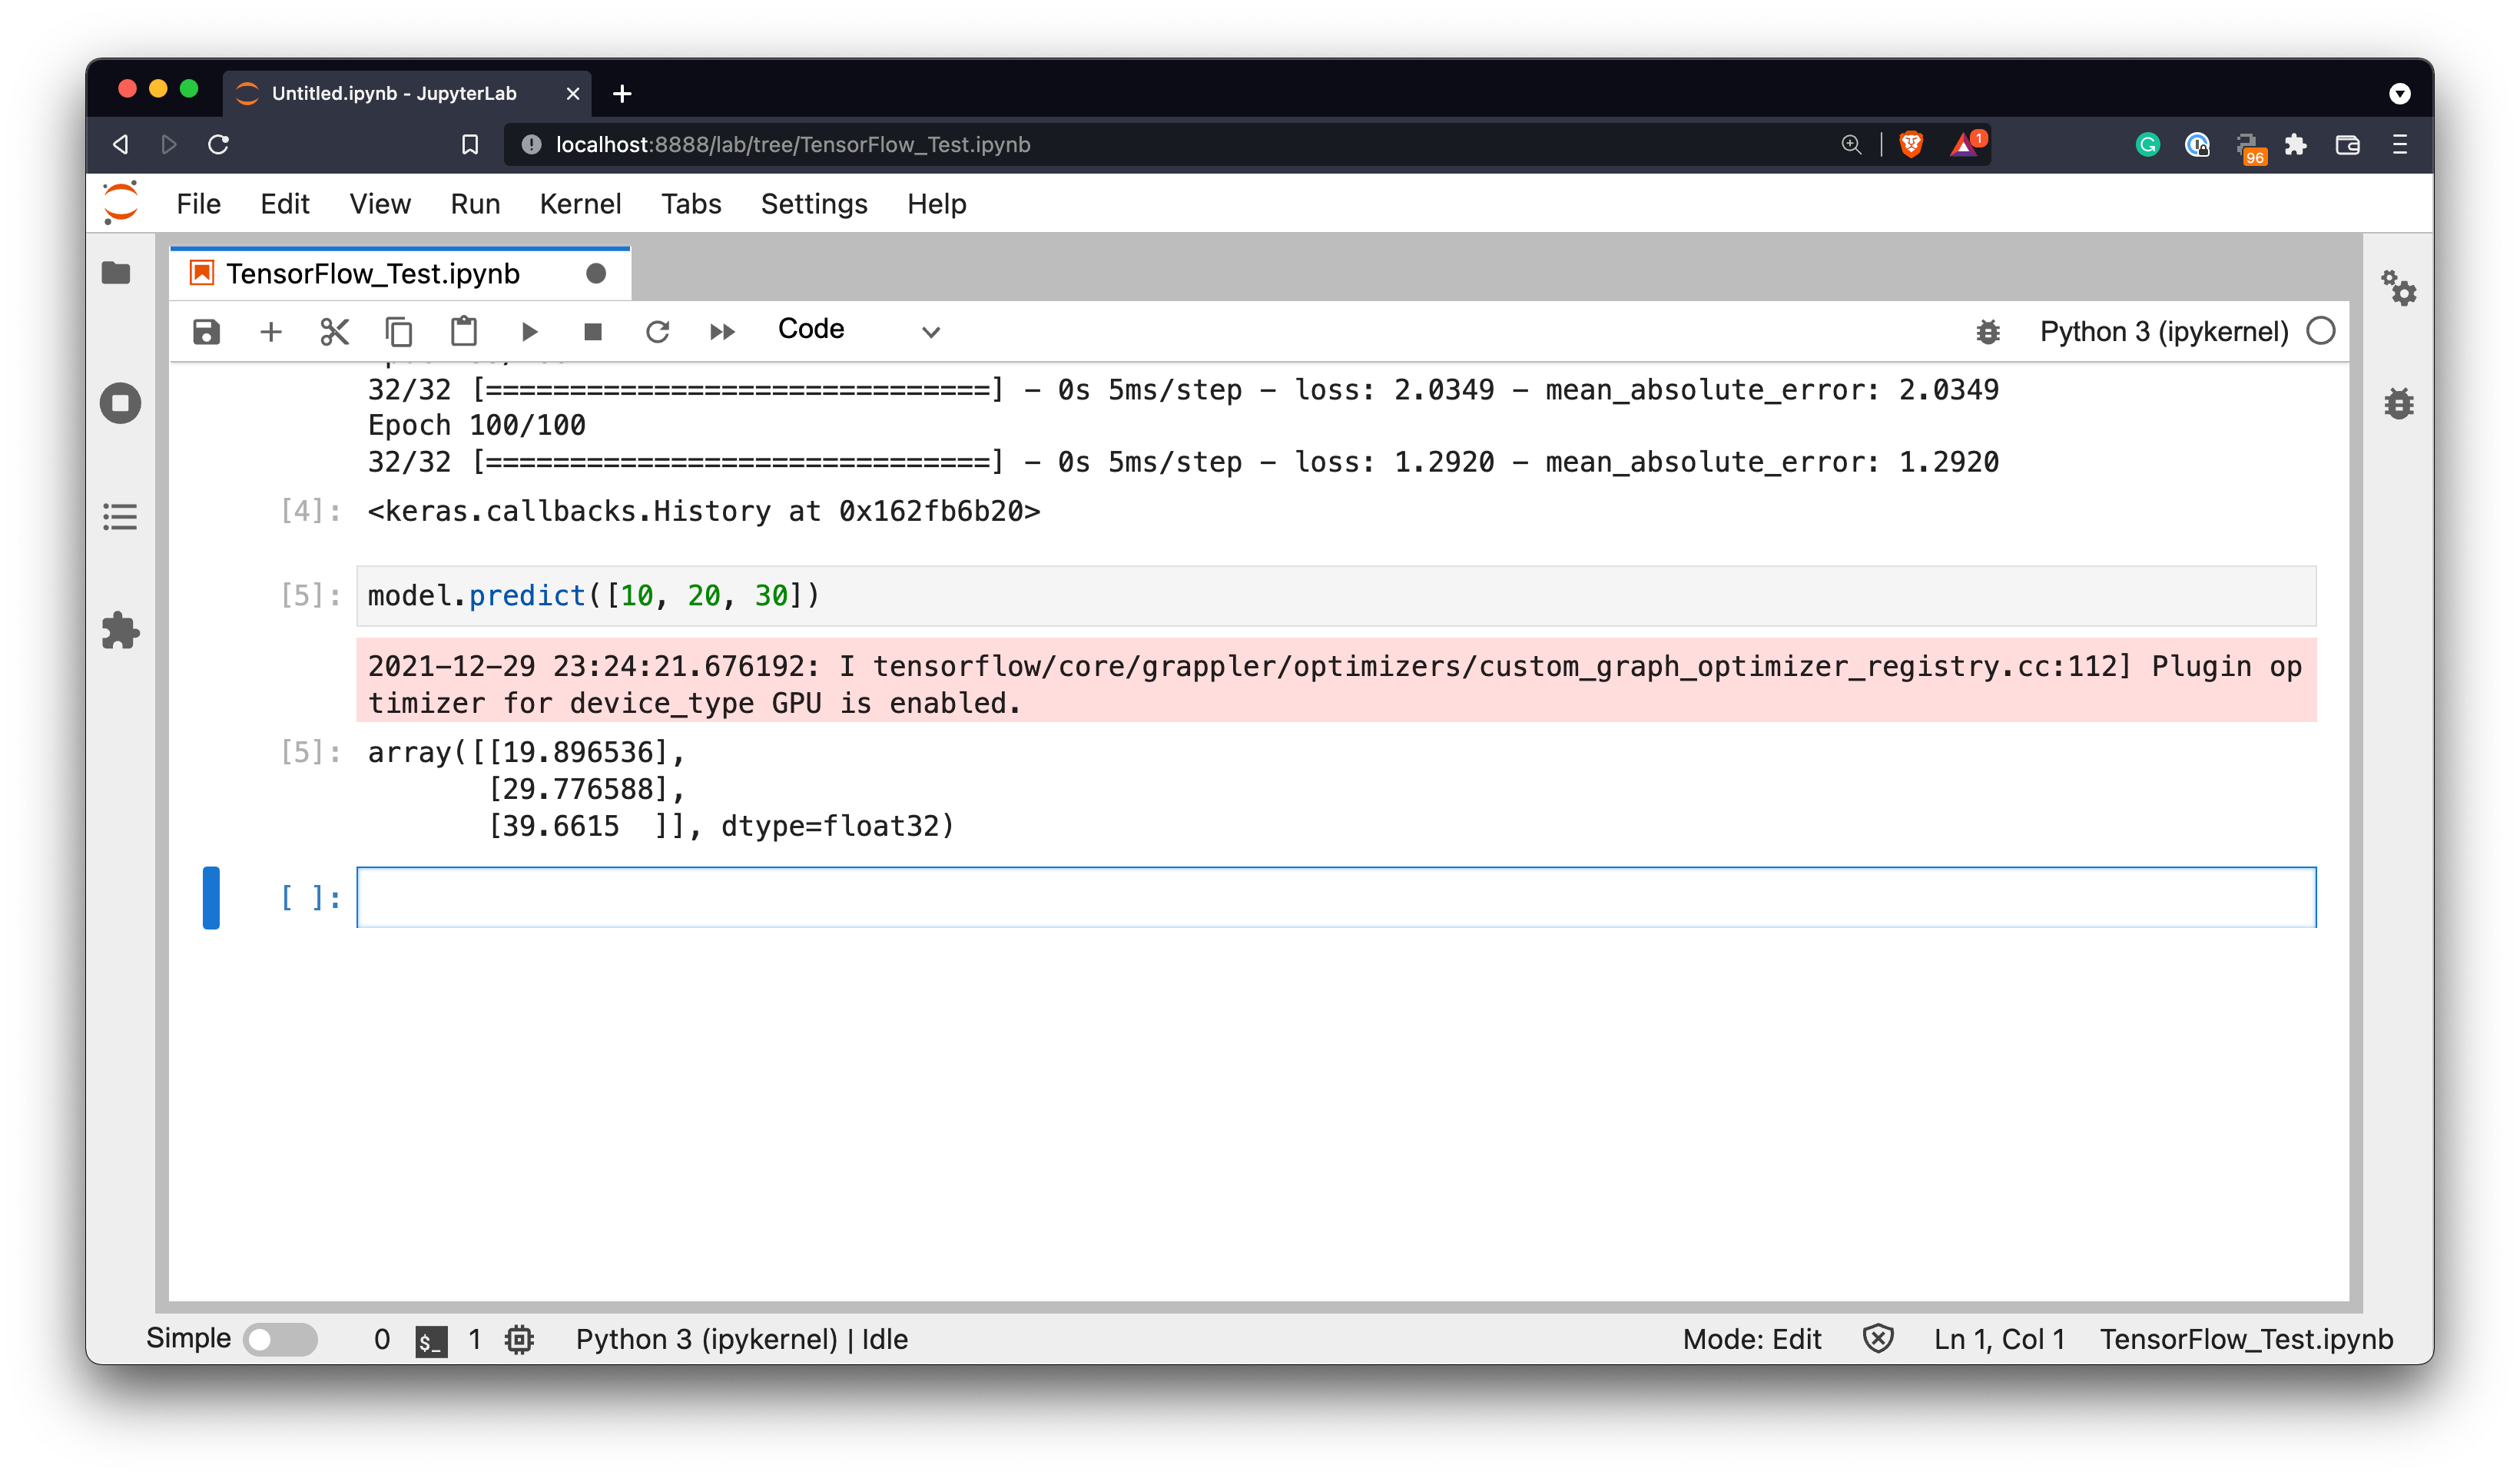
Image 11 - Making predictions on new data (image by author)
The actual values should be 20, 30, and 40. Our simple model isn’t too far off.
Conclusion
Today you’ve successfully installed TensorFlow with GPU support on an M1 Pro MacBook. The above step-by-step guide should work on any Apple Silicon device, from Mac Mini to M1 Max.
But how good is M1 Pro for data science and machine learning? Stay tuned to find out, as I did a ton of real-world comparison tests I plan to share in the upcoming weeks.
In the meantime, refer to the following resources to learn TensorFlow from scratch:
Stay connected
- Sign up for my newsletter
- Subscribe on YouTube
- Connect on LinkedIn