And how to train neural networks on M1 GPU — Source code included.
The M1 chip is a remarkable piece of technology. Nothing really comes close if you consider the efficiency and the form factor. Still, almost a year since launch, installing and managing Python packages feels harder than it should.
No library gave developers so much headache as TensorFlow.
TensorFlow has been a nightmare to install properly, especially if you want to use Mac’s GPU. Most guides online would seem to work until you start the training — then the Python kernel dies and there’s nothing you can do.
Today you’ll install TensorFlow and TensorFlow Metal on your M1 Mac. You’ll also train a simple neural network, just to verify everything works properly.
I also made a video tutorial, so feel free to check it out:
You can access the source code on GitHub.
TensorFlow prerequisites
You’ll need to install three things before you can even think about TensorFlow. Those are Homebrew, Xcode tools, and Anaconda.
Let’s start with Homebrew. You can copy/paste the installation command straight from their website:
/bin/bash -c "$(curl -fsSL https://raw.githubusercontent.com/Homebrew/install/HEAD/install.sh)"
The installation will take a couple of minutes, and once done you can install the Xcode tools. Keep in mind that you don’t need the Xcode itself, just the command line tools. You can install them with the following command:
xcode-select --install
And finally, you’ll need Anaconda. As of now, Miniforge runs natively on the M1 chip, so that’s the distribution you’ll use. You’ll want to download the ARM64 version, the one marked on the following image:
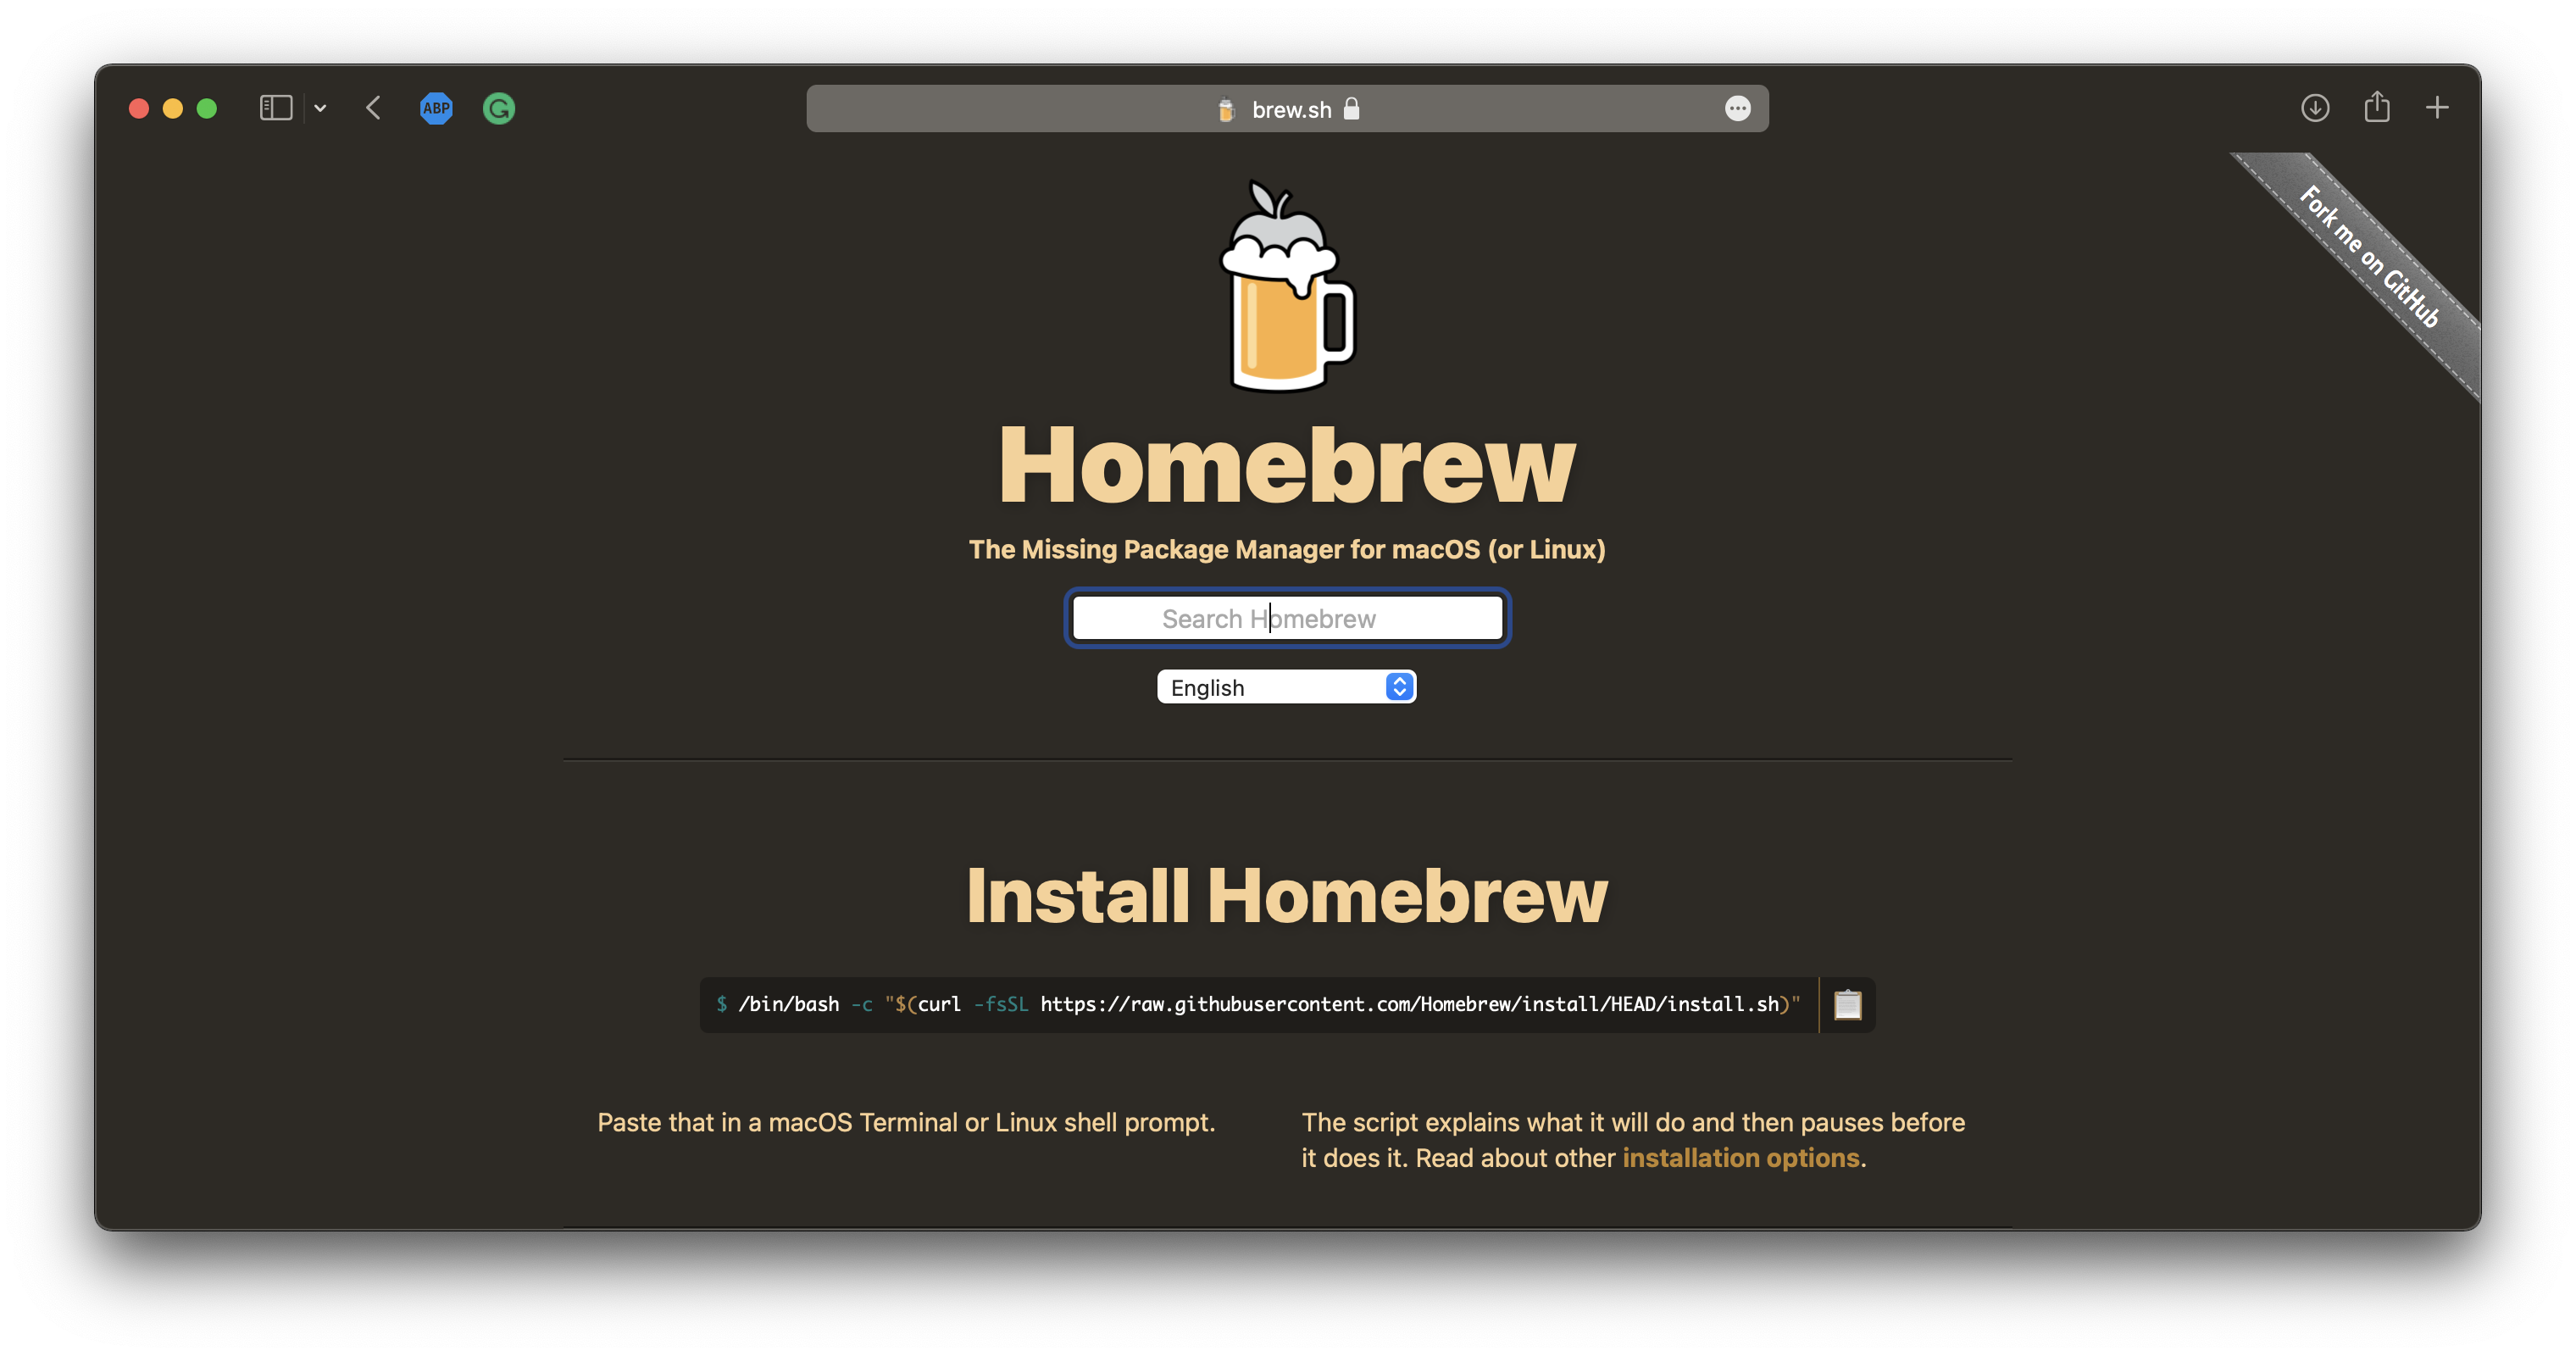
Image 1 — Miniforge download page (image by author)
Clicking on the link will download the SH file, which you can then install through Terminal:
sh <path_to_Miniforge_file.sh>
The installation is straightforward, so I won’t cover it here. Once installed, open up a new Terminal window and execute the following command:
conda -V
This will print out the Miniforge version. Here’s mine:
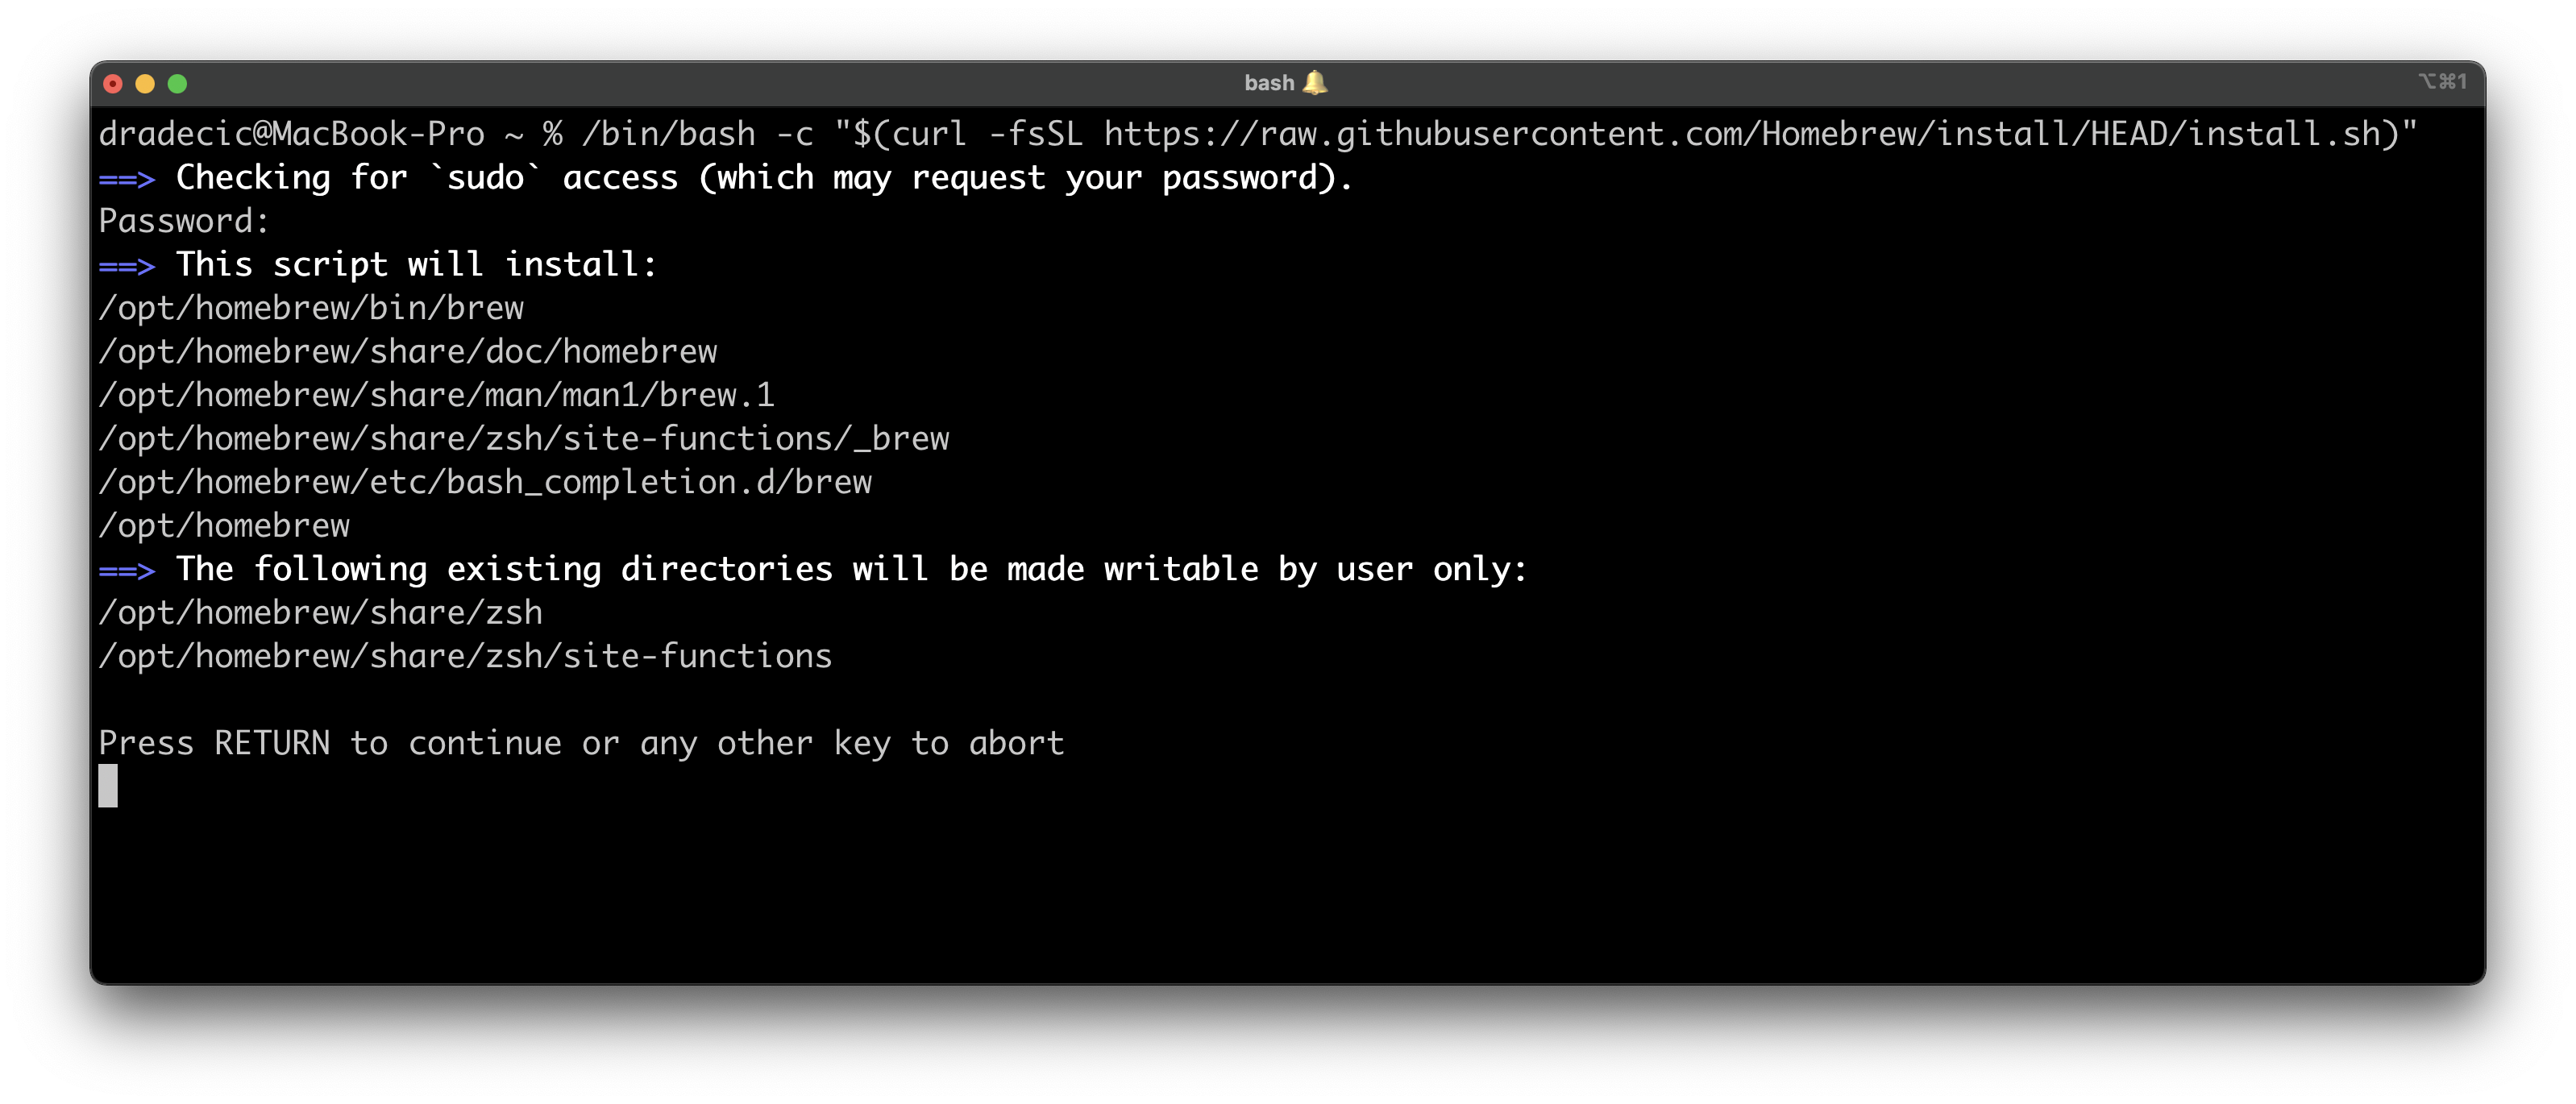
Image 2 — Miniforge version (image by author)
It doesn’t matter if yours is newer, as long as executing the command doesn’t result in an error. You can now create a new virtual environment based on Python 3.9. I’ve named mine tensorflow_env:
conda create --name env_tensorflow python=3.9
Once created, activate it with the following command:
conda activate env_tensorflow
You should see something like this in your Terminal window:
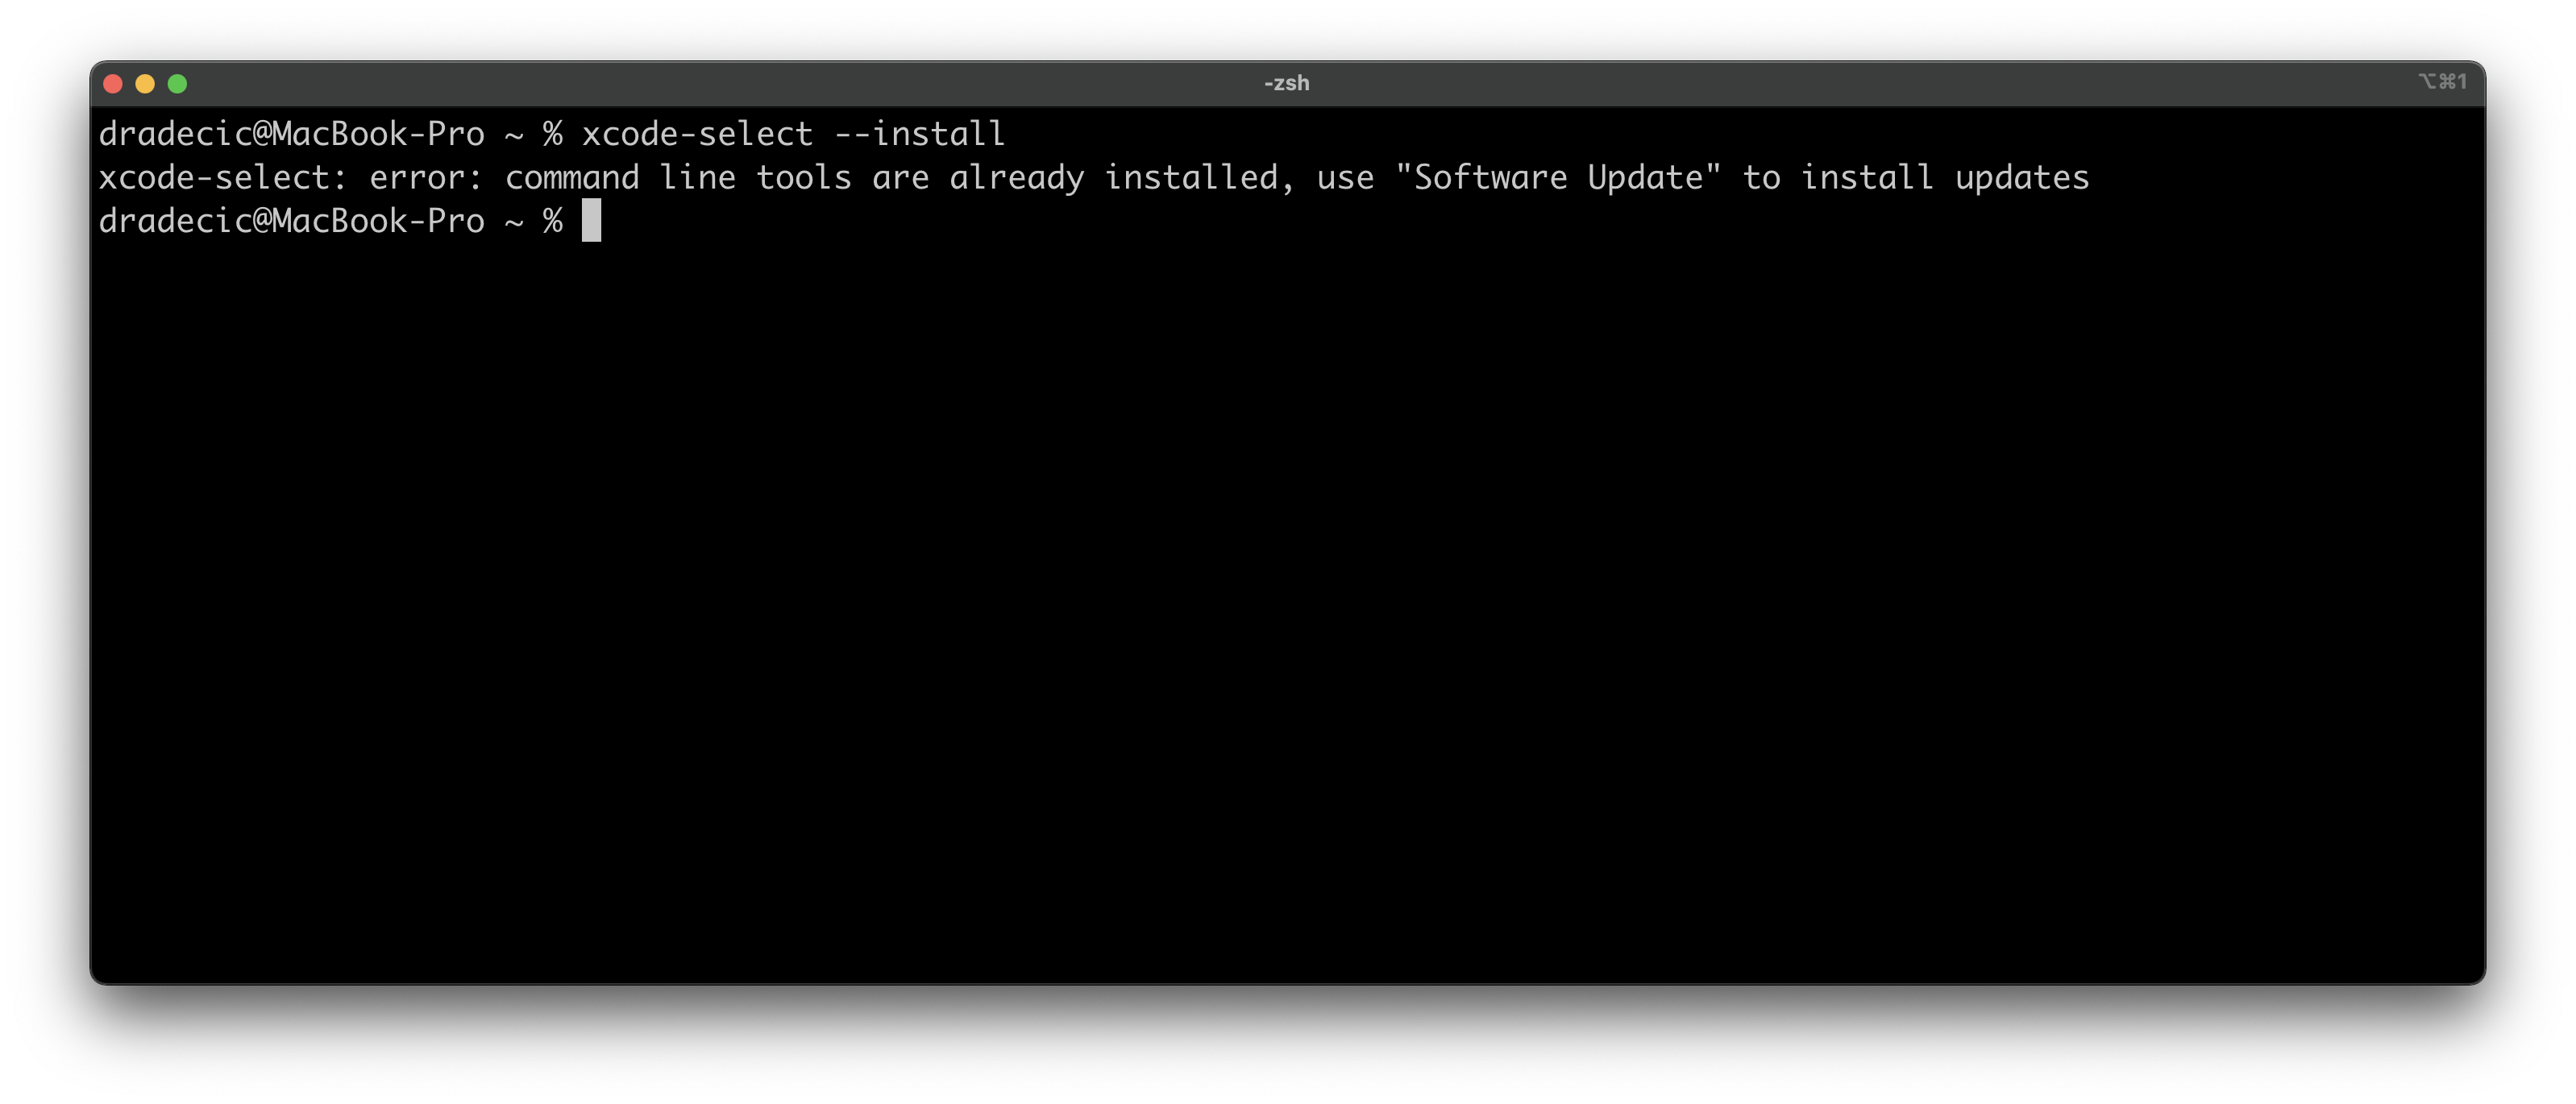
Image 3 — Activating TensorFlow environment (image by author)
Now all TensorFlow prerequisites are installed, and you can install the star of the show next.
Installing TensorFlow and TensorFlow Metal
Let me make something clear right away — you WILL get errors during the installation. That’s completely fine. There’s a way to solve any error TensorFlow installation throws at you.
Start by installing TensorFlow dependencies from Apple:
conda install -c apple tensorflow-deps
And now can try to install TensorFlow for macOS with the following command:
pip install tensorflow-macos
The Anaconda equivalent isn’t yet available, so you’ll have to stick with pip. The installation will take a while and fail, giving you more red error messages than you can read:
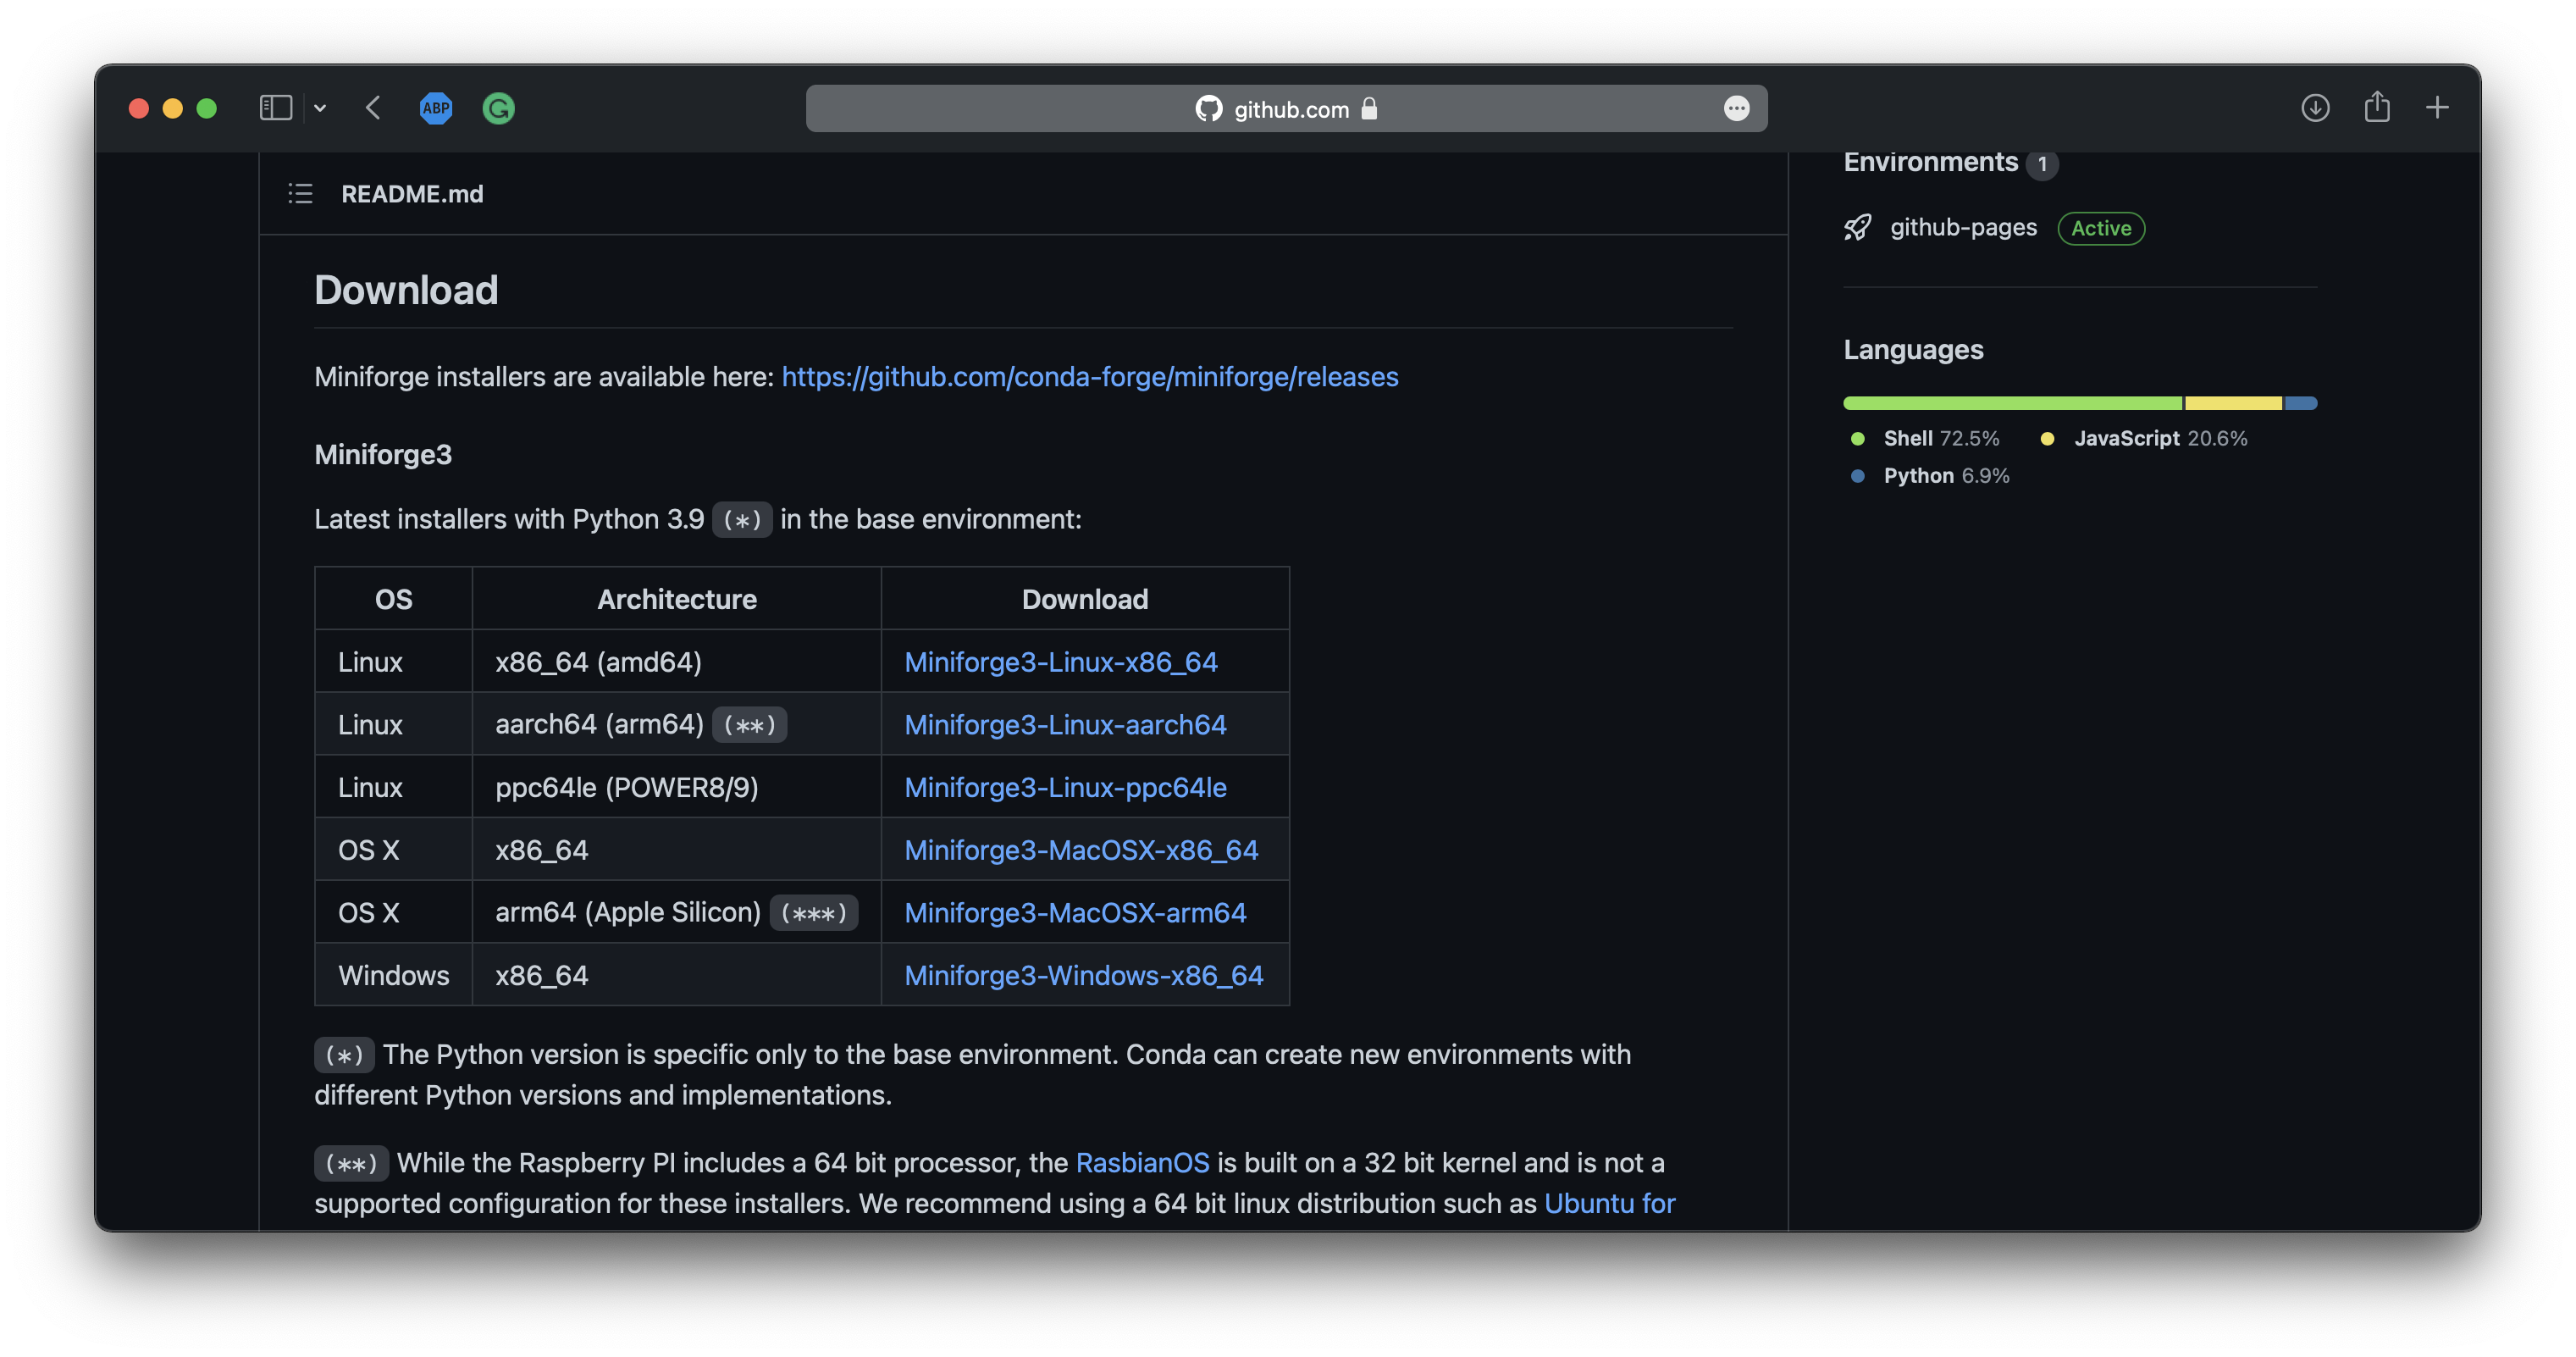
Image 4 — Trying to install TensorFlow on M1 chip (image by author)
The good news is — all the error messages are fixable. Let’s install TensorFlow Metal first:
pip install tensorflow-metal
The installation will succeed without any issues:
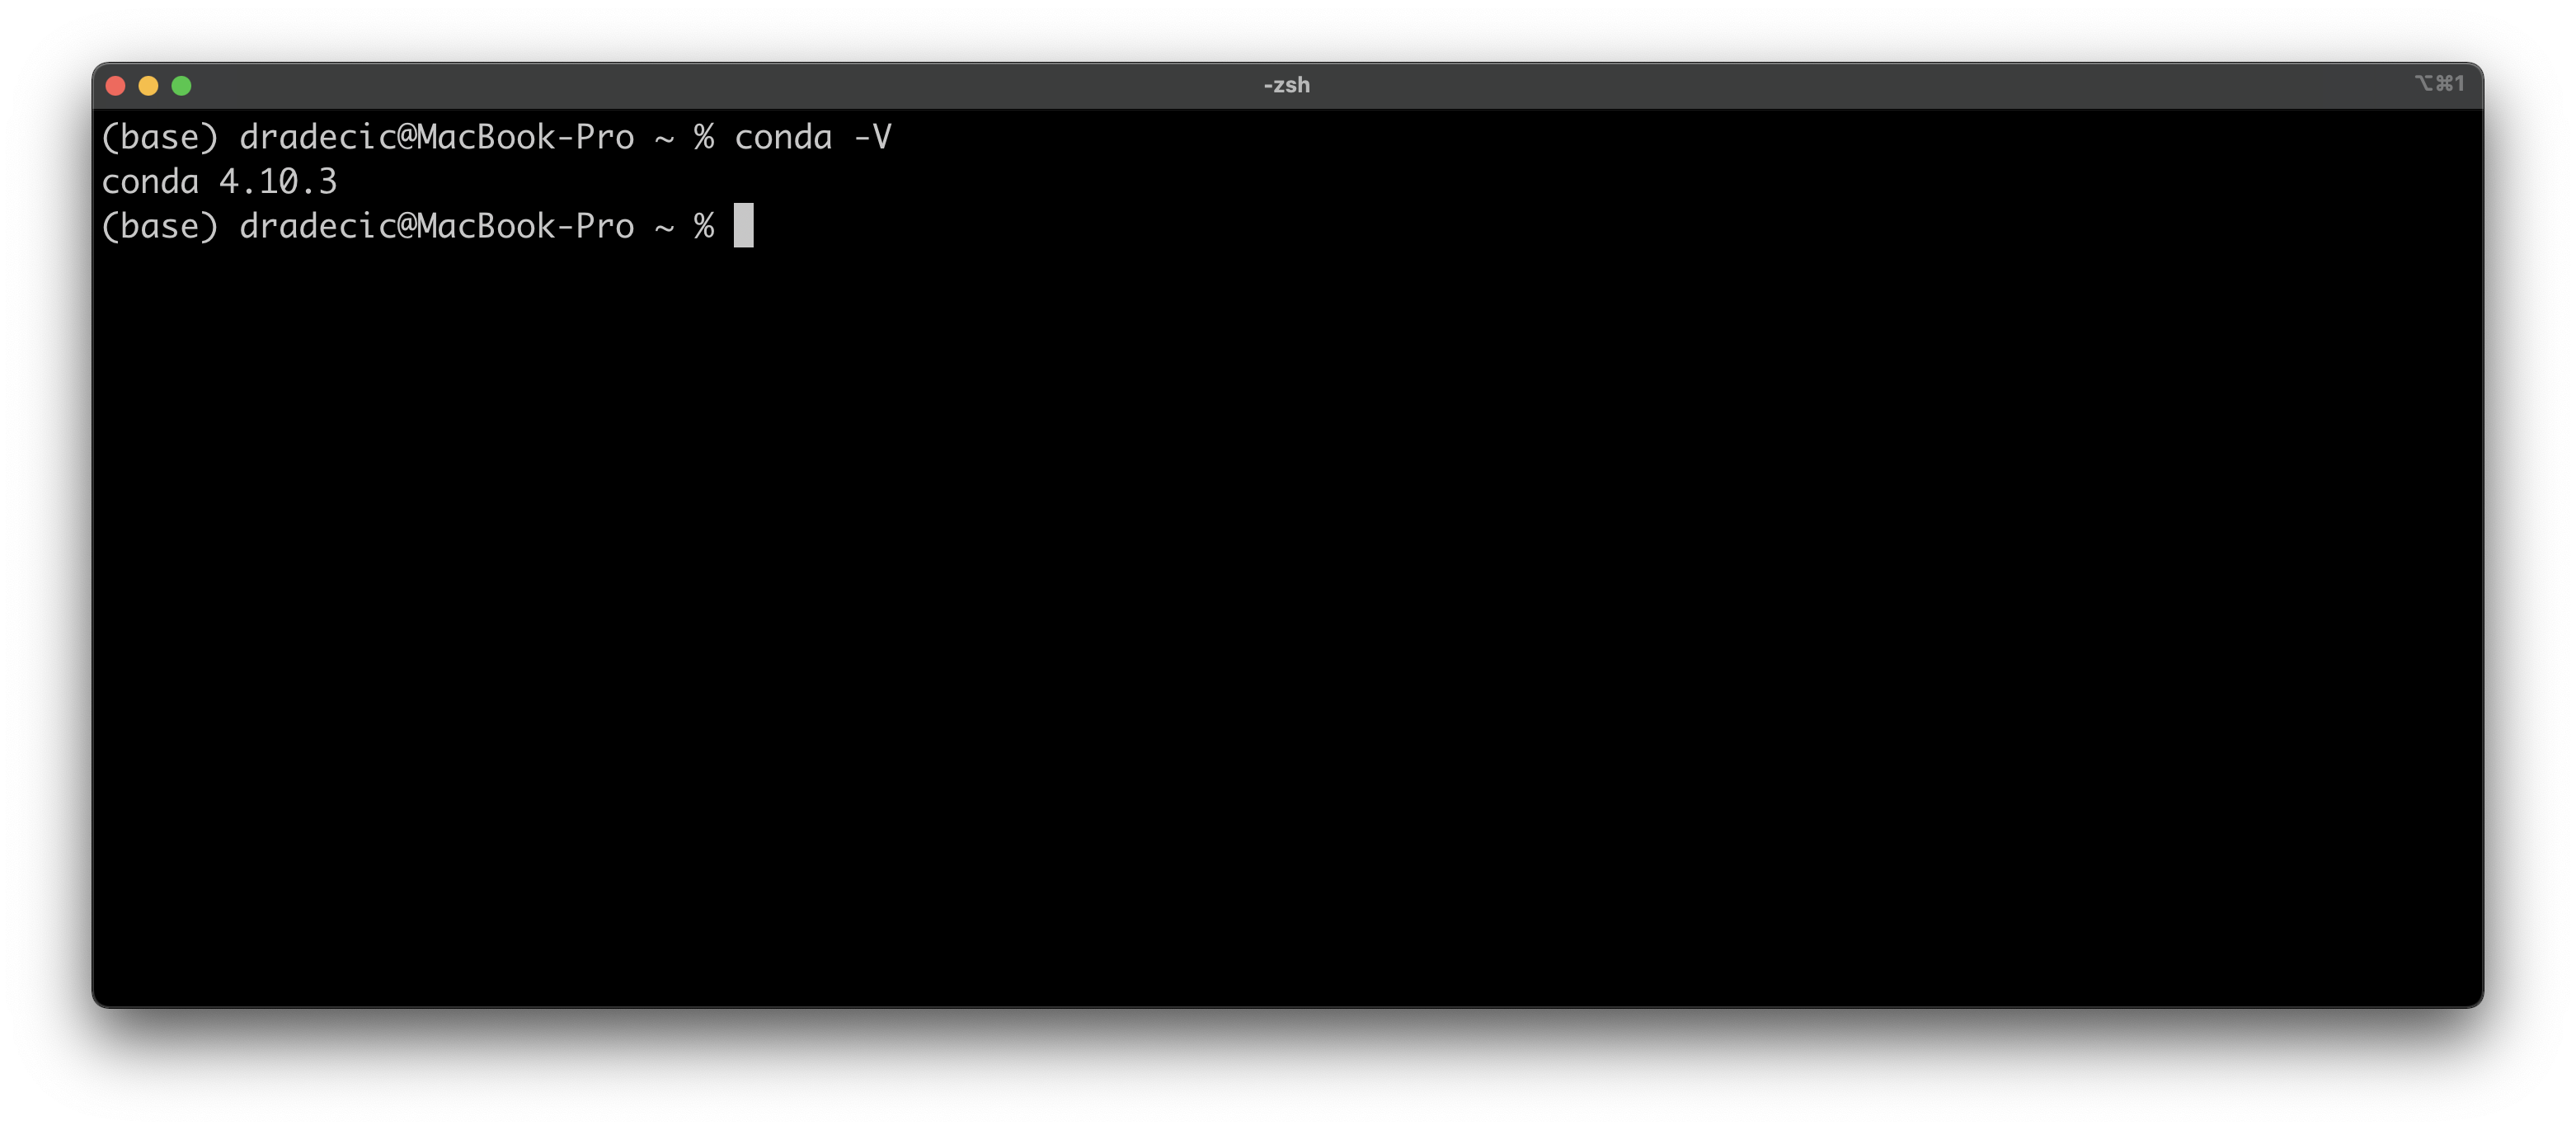
Image 5 — Installing TensorFlow Metal (image by author)
The quick fix to the previous error message is to install TensorFlow and FlatBuffers (prerequisite) without dependencies. You can do so with the following two commands:
pip install tensorflow-macos --no-dependencies
pip install flatbuffers --no-dependencies
The installation will succeed this time. It turns out you don’t need TensorFlow dependencies because you’ve already installed them through the Apple repo minutes ago.
To verify installation succeeded, open up a Python shell, import TensorFlow, and print its version:
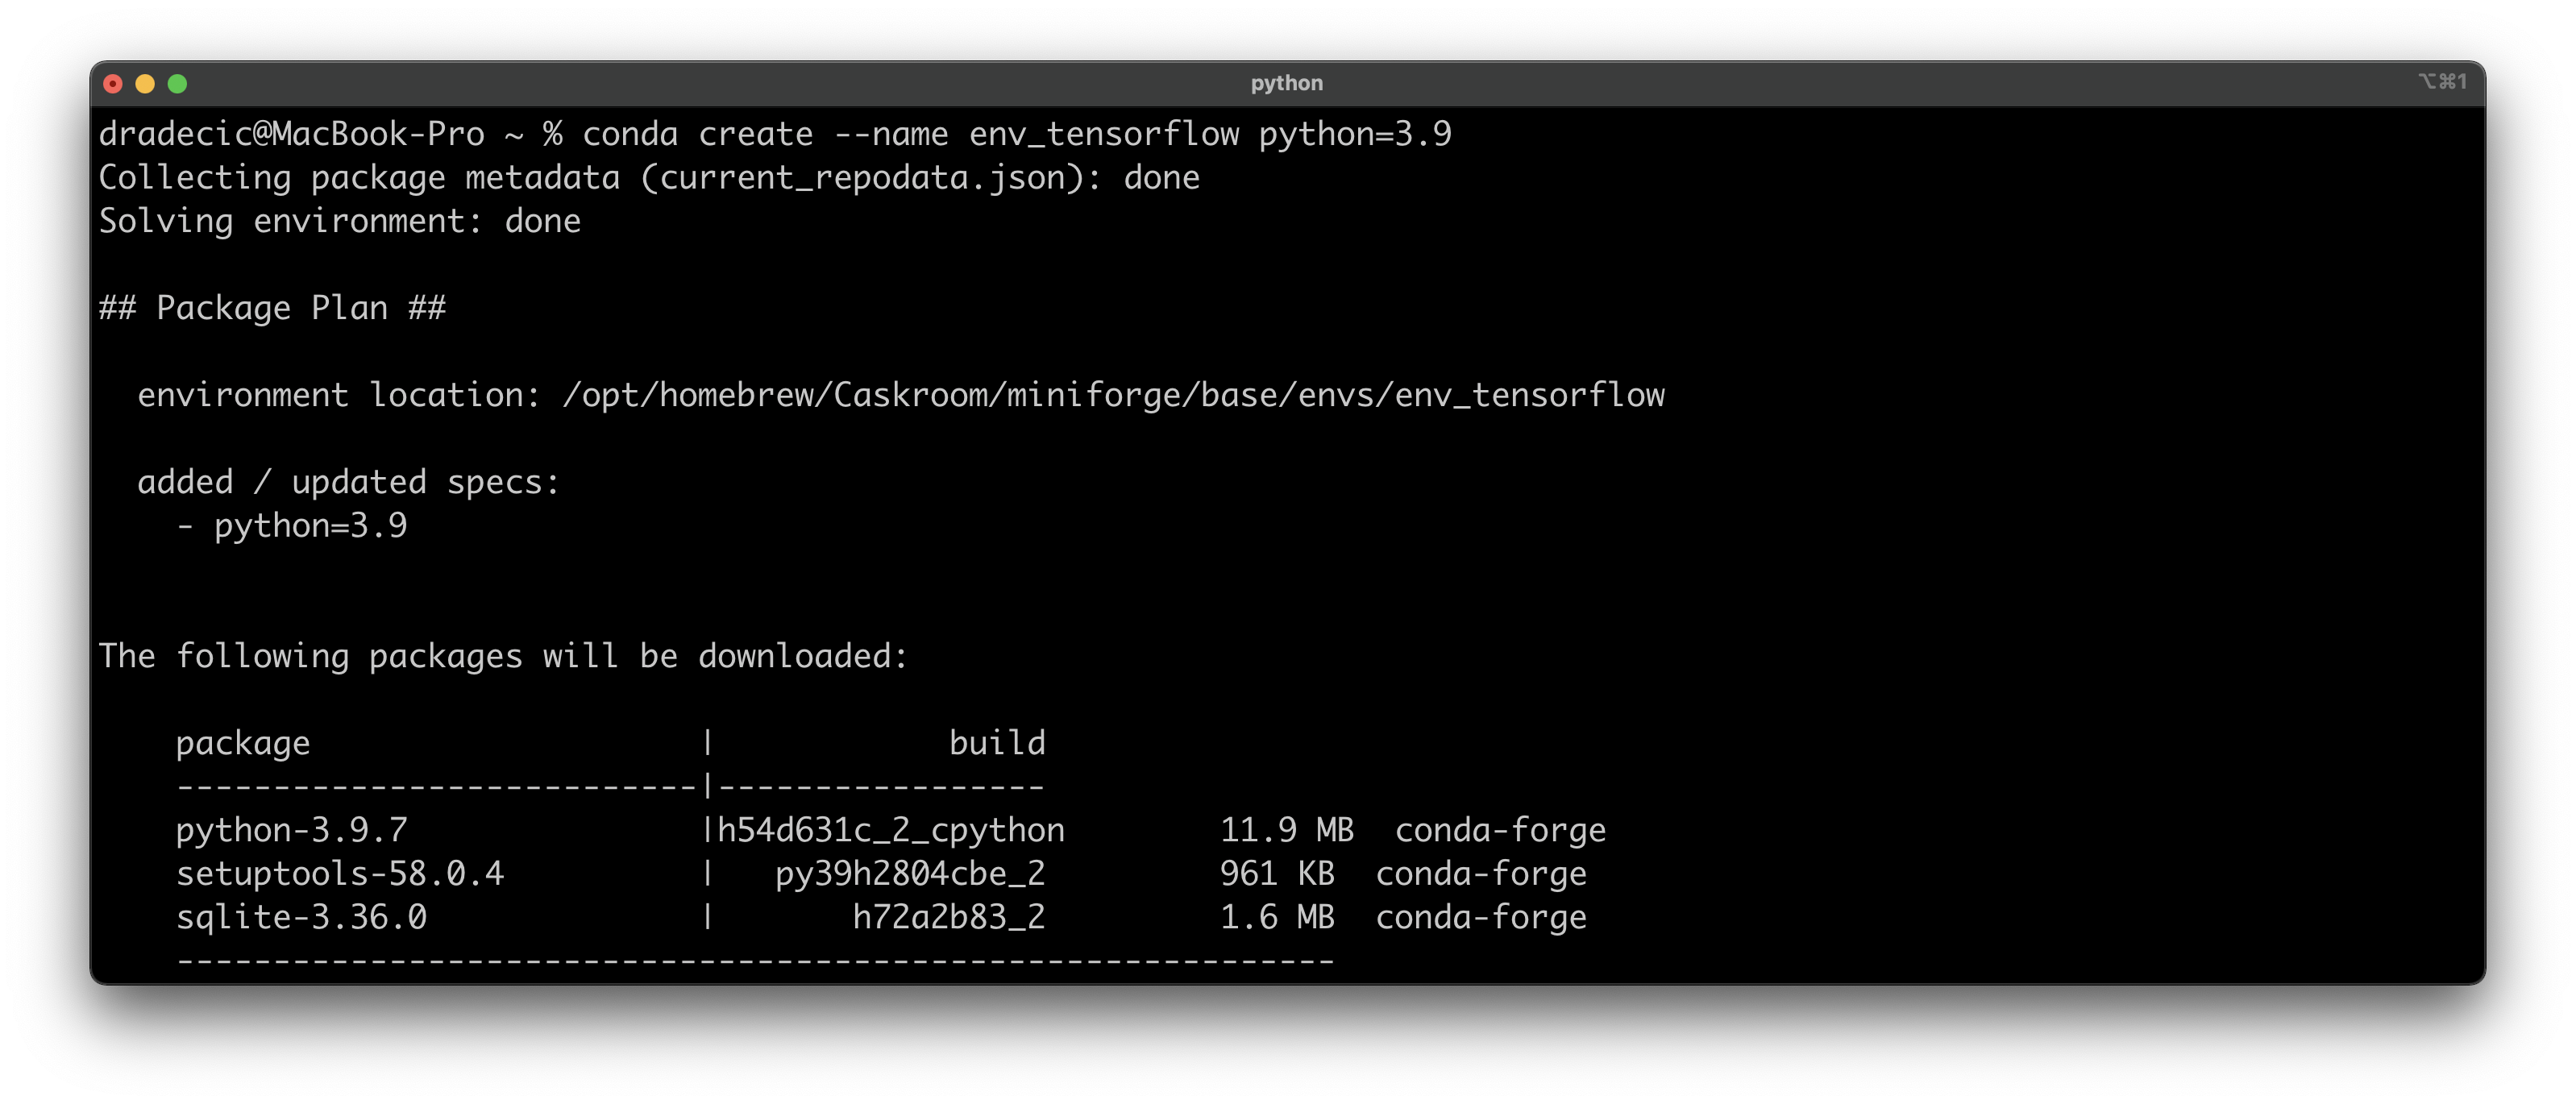
Image 6 — Verifying TensorFlow was installed (image by author)
And there you have it — TensorFlow 2.5 is installed successfully! The last step in this section is to install Jupyter, as it is the IDE of choice for this article. You’re free to use any other IDE, but if you want to stick to Jupyter, here’s the installation command:
conda install -c conda-forge jupyter jupyterlab
Let’s verify you can actually train neural networks next.
Training a simple neural network model
You should have the JupyterLab session started, or any other code editor opened before proceeding. Let’s double-check TensorFlow was installed by executing the following cell:
import tensorflow as tf
tf.__version__
It prints out ‘2.5.0’ on my machine. Next, let’s list all devices TensorFlow can train the models on. These include CPUs and GPUs, and the 8-core GPU on the M1 Mac should be decent enough for training some basic deep learning models on relatively small datasets.
Here’s the command:
tf.config.list_physical_devices()
And here’s what it prints on my machine:
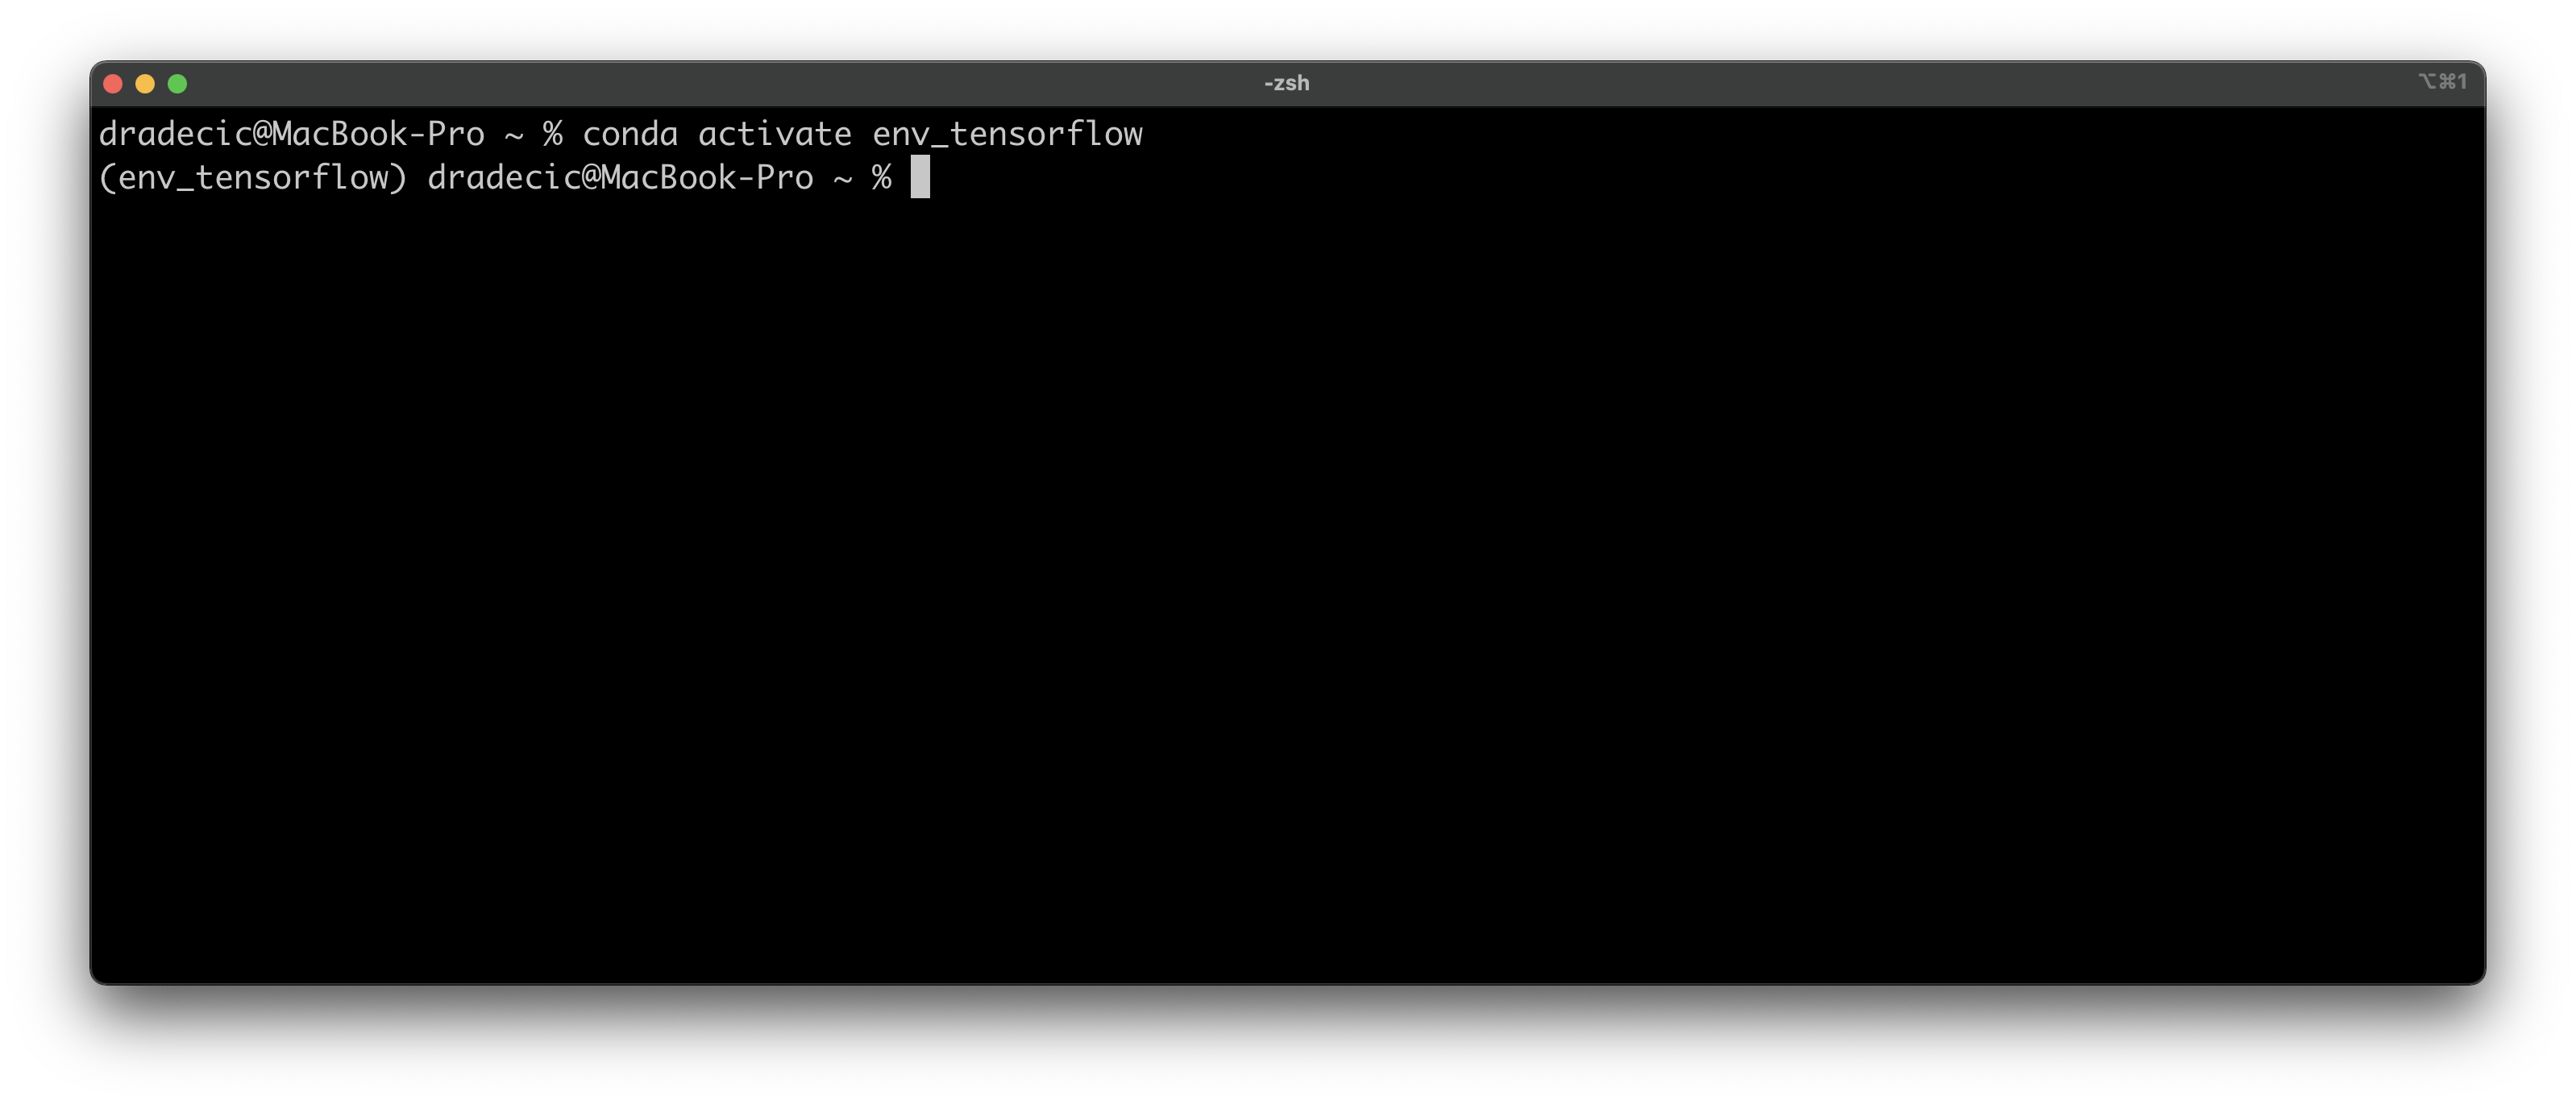
Image 7 — Available devices on the M1 Mac (image by author)
Both CPU and GPU are visible. Next, you’ll create a dummy dataset. The only input feature is an array of 1000 numbers ranging from 1 to 100, with a step size of 0.1. The target variable is the input feature squared. Both are cast to float Tensor objects:
import numpy as np


X = np.arange(1, 101, step=0.1)
y = [x**2 for x in X]

X = tf.cast(tf.constant(X), dtype=tf.float32)
y = tf.cast(tf.constant(y), dtype=tf.float32)
You can declare a neural network model now. The following snippet creates a 2-layer neural network with 64 neurons at each layer. The model is then compiled using mean absolute error as a loss-tracking metric, and Adam as an optimizer. Finally, the model is trained for 100 epochs:
model = tf.keras.Sequential([
    tf.keras.layers.Dense(64, activation='relu'),
    tf.keras.layers.Dense(64, activation='relu'),
    tf.keras.layers.Dense(1)
])

model.compile(
    loss=tf.keras.losses.mean_absolute_error,
    optimizer=tf.keras.optimizers.Adam(learning_rate=0.1),
    metrics=['mean_absolute_error']
)

model.fit(X, y, epochs=100)
Here’s what you’ll see after the training finishes:

Image 8 — Training a neural network model (image by author)
So far, so good! As the last step, you can use the predict() function to make predictions on new data:
model.predict([10, 20, 30])
Here’s the output:
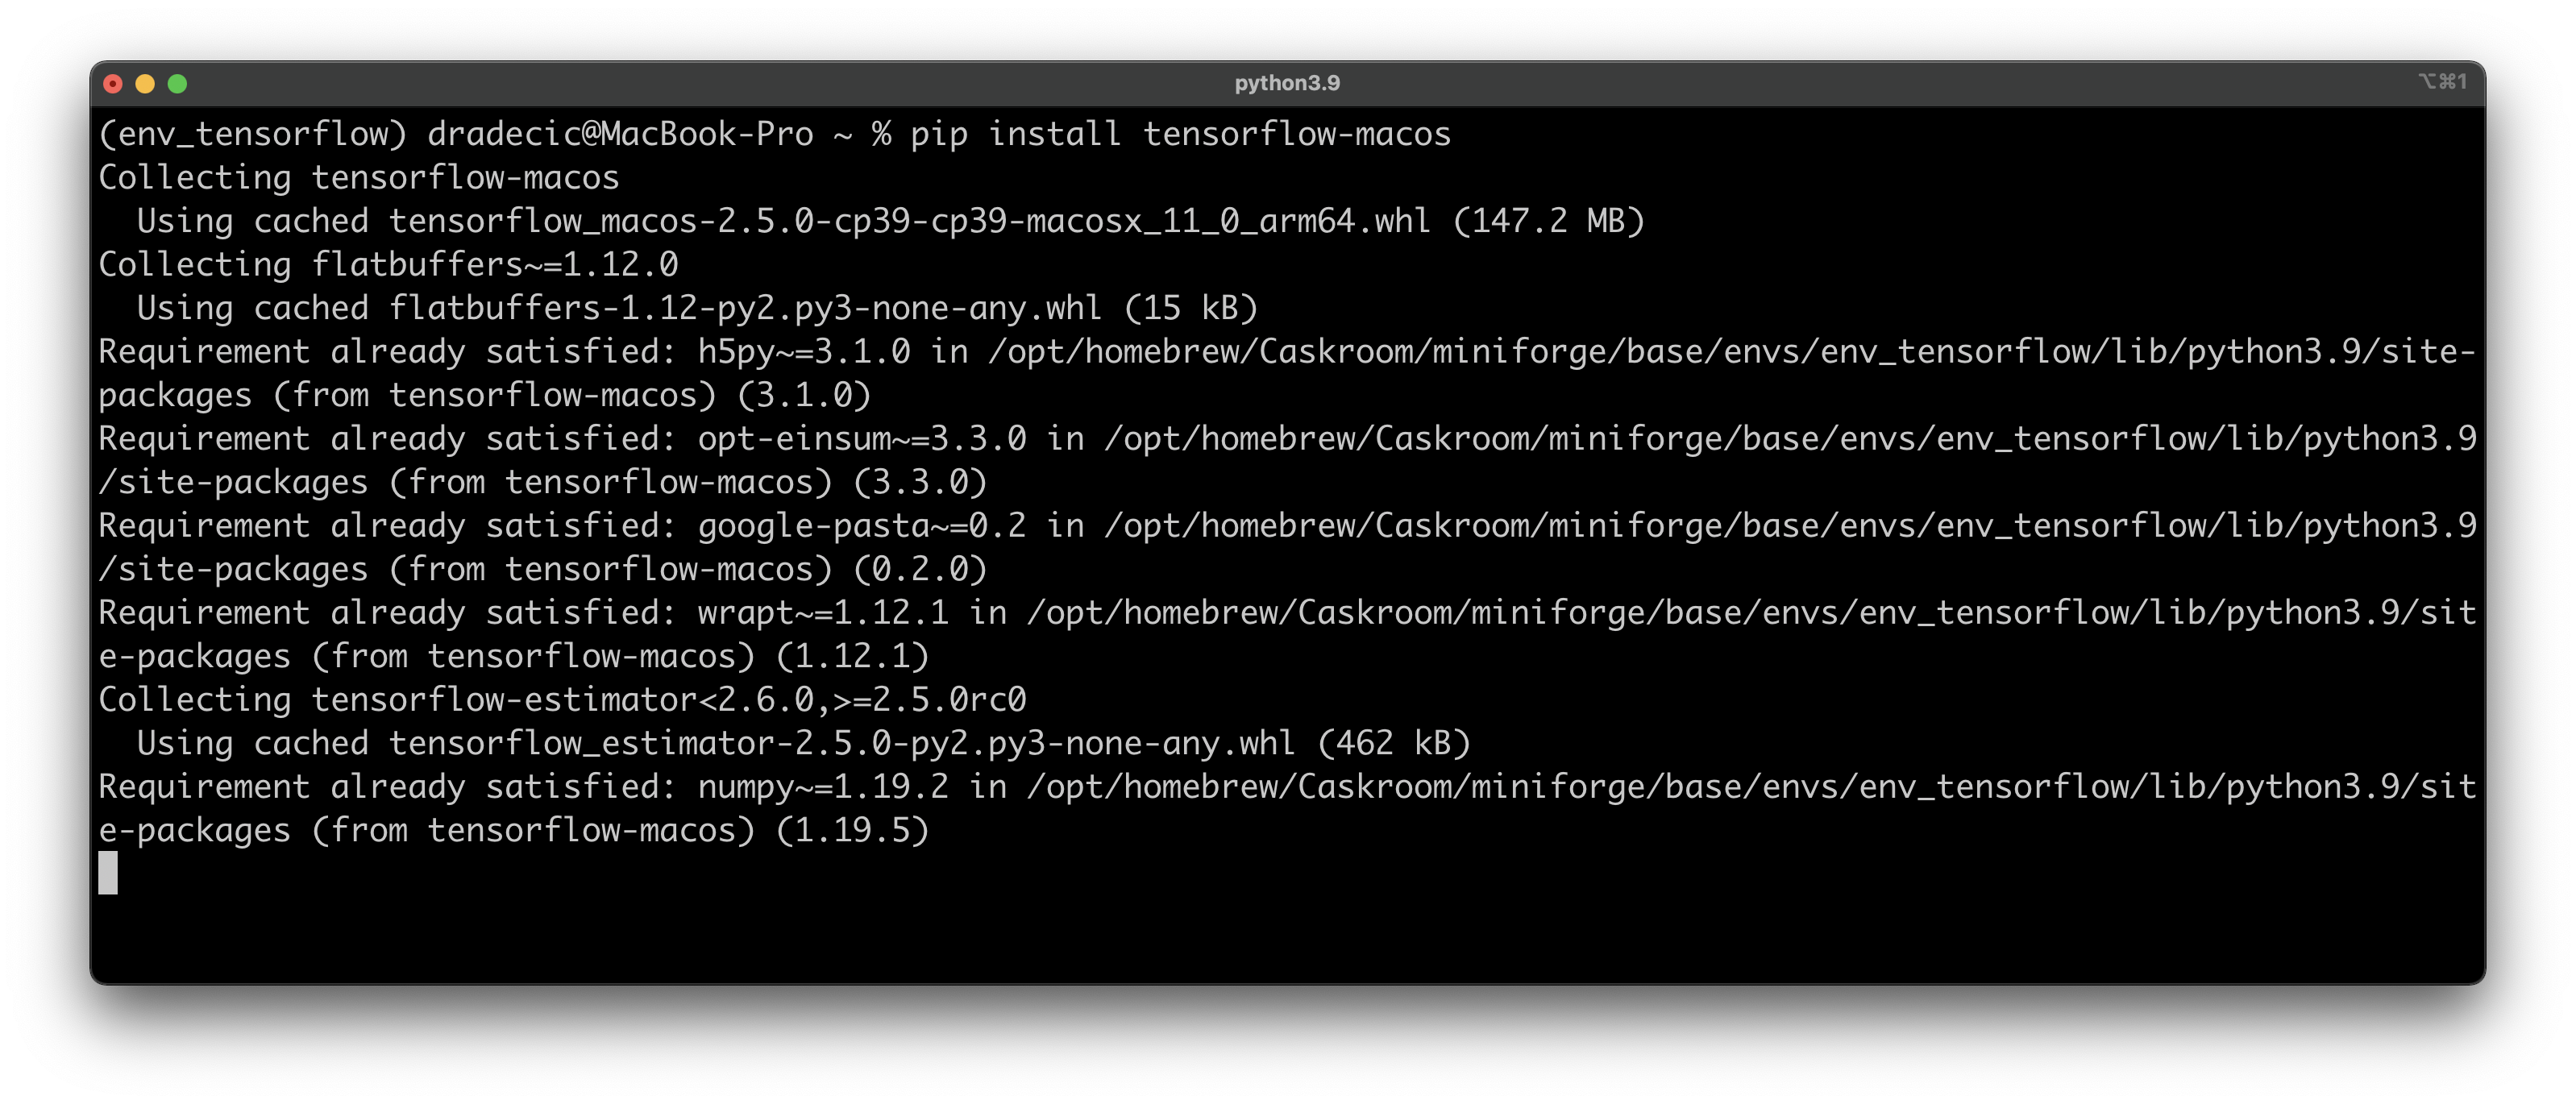
Image 9 — Predicting on new data (image by author)
The actual values should be 100, 400, and 900, so the model isn’t that far off. And that does it for today. Let’s wrap things up next.
Parting words
Today you’ve successfully installed TensorFlow and TensorFlow Metal on your M1 Mac. You’ve also trained a simple neural network to verify everything works as it should.
It’s a small achievement, but any M1 user knows just how tedious the Python package installation can get. The following video and article will cover regression in TensorFlow, so stay tuned if you want to learn more.
Thanks for reading.
Stay connected
- Sign up for my newsletter
- Subscribe on YouTube
- Connect on LinkedIn