
Build a data pipeline that connects to a remote REST API in 5 minutes
What do 90% of data pipelines have in common? You’ve guessed it - extracting and transforming data from REST APIs. If you’re an avid Apache Airflow user, there are multiple ways you can approach this. In an earlier article, you saw how to handle API calls with the PythonOperator, but I mentioned it’s not a recommended method.
How should you approach this task then? Well, Airflow has a dedicated SimpleHttpOperator built-in, and it allows you to effectively communicate with external APIs. Today you’ll learn all about it.
Don’t feel like reading? Watch my video instead:
How to Configure Airflow for Communicating with REST APIs
To start, you’ll have to install the HTTP provider for Airflow using the following command:
pip install 'apache-airflow-providers-http'
You won’t see it straight away on the Airflow homepage, so you’ll have to restart both the webserver and the scheduler. After doing so, create a new Python file in the dags folder - I’ve named mine api_dag.py.
It will contain the logic for the DAG we’ll write today. For now, paste the following boilerplate to setup the DAG:
import json
from datetime import datetime
from airflow.models import DAG
from airflow.providers.http.sensors.http import HttpSensor
from airflow.providers.http.operators.http import SimpleHttpOperator
from airflow.operators.python import PythonOperator


with DAG(
    dag_id='api_dag',
    schedule_interval='@daily',
    start_date=datetime(2022, 3, 1),
    catchup=False
) as dag:
The next step is to open the Airflow homepage and go under Admin - Connections. Click on the plus sign to add a new connection, and specify the connection parameters as shown on the image below:
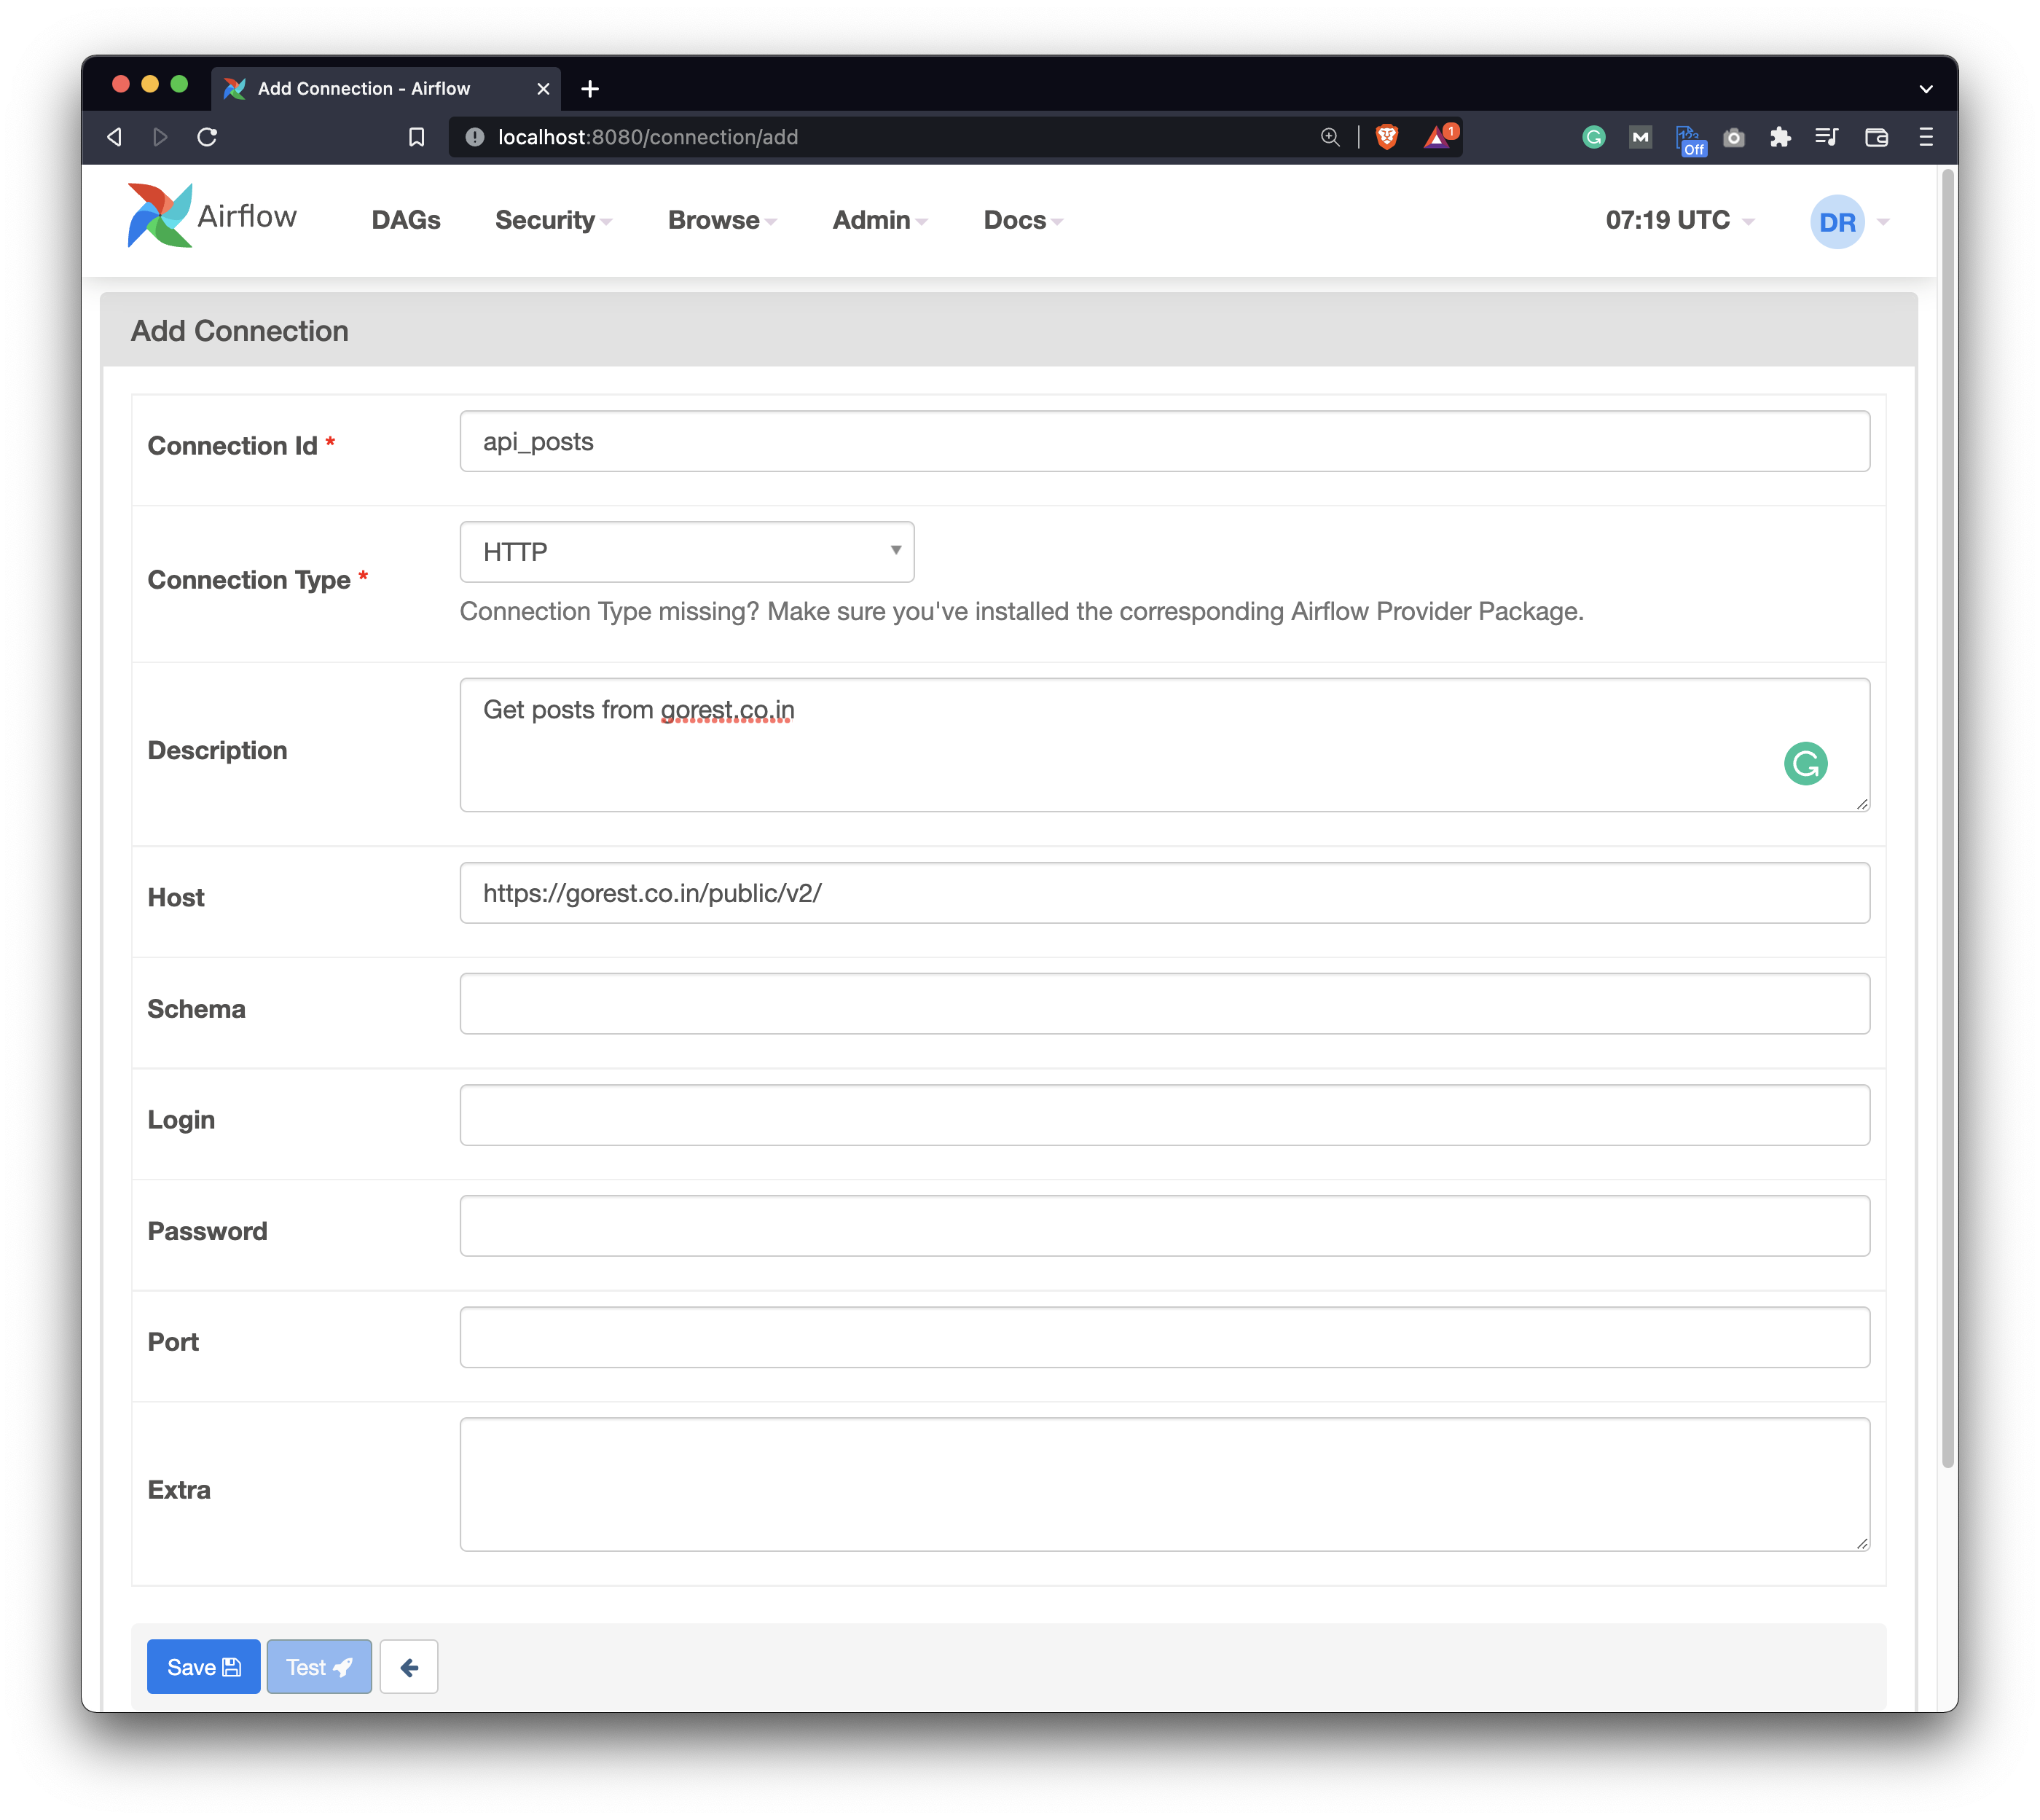
Image 1 - Define the HTTP connection in Airflow (image by author)
The DAG will extract posts JSON data from gorest.co.in website, which serves as a dummy REST API for testing purposes. Feel free to change the connection ID and description, but leave the connection type and host as shown on the image.
You now have everything needed to extract the data, so let’s do that next.
Write the Airflow DAG
A good practice when working with external APIs is to check if they are available first. Sometimes the website you’re connecting to is down, and you should always check for it.
Why? The reason is simple - by dividing the logic into two tasks (one checks if the API is available and the other fetches the data) you can know if the DAG failed because API wasn’t up or because there was an error in your code. Not checking if API is available could result in you searching for bugs in the wrong places.
Use the following code to declare an HttpSensor - it checks if an API declared earlier in the Airflow configuration is running for the given endpoint - posts/:
with DAG(...) as dag:

    # 1. Check if the API is up
    task_is_api_active = HttpSensor(
        task_id='is_api_active',
        http_conn_id='api_posts',
        endpoint='posts/'
    )
That’ll be enough to test the task. Use the following command:
airflow tasks test api_dag is_api_available 2022-3-1
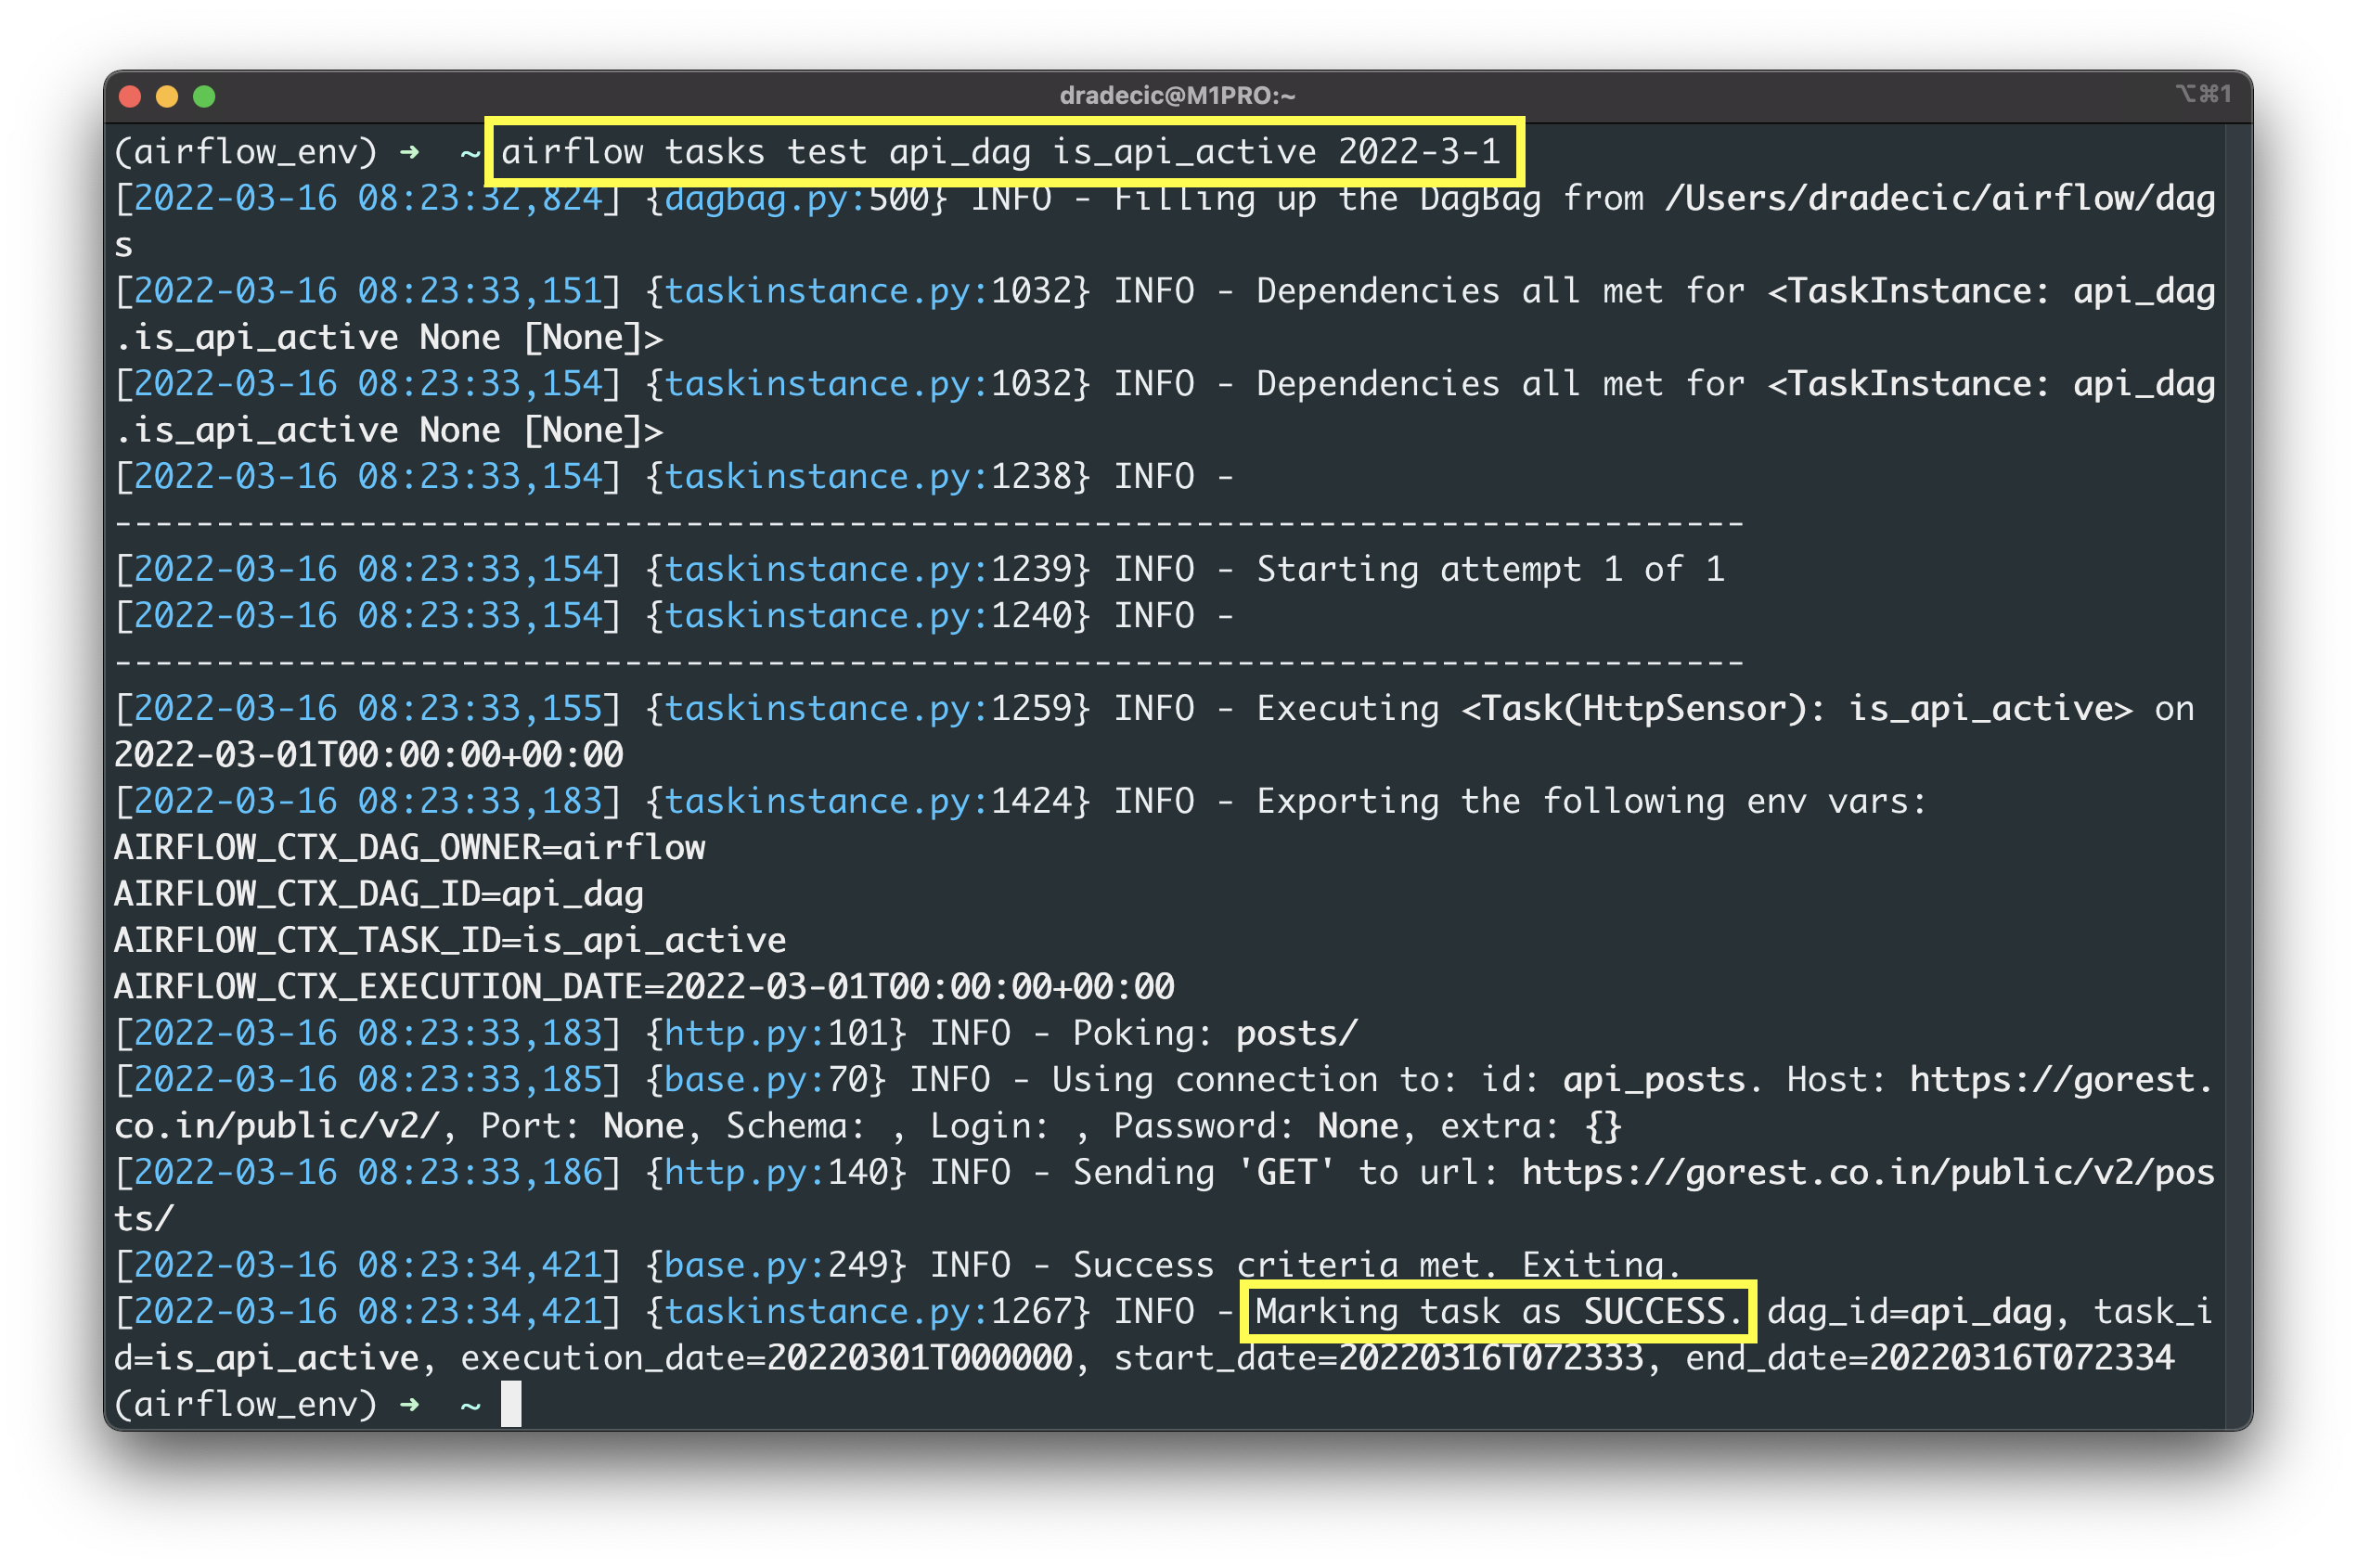
Image 2 - Testing the HttpSensor Airflow task (image by author)
The API is up and running, which means we can extract the data next.
The SimpleHttpOperator takes care of that. It’ll make a GET request to the posts/ endpoint and return the result back as JSON:
with DAG(...) as dag:

    # 1. Check if the API is up
    task_is_api_active = HttpSensor(...)

    # 2. Get the posts
    task_get_posts = SimpleHttpOperator(
        task_id='get_posts',
        http_conn_id='api_posts',
        endpoint='posts/',
        method='GET',
        response_filter=lambda response: json.loads(response.text),
        log_response=True
    )
Let’s test this task as well:
airflow tasks test api_dag get_posts 2022-3-1
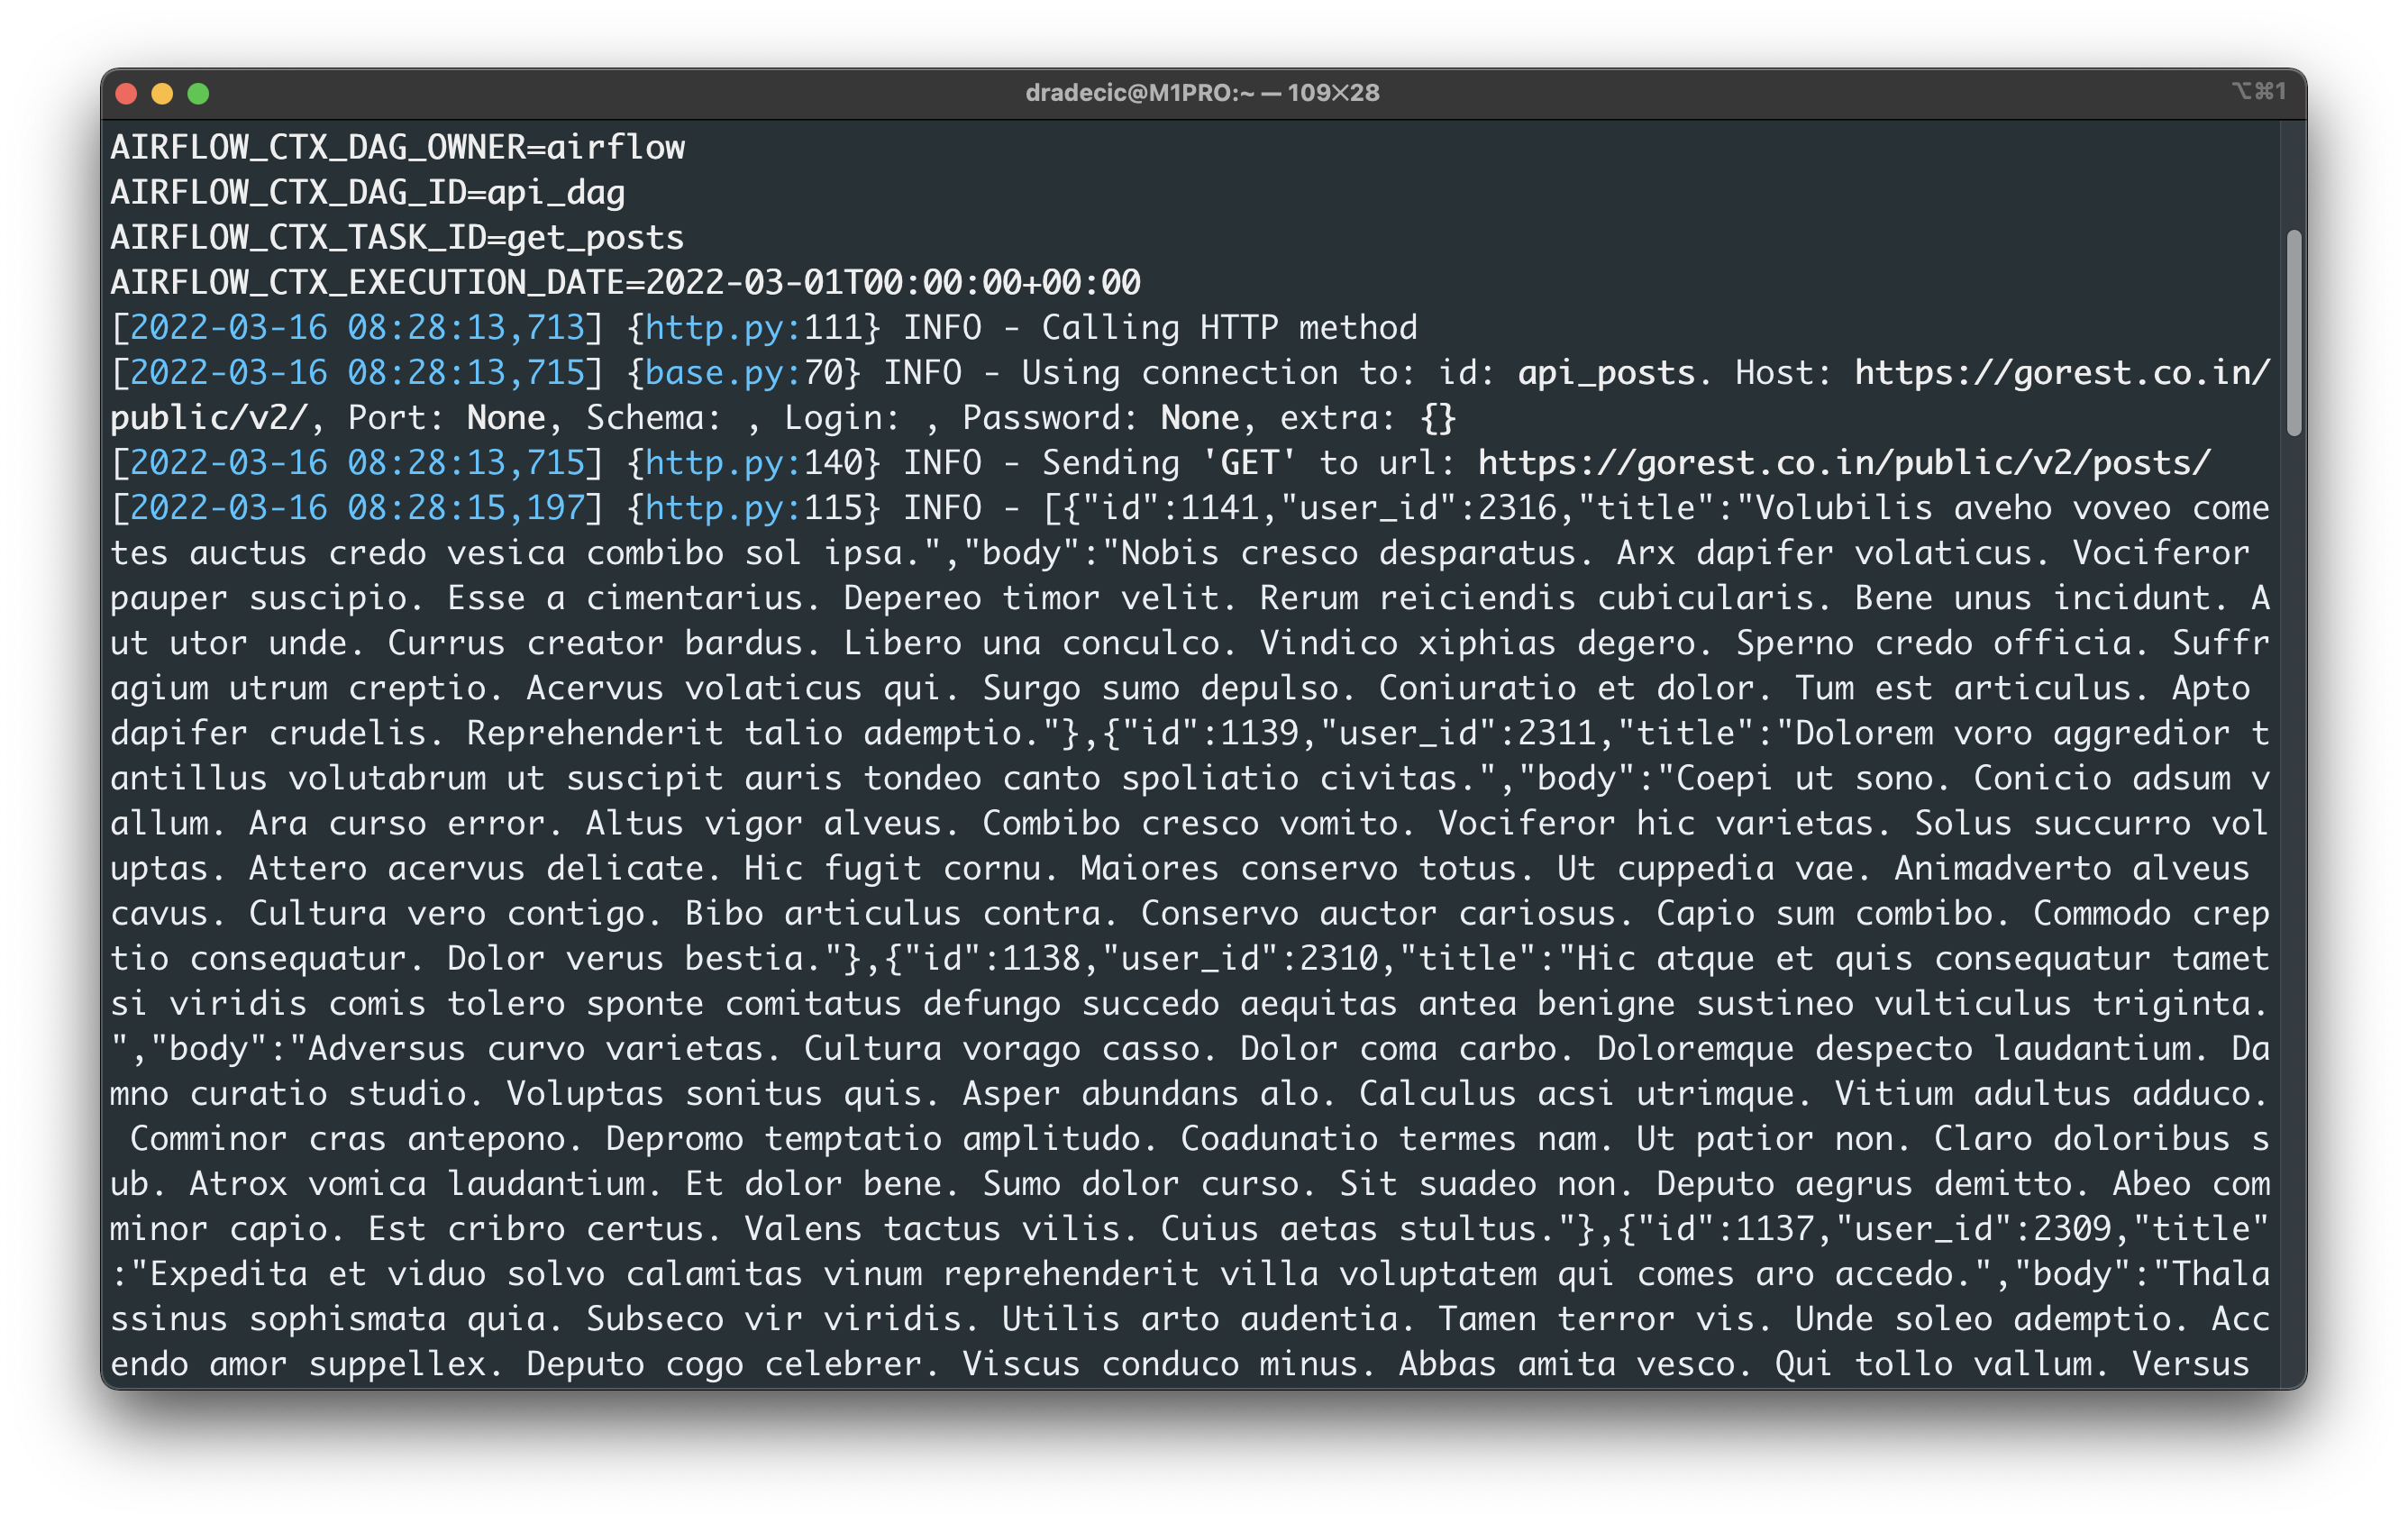
Image 3 - Collecting data from a REST API in Airflow (image by author)
You can see a JSON array with multiple JSON objects, indicating the data was fetched successfully.
How can we access it? That’s the best part - Airflow stores the data in XComs behind the scenes (Admin - XComs):
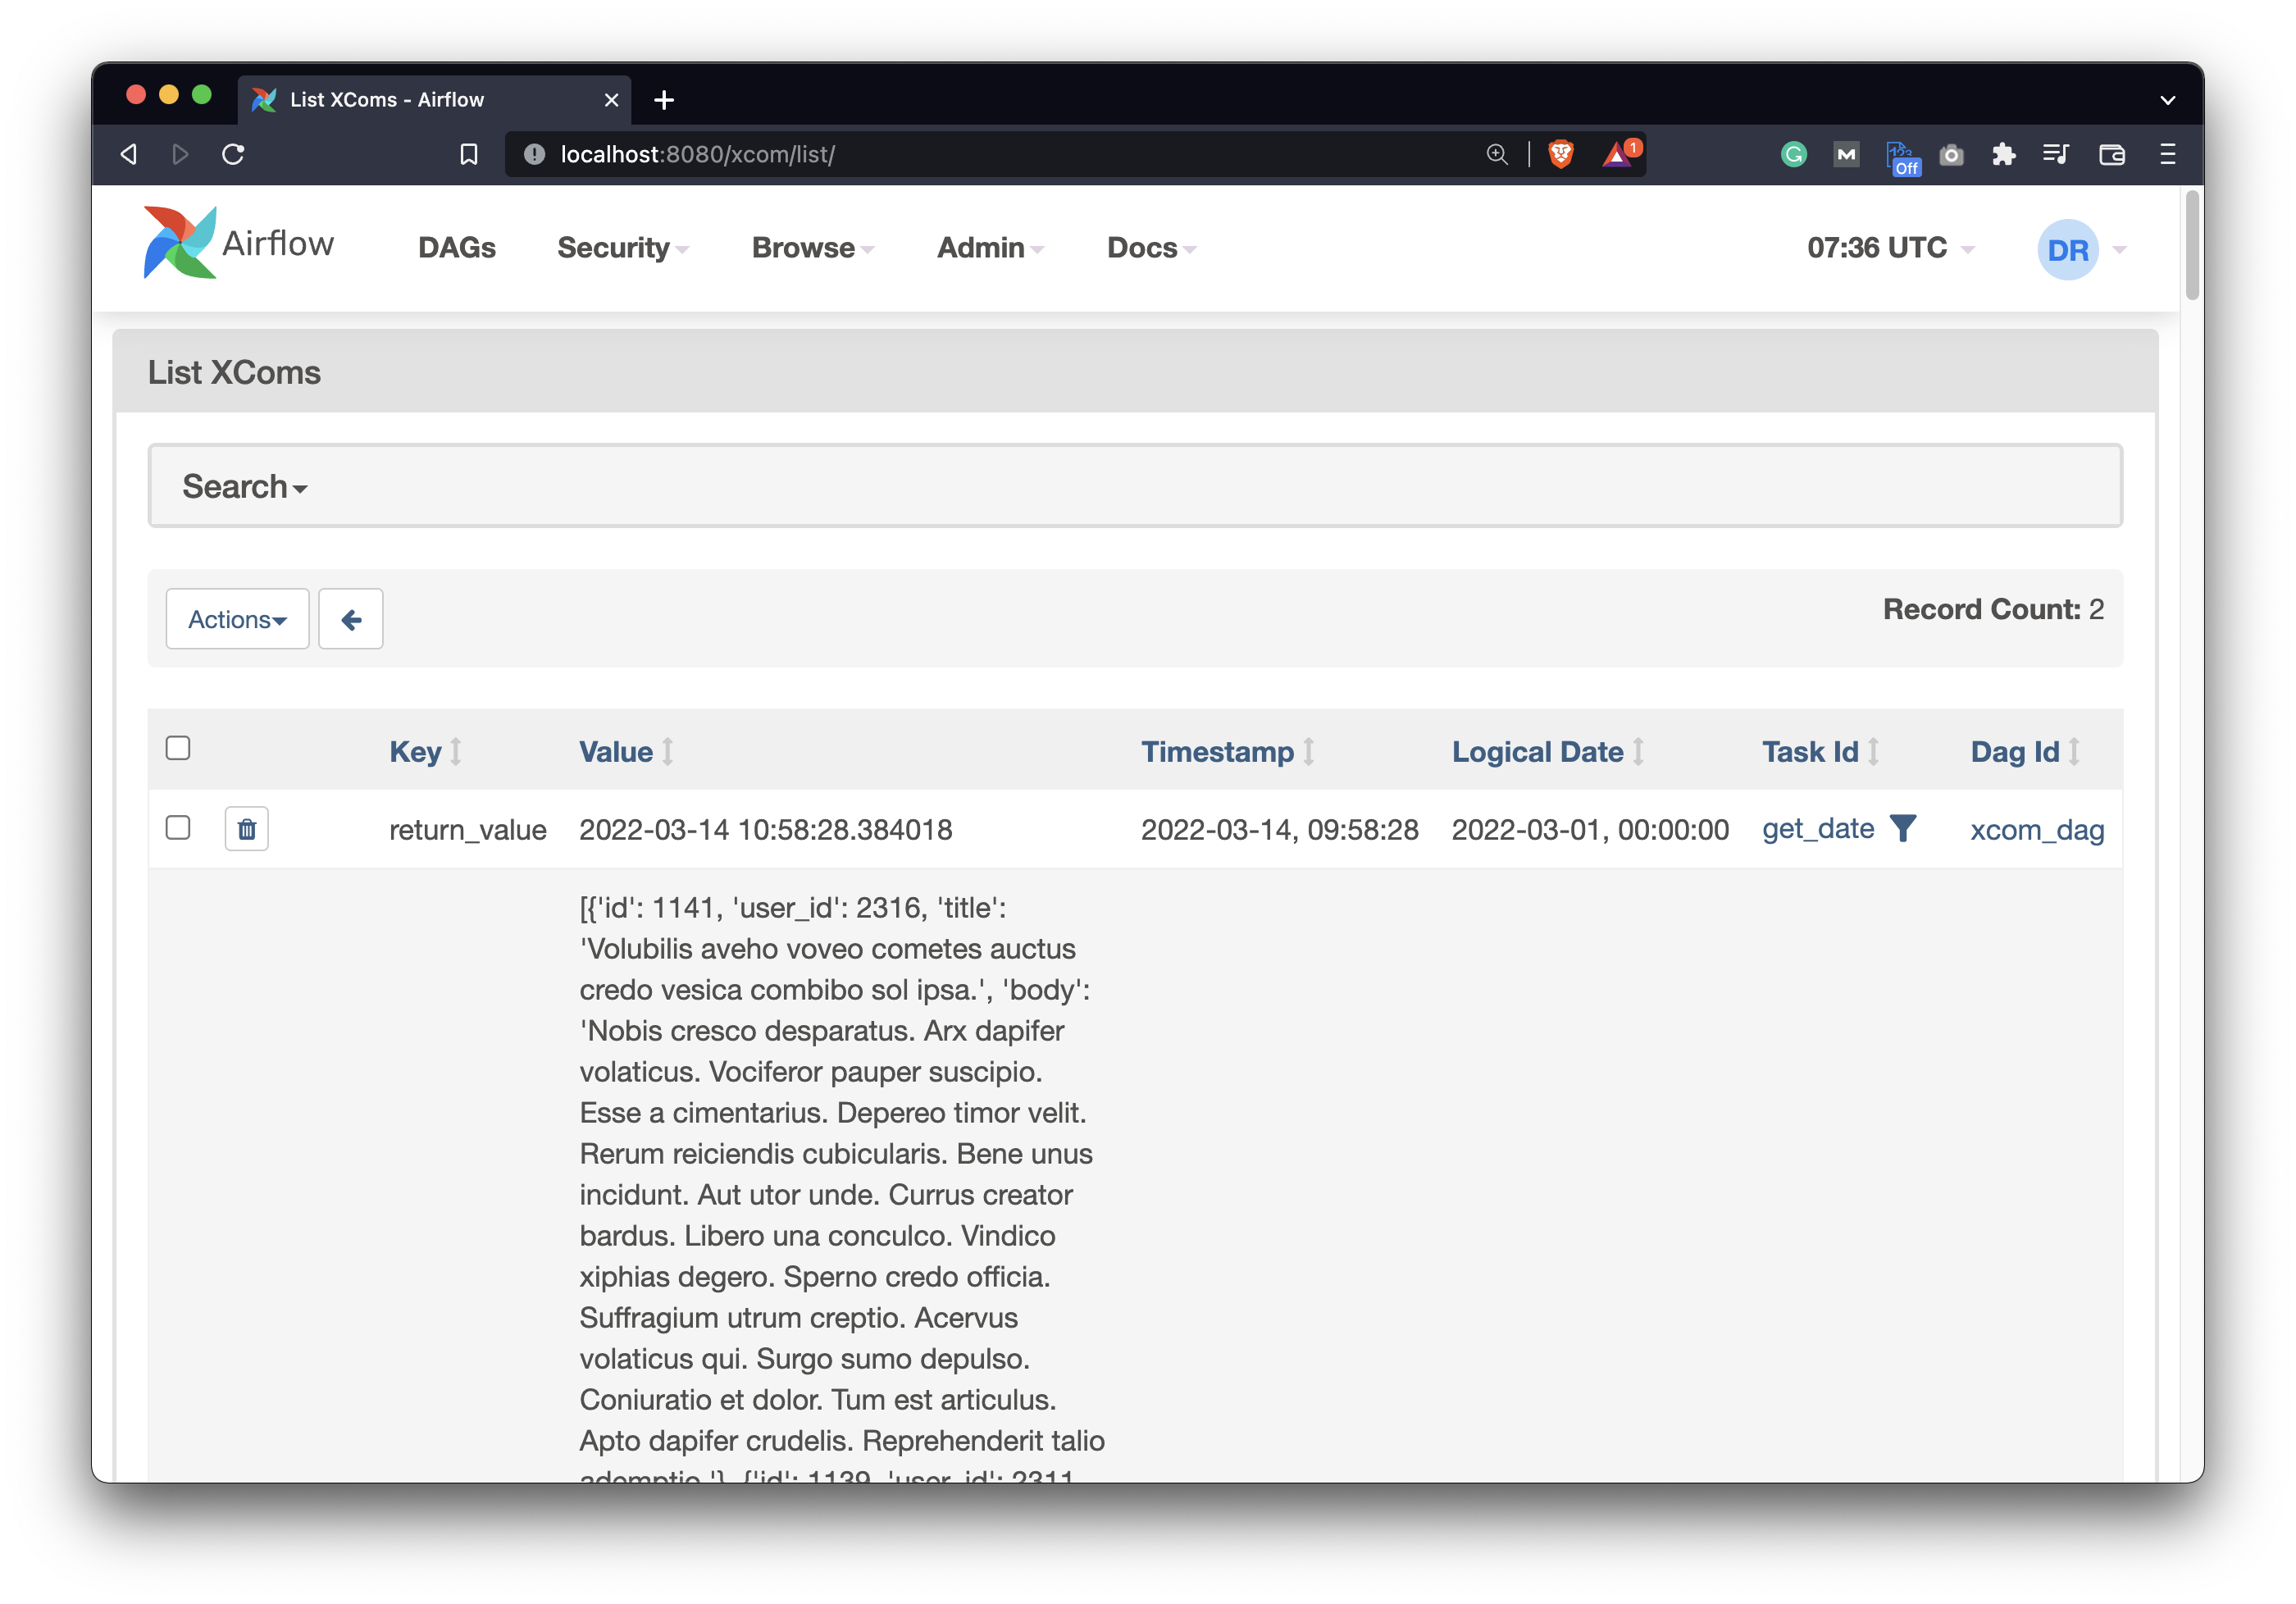
Image 4 - Posts pushed to XComs (image by author)
This means we can now write another task that uses PythonOperator to save the data locally in JSON format. Both the task and function code is displayed below:
import json
...

def save_posts(ti) -> None:
    posts = ti.xcom_pull(task_ids=['get_posts'])
    with open('/Users/dradecic/airflow/data/posts.json', 'w') as f:
        json.dump(posts[0], f)


with DAG(...) as dag:

    # 1. Check if the API is up
    task_is_api_active = HttpSensor(...)

    # 2. Get the posts
    task_get_posts = SimpleHttpOperator(...)

    # 3. Save the posts
    task_save = PythonOperator(
        task_id='save_posts',
        python_callable=save_posts
    )
Use the following shell command to test the task:
airflow tasks test api_dag save_posts 2022-3-1
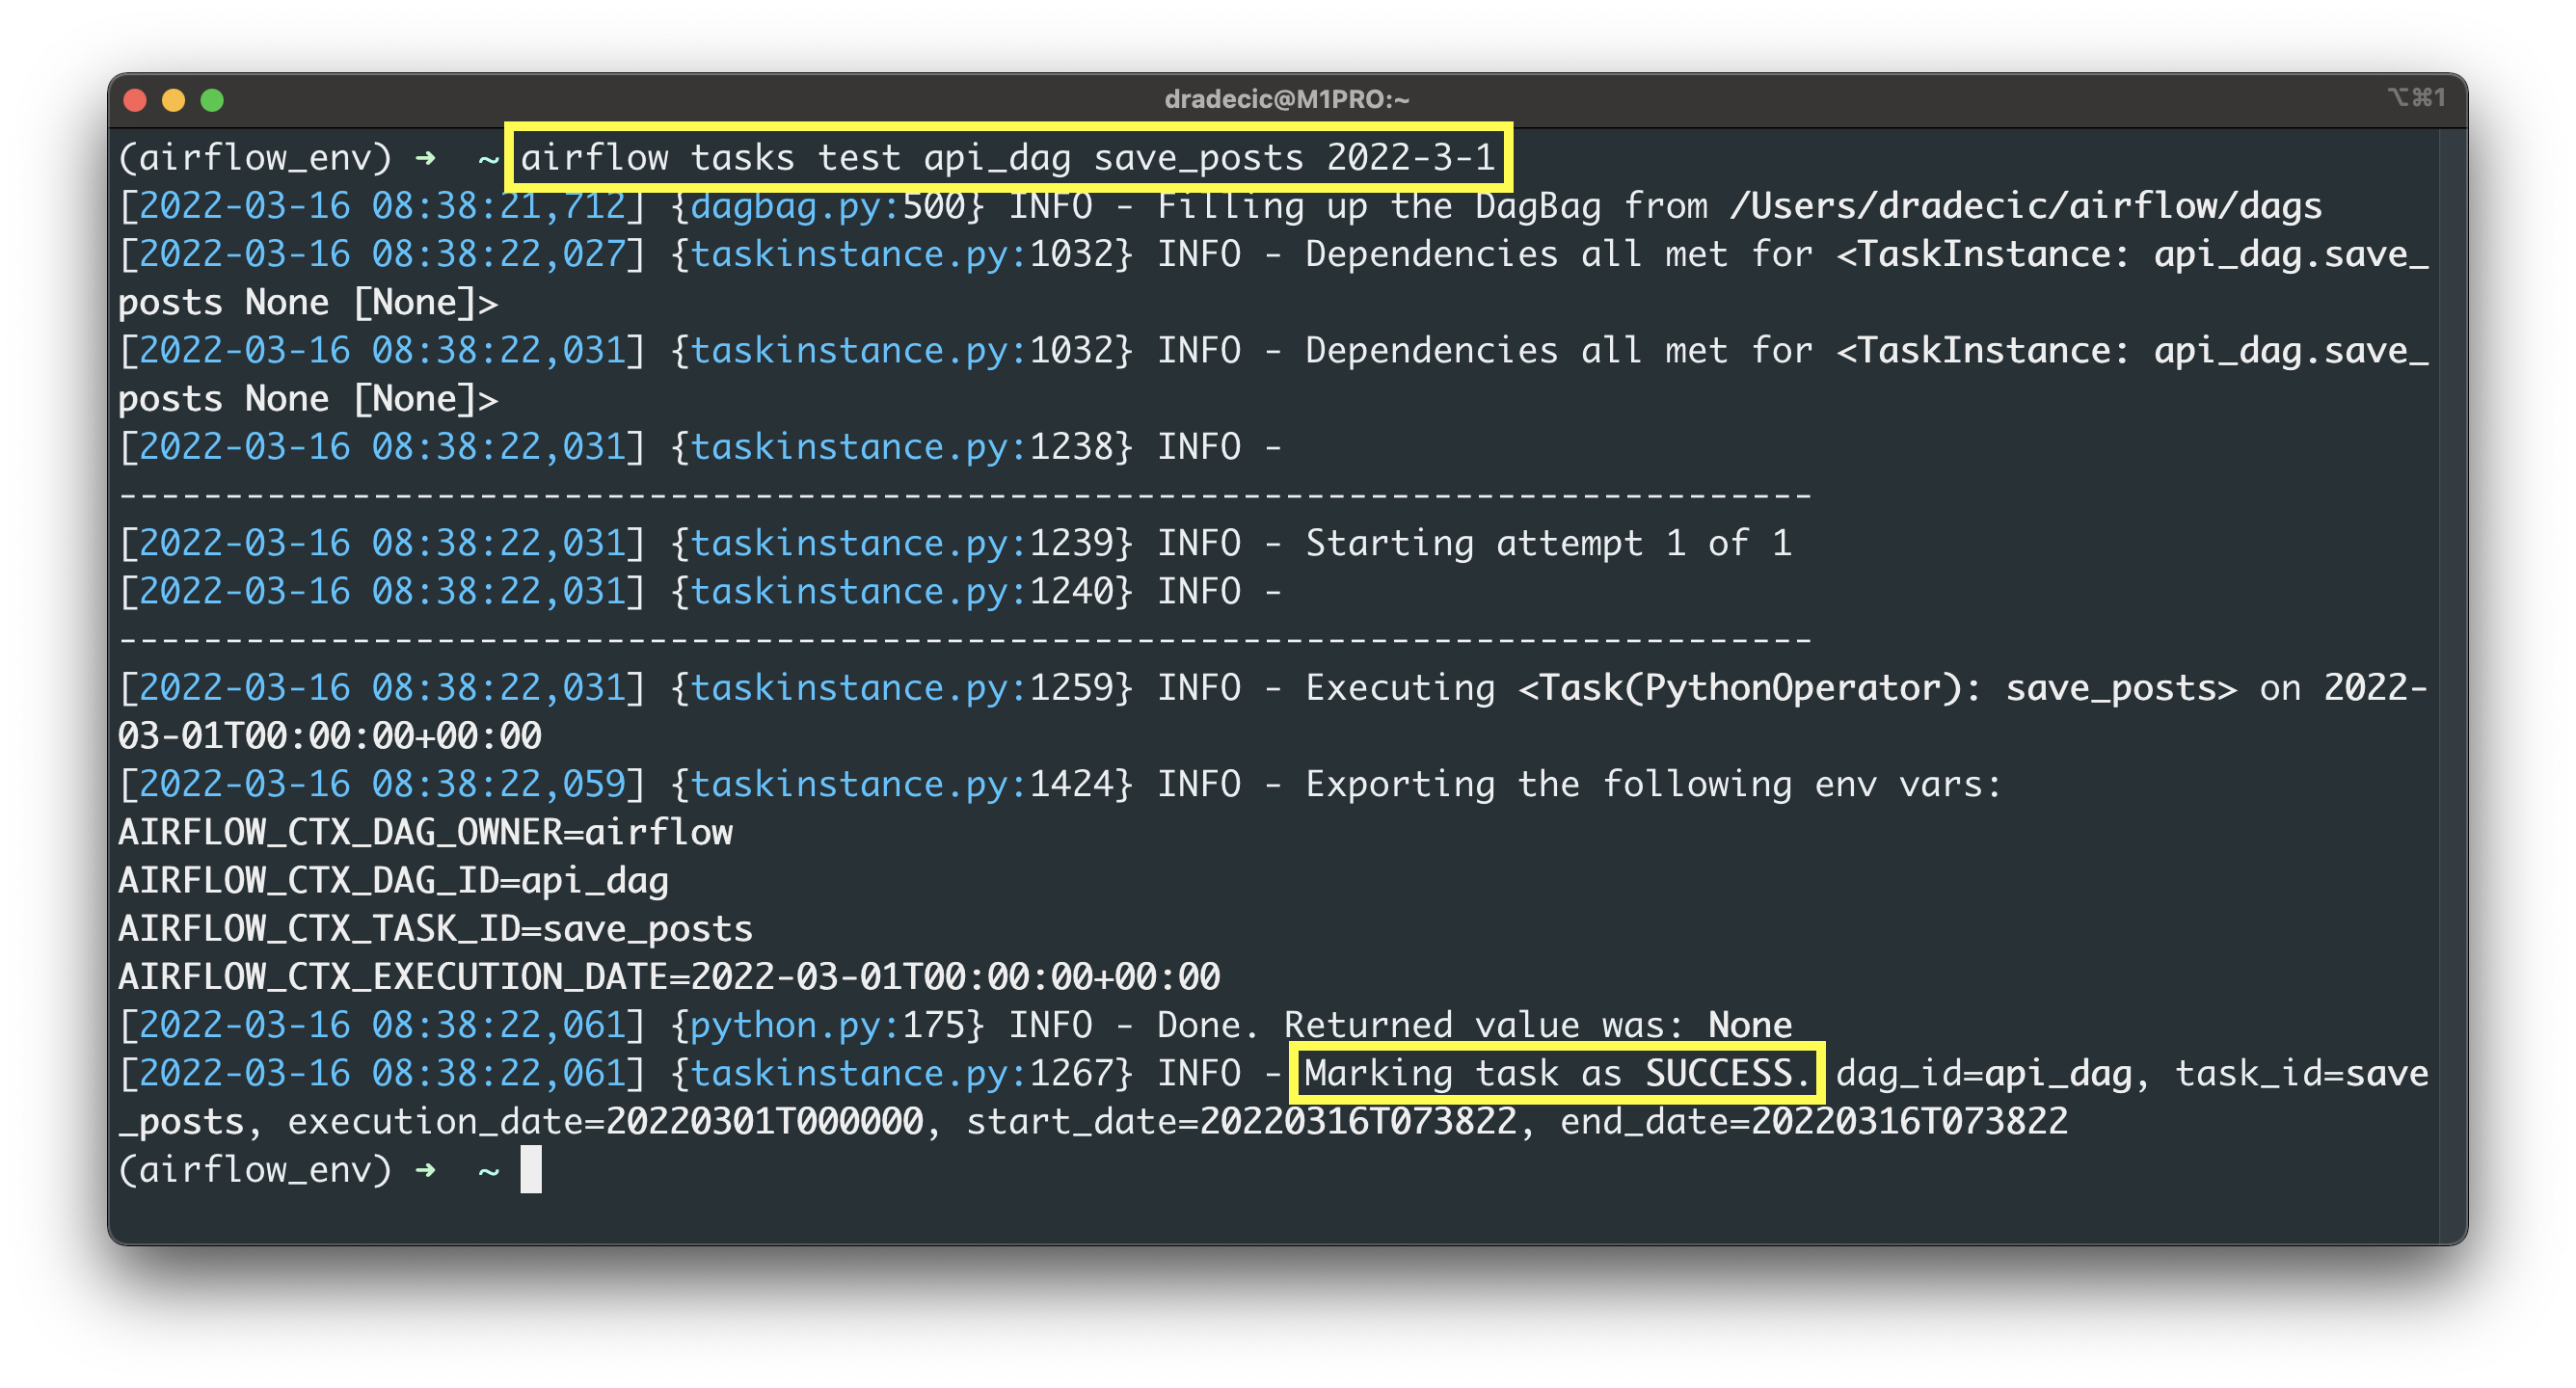
Image 5 - Testing the task for saving posts (image by author)
It looks like everything went well, which means you should see a posts.json file in the data folder. Here’s what it contains:
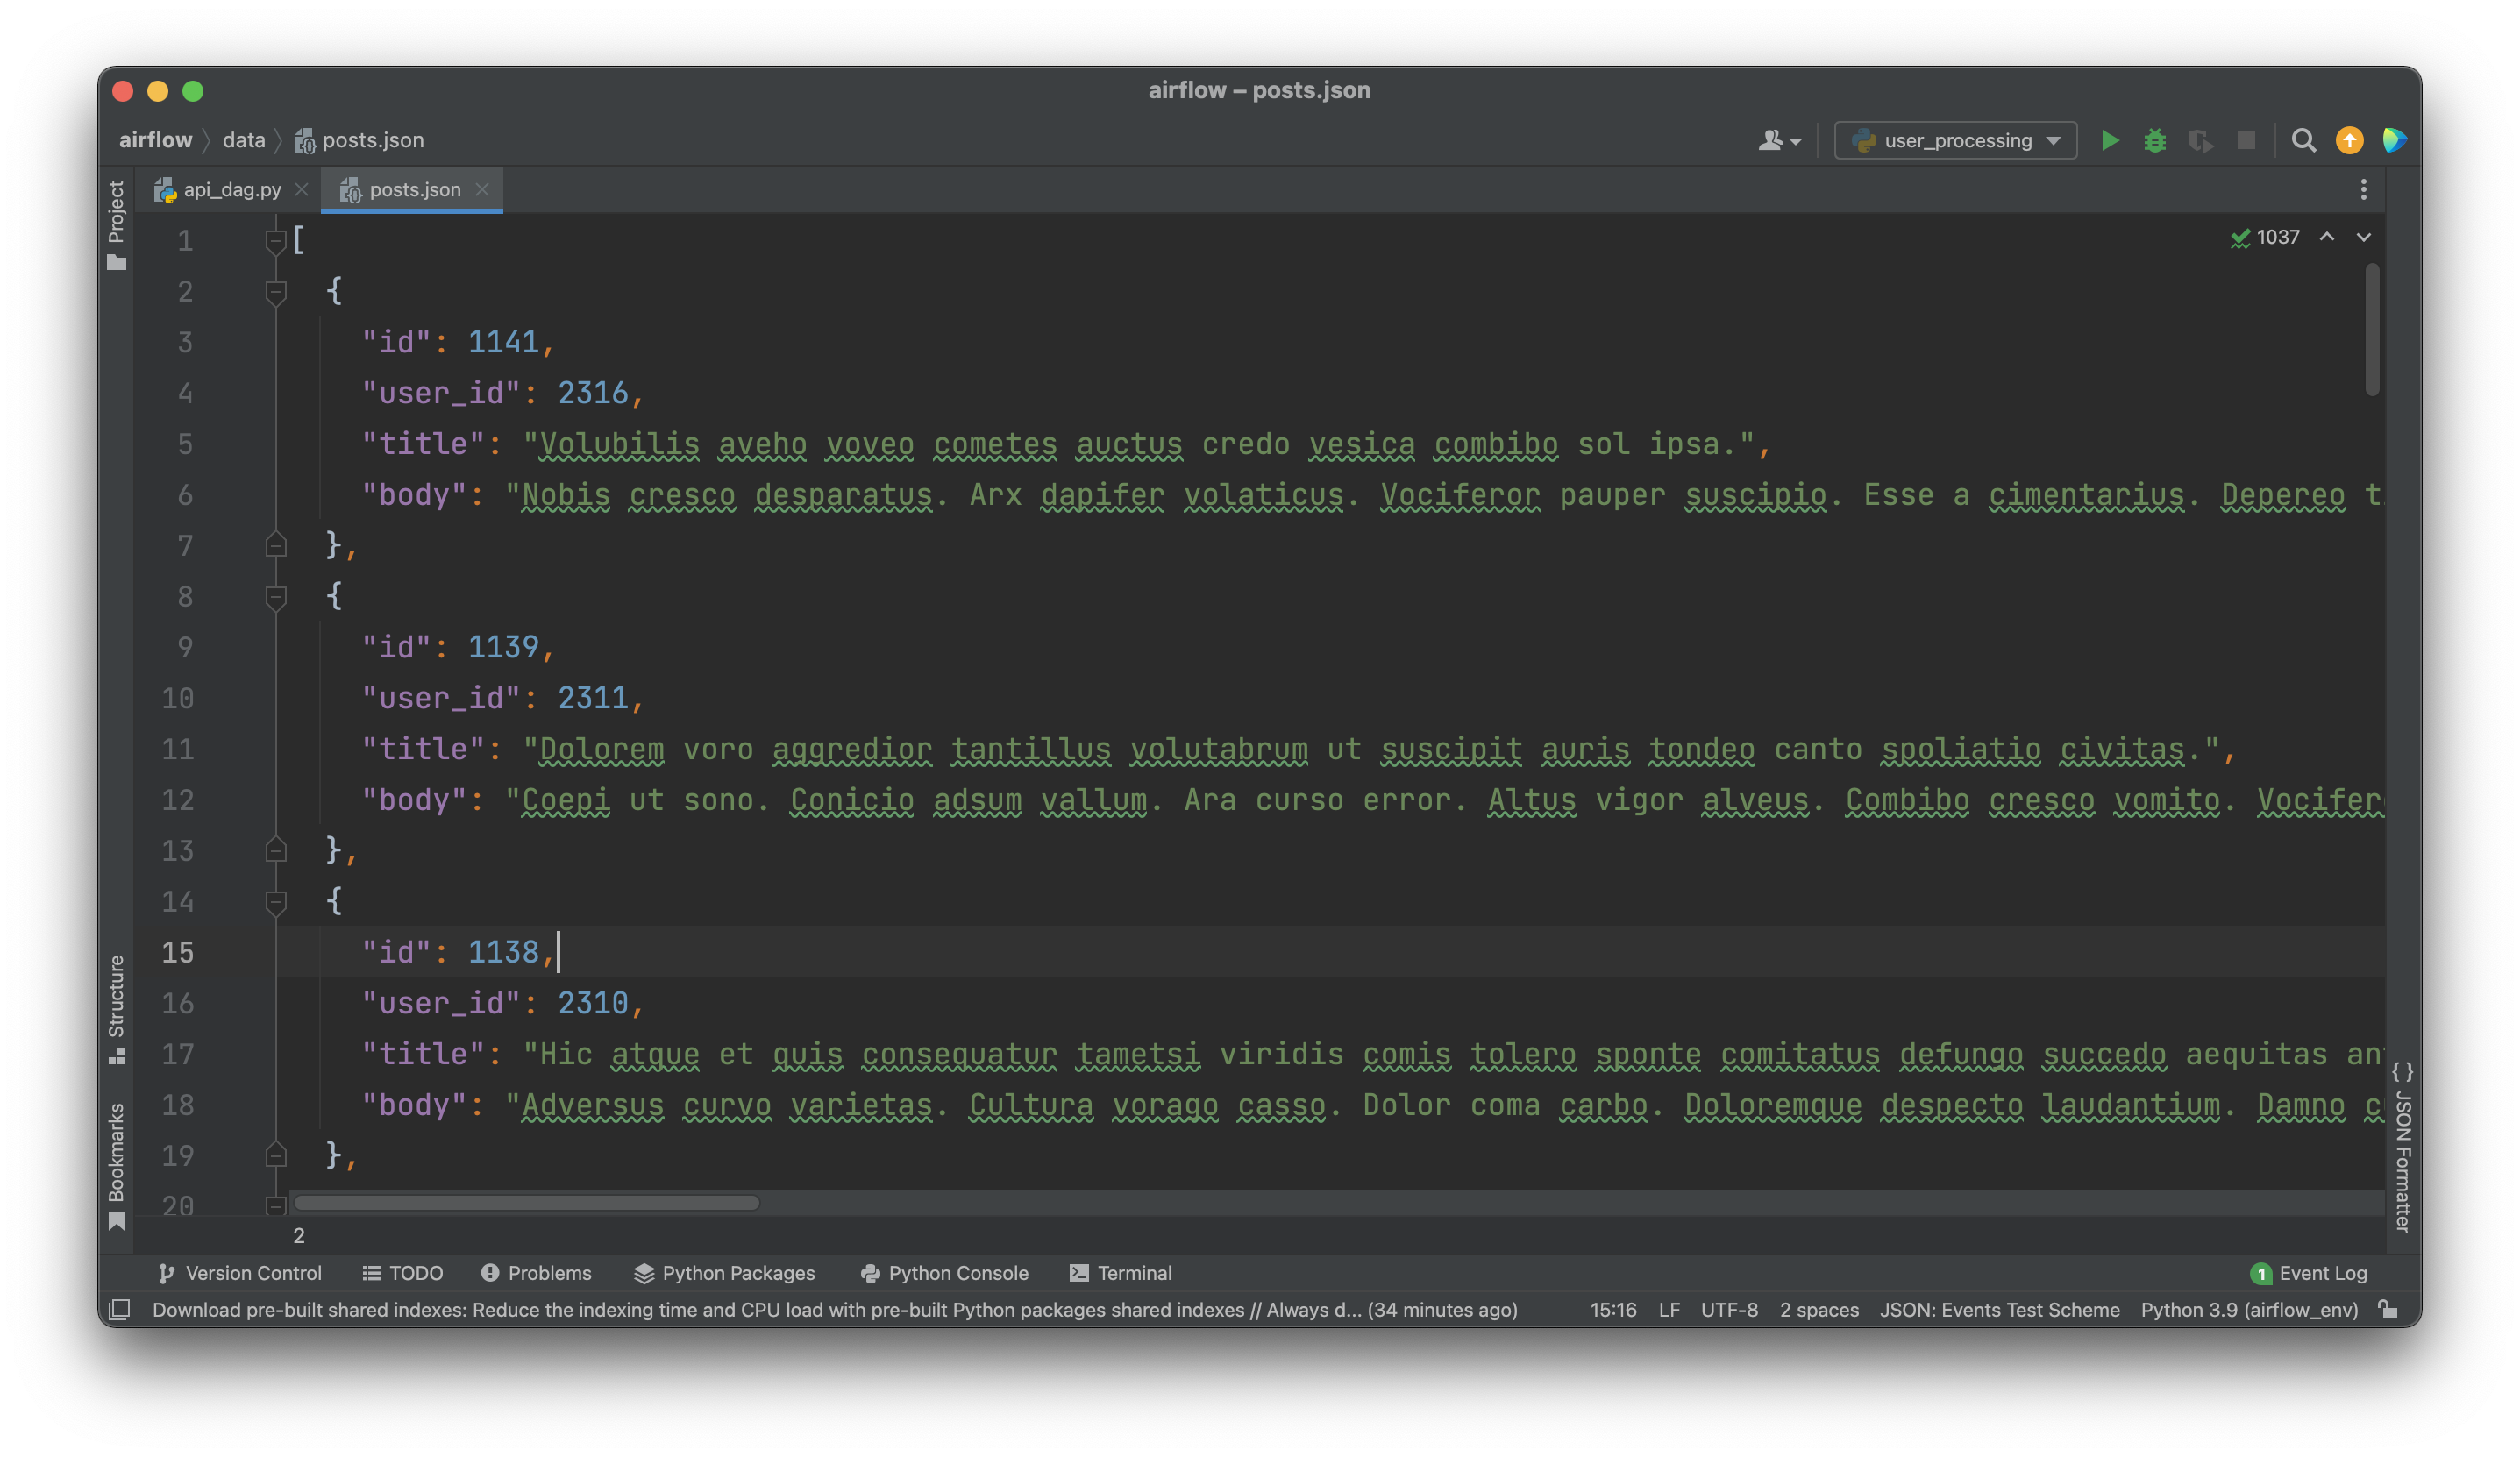
Image 6 - Saved posts in JSON format (image by author)
All of the fetched posts were saved to the JSON file, which means all of our tasks work as advertised. Let’s make a brief summary before wrapping things up.
Conclusion
Today you’ve learned how to communicate with REST APIs in Apache Airflow. The best practice is to check if the API is available first, so you don’t think there’s something wrong with the parsing logic if it isn’t. I’ll leave task dependencies and running the task through the Airflow webserver up to you. You know how to do it by now, and it will come as a good practice.
Stay tuned to the following article in which we’ll discuss Airflow and Amazon S3 connection.
Recommended reads
- 5 Best Books to Learn Data Science Prerequisites (Math, Stats, and Programming)
- Top 5 Books to Learn Data Science in 2022
- How to Install Apache Airflow Locally
Stay connected
- Hire me as a technical writer
- Subscribe on YouTube
- Connect on LinkedIn