Learn to send and receive data between Airflow tasks with XComs
Writing Airflow DAGs and tasks is a ton of fun, but how can you exchange data between them? That’s where XComs (“cross-communications”) come in, which is a mechanism that allows tasks to “talk” to each other.
Today you’ll learn how to push data to Airflow XComs and how to pull it out by writing a DAG made of two tasks. Both will leverage the PythonOperator to do some pretty basic stuff. You’ll also learn when you shouldn’t use XComs, and what are its limitations.
Don’t feel like reading? Watch my video instead:
How to Push a Value to Airflow XComs
Let’s start with pushing a value to Airflow XComs. This can be done in multiple ways, but by far the most explicit one is by specifying the do_xcom_push=True as a task parameter.
First, we’ll write a boilerplate that takes care of the library imports and declares the Airflow DAG:
from datetime import datetime
from airflow.models import DAG
from airflow.operators.python import PythonOperator


with DAG(
    dag_id='xcom_dag',
    schedule_interval='@daily',
    start_date=datetime(2022, 3, 1),
    catchup=False
) as dag:
    pass
Onto the task now. The task_get_date task will call a Python function get_date() and push its return value to Airflow’s XComs. The function just returns the date formatted as a string:
from datetime import datetime
from airflow.models import DAG
from airflow.operators.python import PythonOperator


def get_date() -> str:
    return str(datetime.now())


with DAG(
    dag_id='xcom_dag',
    schedule_interval='@daily',
    start_date=datetime(2022, 3, 1),
    catchup=False
) as dag:

    task_get_date = PythonOperator(
        task_id='get_date',
        python_callable=get_date,
        do_xcom_push=True
    )
We can verify everything works as advertised by testing the task through the Terminal:
airflow tasks test xcom_dag get_date 2022-3-1
The task was marked as a success, and the date was returned:
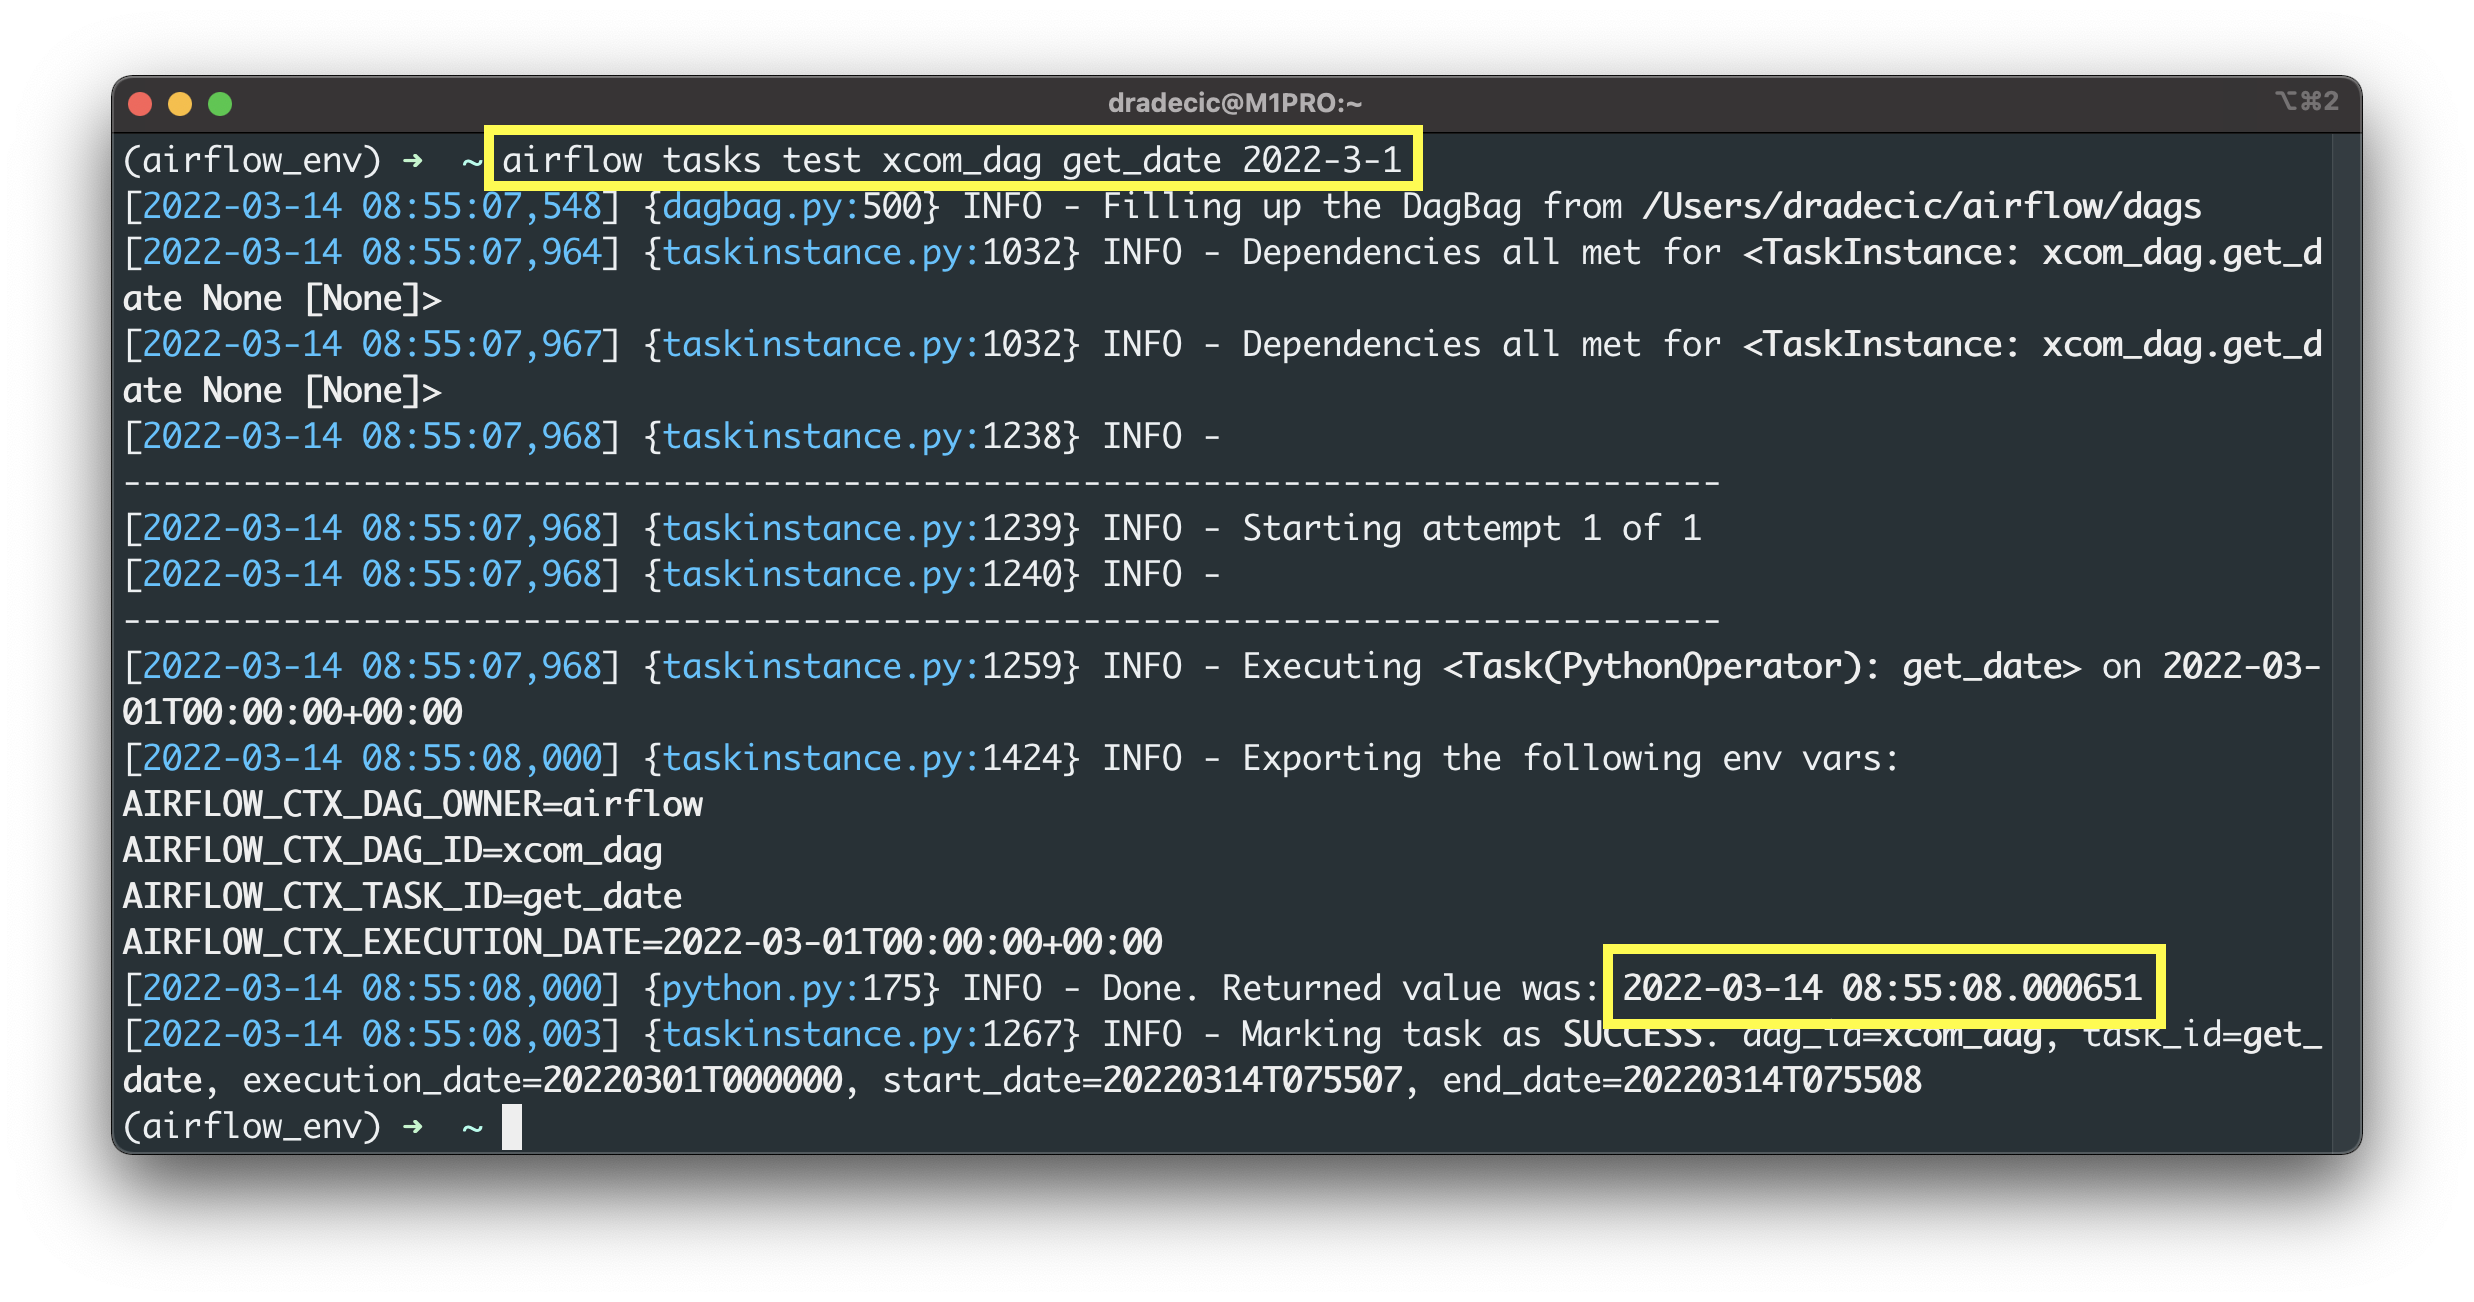
Image 1 - Testing an Airflow task through Terminal (image by author)
There are two ways to test if the value was pushed to Airflow’s XComs. The first one is by issuing a SQL statement in Airflow’s metadata database. The second, much easier method is by opening Airflow’s homepage and going to Admin - XComs:
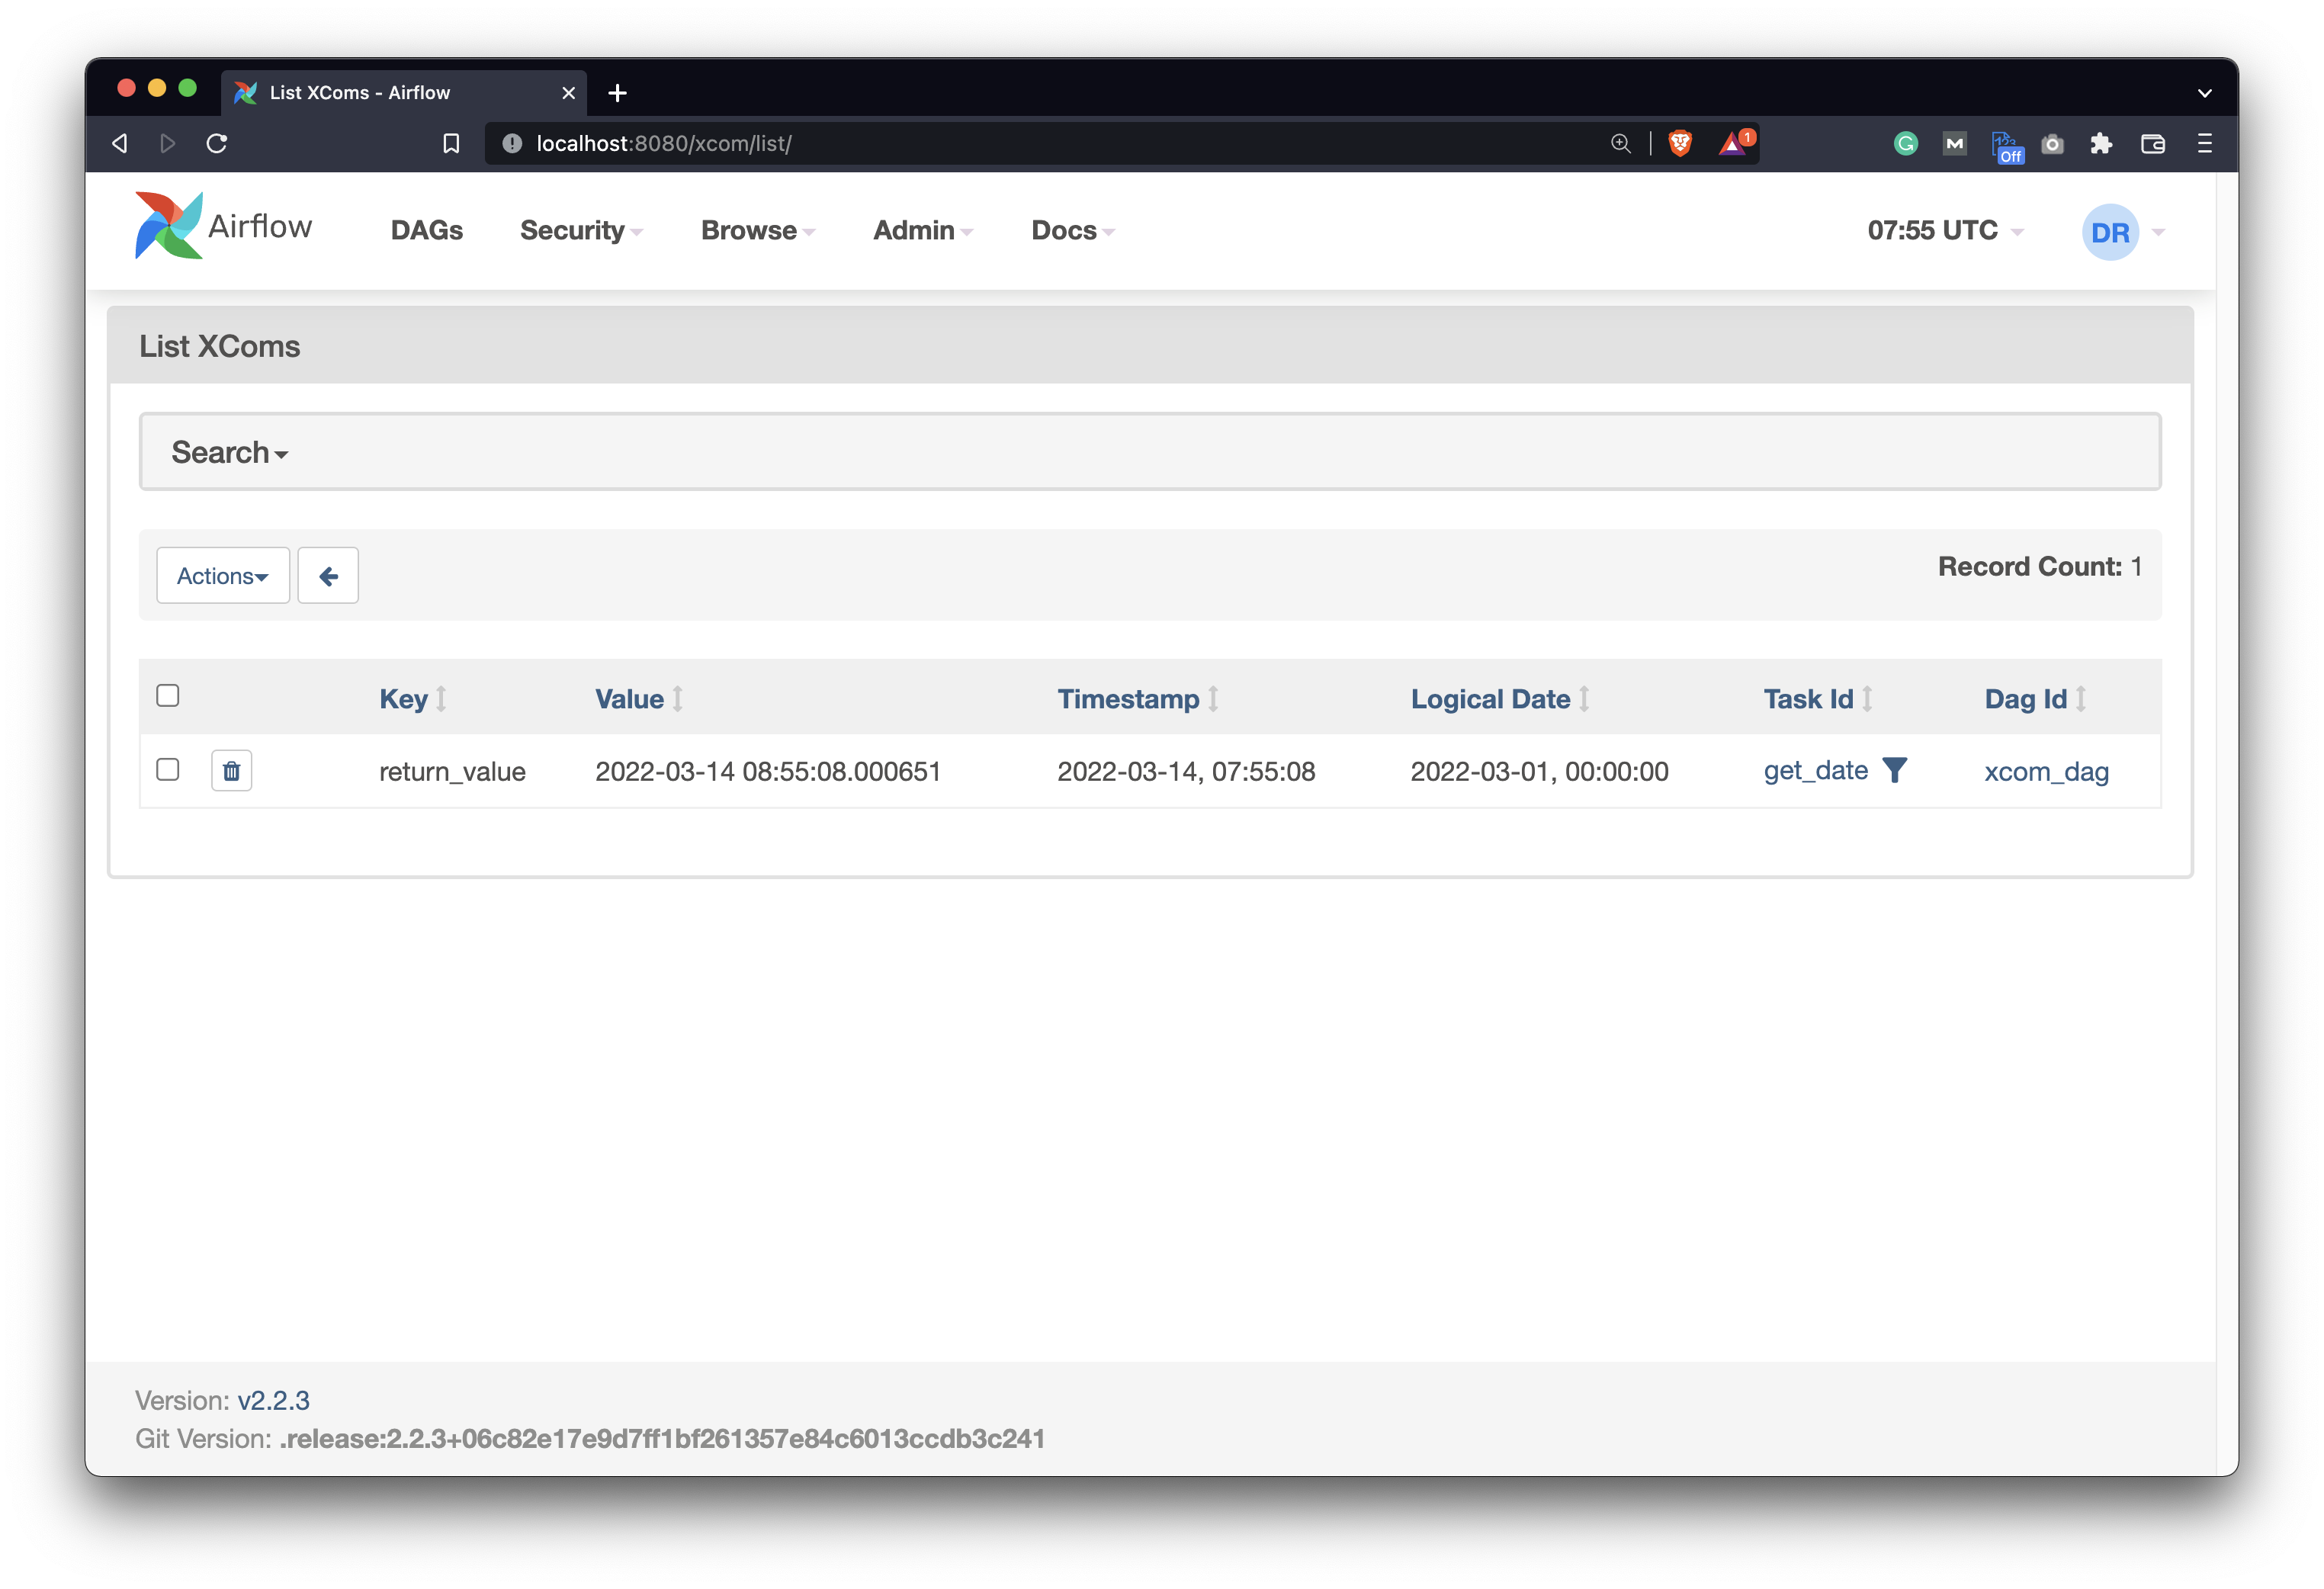
Image 2 - Pushed XCom on Airflow backend (image by author)
You can see the returned value stored in XComs. The question remains - how to get it out?
How to Get the XCom Value through Airflow
We’ll now write yet another task - task_save_date - which calls the save_date() Python function. Things are a bit different this time, and here’s what you should remember:
- Specify the
tiargument - It stands for task instance, and allows you to pull values stored in Airflow XComs. - The
xcom_pull()method - It’s used to pull a list of return values from one or multiple Airflow tasks. Note the plural of the first argument. Specify a list of task IDs from which you want to fetch values stored in XComs. - It’s a list - Access the members of the pulled values with Python’s list indexing notation.
Here’s the code for the task and for the function:
from datetime import datetime
from airflow.models import DAG
from airflow.operators.python import PythonOperator


def get_date() -> str:
    ...


def save_date(ti) -> None:
    dt = ti.xcom_pull(task_ids=['get_date'])
    if not dt:
        raise ValueError('No value currently stored in XComs.')

    with open('/Users/dradecic/airflow/data/date.txt', 'w') as f:
        f.write(dt[0])


with DAG(
    ...
) as dag:

    task_get_date = PythonOperator(
        ...
    )

    task_save_date = PythonOperator(
        task_id='save_date',
        python_callable=save_date
    )
Let’s now test it:
airflow tasks test xcom_dag save_date 2022-3-1
As you can see, no exception is raised:

Image 3 - Testing an Airflow task through Terminal (2) (image by author)
Assuming everything went well, you’ll see a new date.txt file created. Here’s what it looks like on my end:
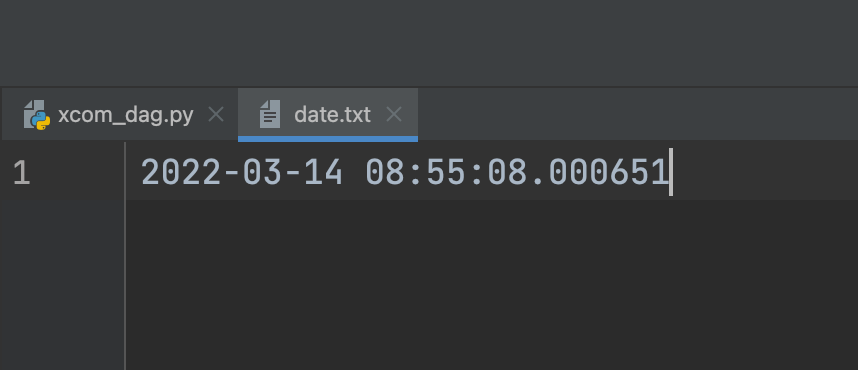
Image 4 - Saved value (image by author)
And that’s how you can communicate between Airflow tasks with XComs. Are there any limitations you should be aware of? Let’s cover these next.
Airflow XComs - Limitations
XComs might seem like a be-all-end-all solution to communicate between tasks in Airflow, but there are some limitations you should know. Airflow is not a data processing framework, so avoid sending huge Pandas DataFrames between tasks.
You’re likely to run into memory issues if you try to exchange large datasets between the tasks. Process big datasets in Spark, and use Airflow only to trigger a Spark job.
At the end of the day, Airflow is an orchestrator, and it should be used for that purpose only.
Conclusion
Today you’ve learned the basics of Airflow XComs. You now have everything needed to effectively communicate between tasks in your DAGs. Just remember that Airflow isn’t a data processing framework, but a data orchestrator instead. Don’t use XComs to exchange huge datasets and you’re good to go.
In the following article, you’ll learn the right way of communicating with REST APIs in Airflow, with HttpSensor and HttpOperator. Stay tuned for that, and I’ll make sure to publish the article in a couple of days.
Recommended reads
- 5 Best Books to Learn Data Science Prerequisites (Math, Stats, and Programming)
- Top 5 Books to Learn Data Science in 2022
- How to Install Apache Airflow Locally
Stay connected
- Hire me as a technical writer
- Subscribe on YouTube
- Connect on LinkedIn