Want to include only the libraries you use in requirements.txt? Try pipreqs, a Python module for creating leaner requirements files.
Every Python project should have a requirements.txt file. It stores the information of all libraries needed for a project to run, and is essential when deploying Python projects. This is traditionally done via the pip freeze command, which outputs all libraries installed in a virtual environment.
But what if you want only the ones used in the project? That’s where pipreqs comes into play. It does the same thing as pip freeze, but better.
Picture this - you create a new virtual environment and install a bunch of dependencies. During the project, you decide not to use some libraries, but you forget to delete them from the environment. A requirements.txt file generated with pip freeze will include both used and unused libraries, which is just a waste of resources.
There’s a better way, and today you’ll learn all about it.
Don’t feel like reading? Well, you don’t have to:
How to Use Python Pipreqs to Create requirements.txt File
Let’s get to it. I’ve created a new virtual environment with Anaconda called pipreqs_test based on Python 3.10. You’re free to use Anaconda or any other environment manager:
conda create --name pipreqs_test python=3.10 -y
conda activate pipreqs_test
From here, let’s install a bunch of Python libraries with pip:
pip install numpy pandas matplotlib seaborn statsmodels plotly scikit-learn
Here’s the shell output:
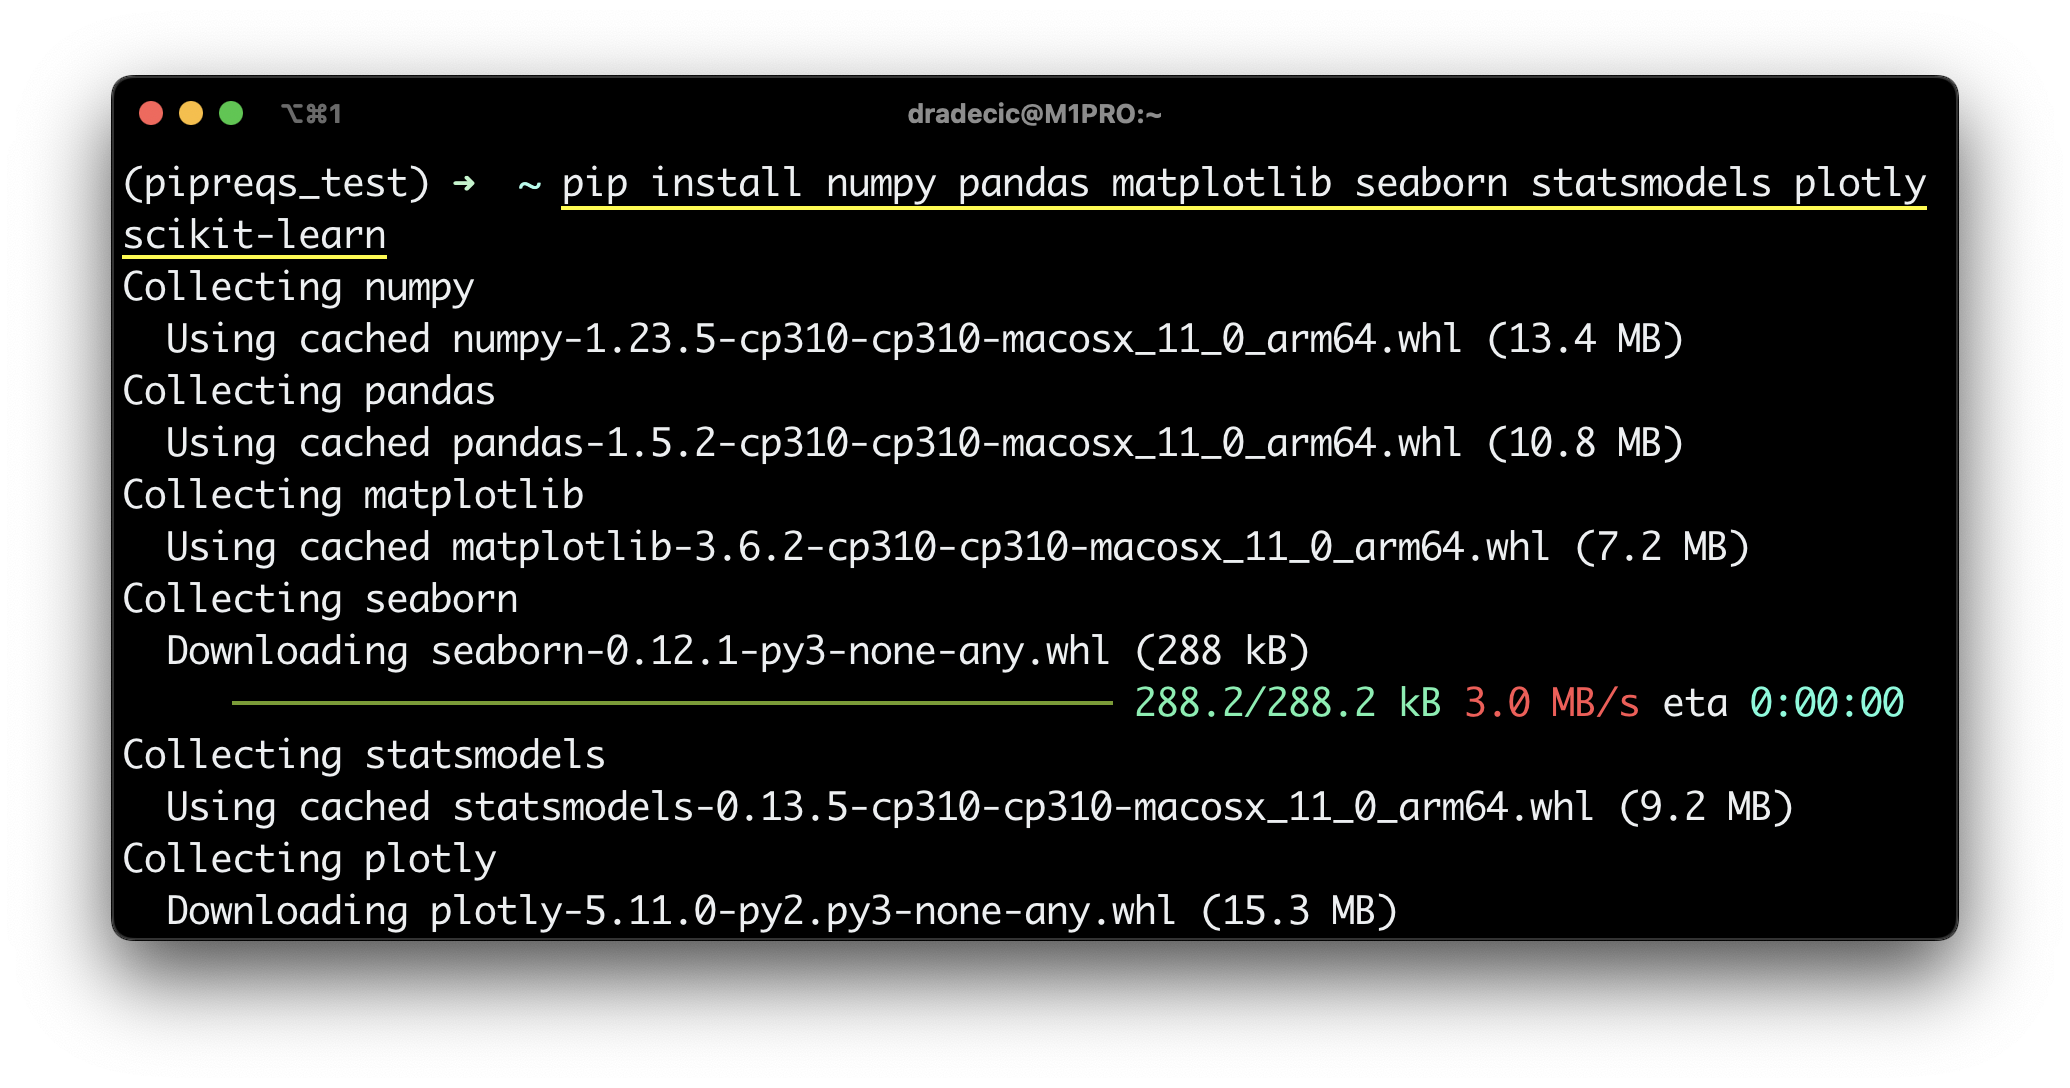
Image 1 - Installing Python libraries with pip (image by author)
And now, create a Python script that only uses Numpy and Pandas:
import numpy as np
import pandas as pd


arr = np.array([1, 2, 3])
df = pd.DataFrame({'x': [1, 2, 3], 'y': [4, 5, 6]})
I’ve named mine script.py:
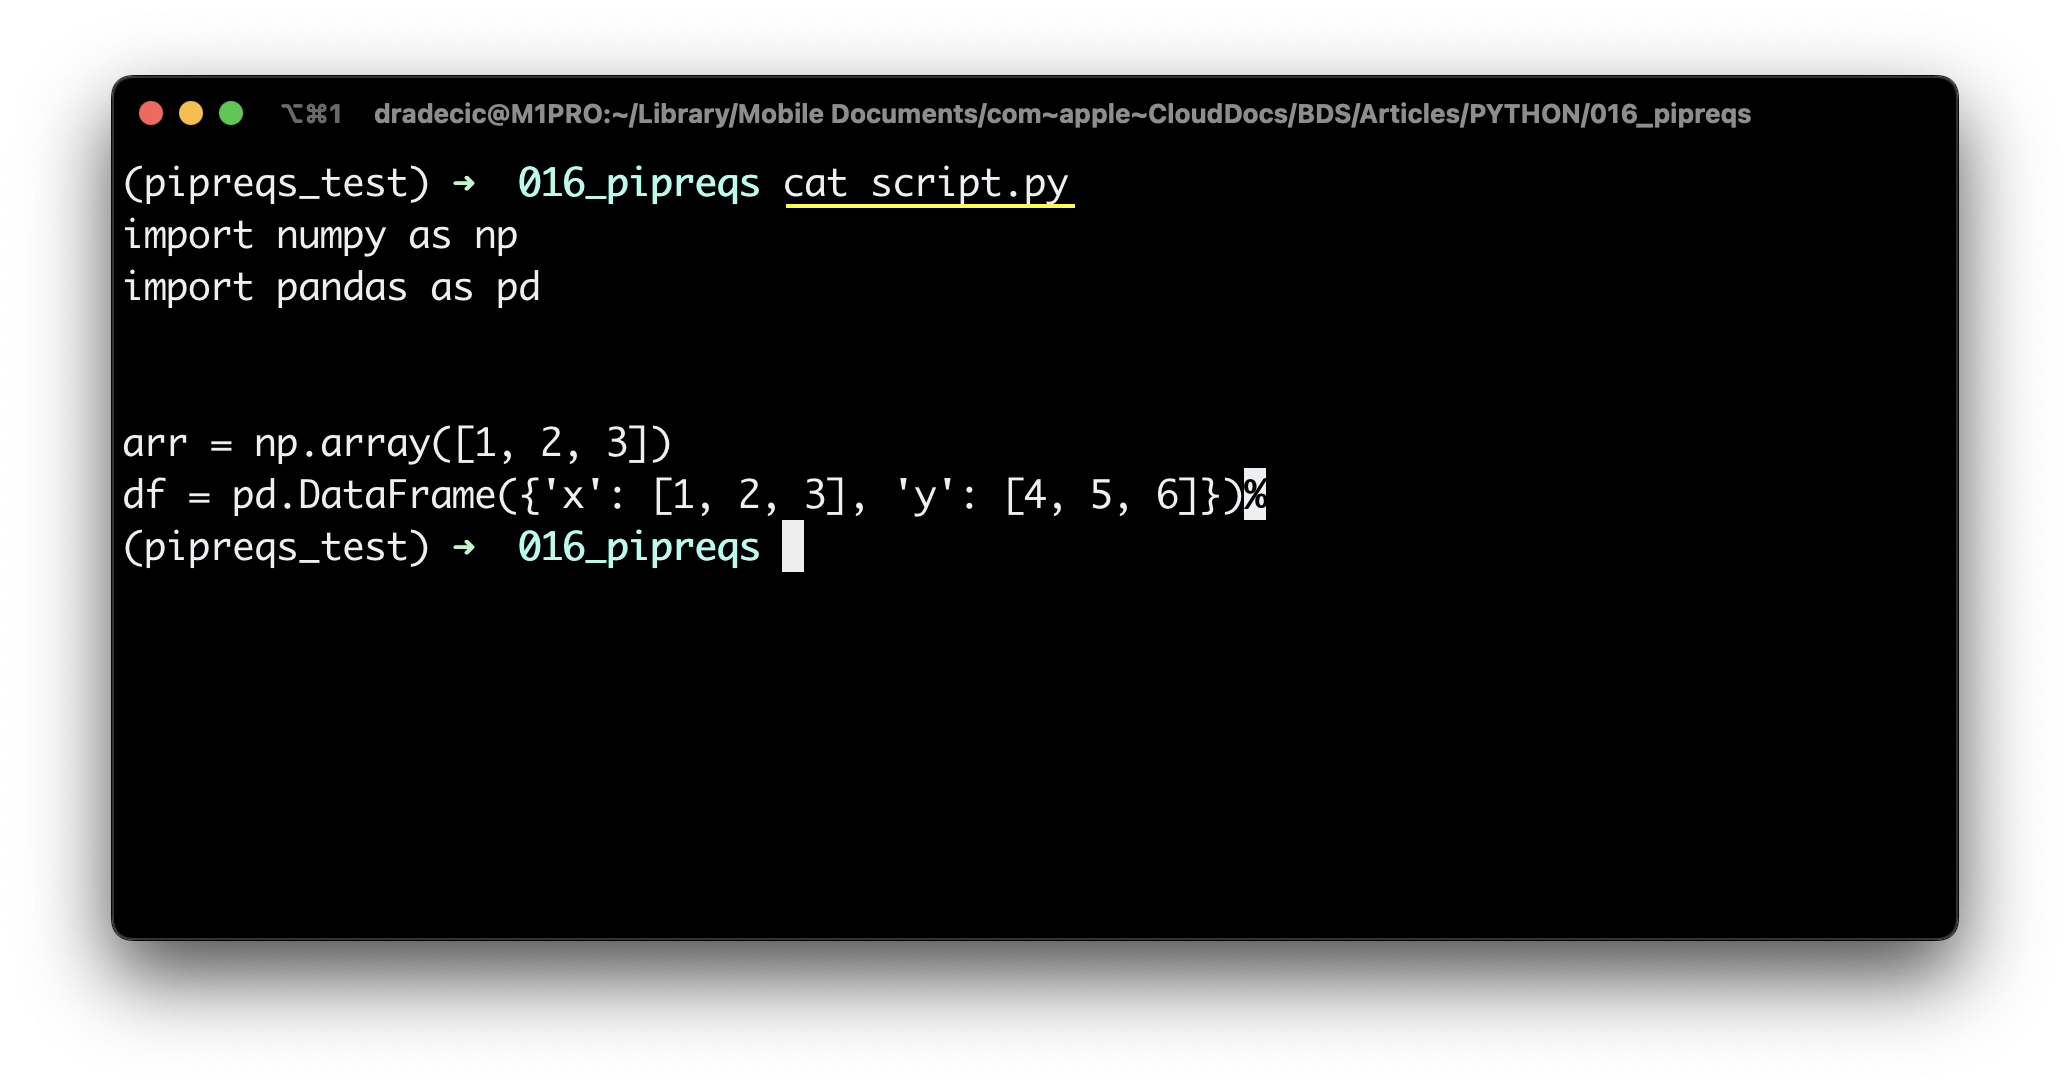
Image 2 - Contents of a Python file (image by author)
Let’s first see what issuing a pip freeze command will save into the requirements file:
pip freeze > requirements.txt
As it turns out, a whole lot of libraries - both used and unused with their dependencies:
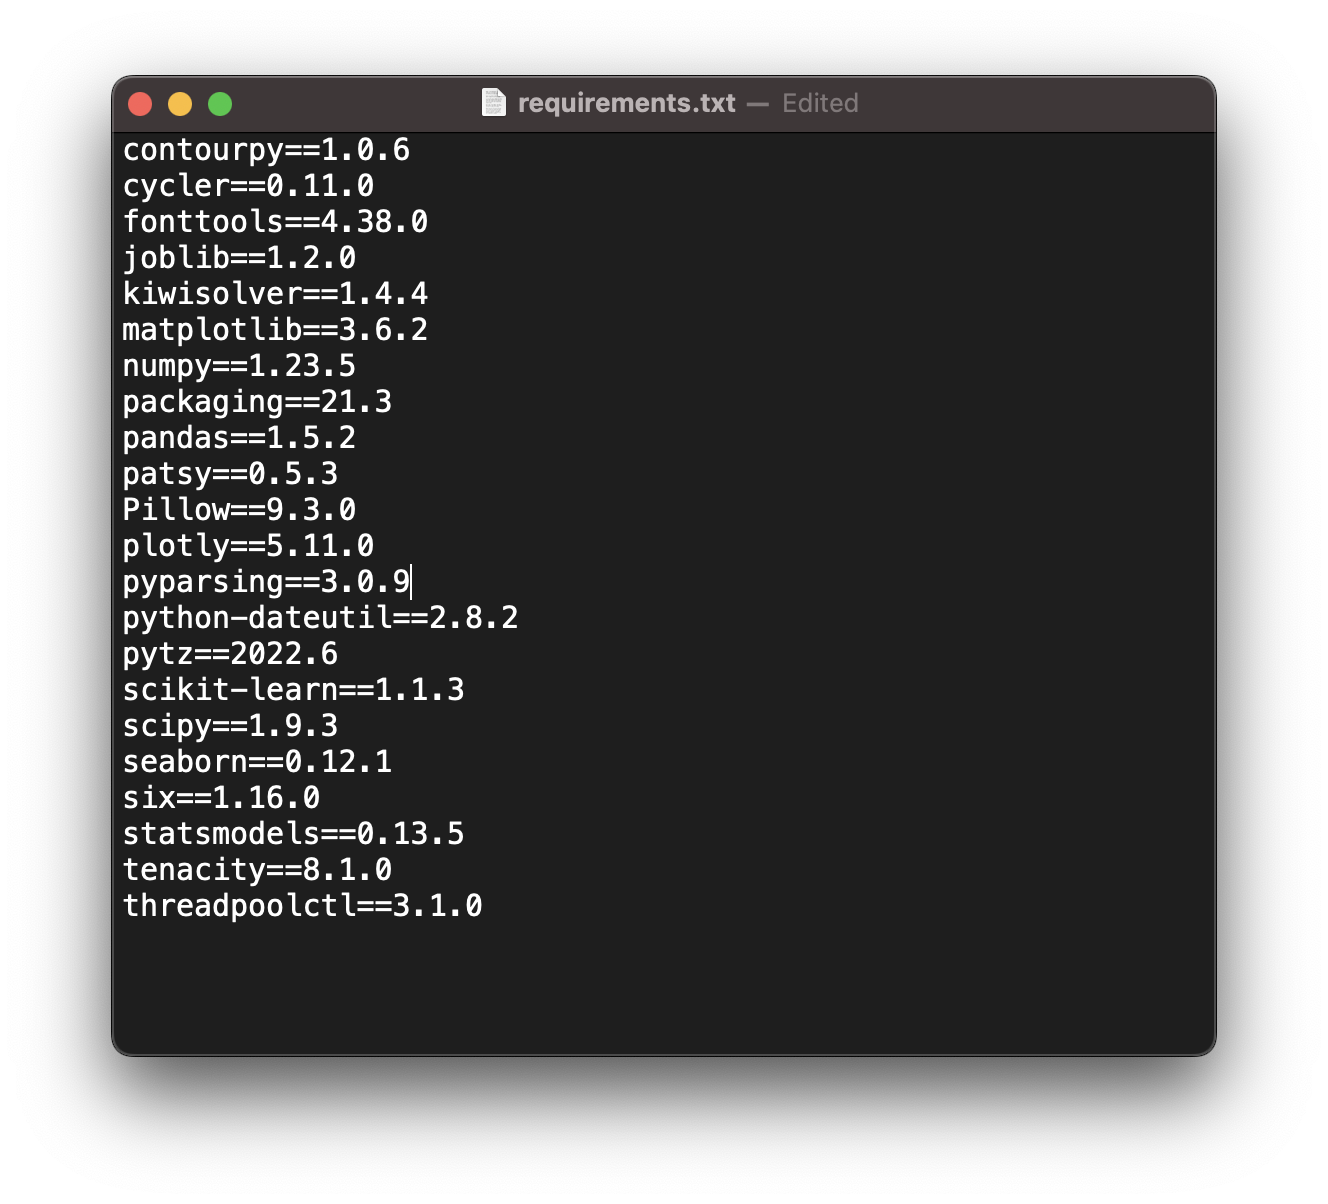
Image 3 - Requirements file generated with pip freeze (image by author)
If you were to run this script on a new machine and install Python dependencies from a requirements.txt file, many unused libraries would get installed. It would be better if you could somehow install only the libraries that were used in the project.
That’s where pipreqs shines. But first, we have to install it:
pip install pipreqs
Pipreqs works by scanning all .py files in a given directory and looking for the imports in Python files. This way, it should write only the libraries you actually use to requirements.txt.
Here’s the general command for saving requirements:
pipreqs <path-to-python-project-folder>
If you’re in a Python project folder, simply run this command:
pipreqs .
You’ll see the following output:
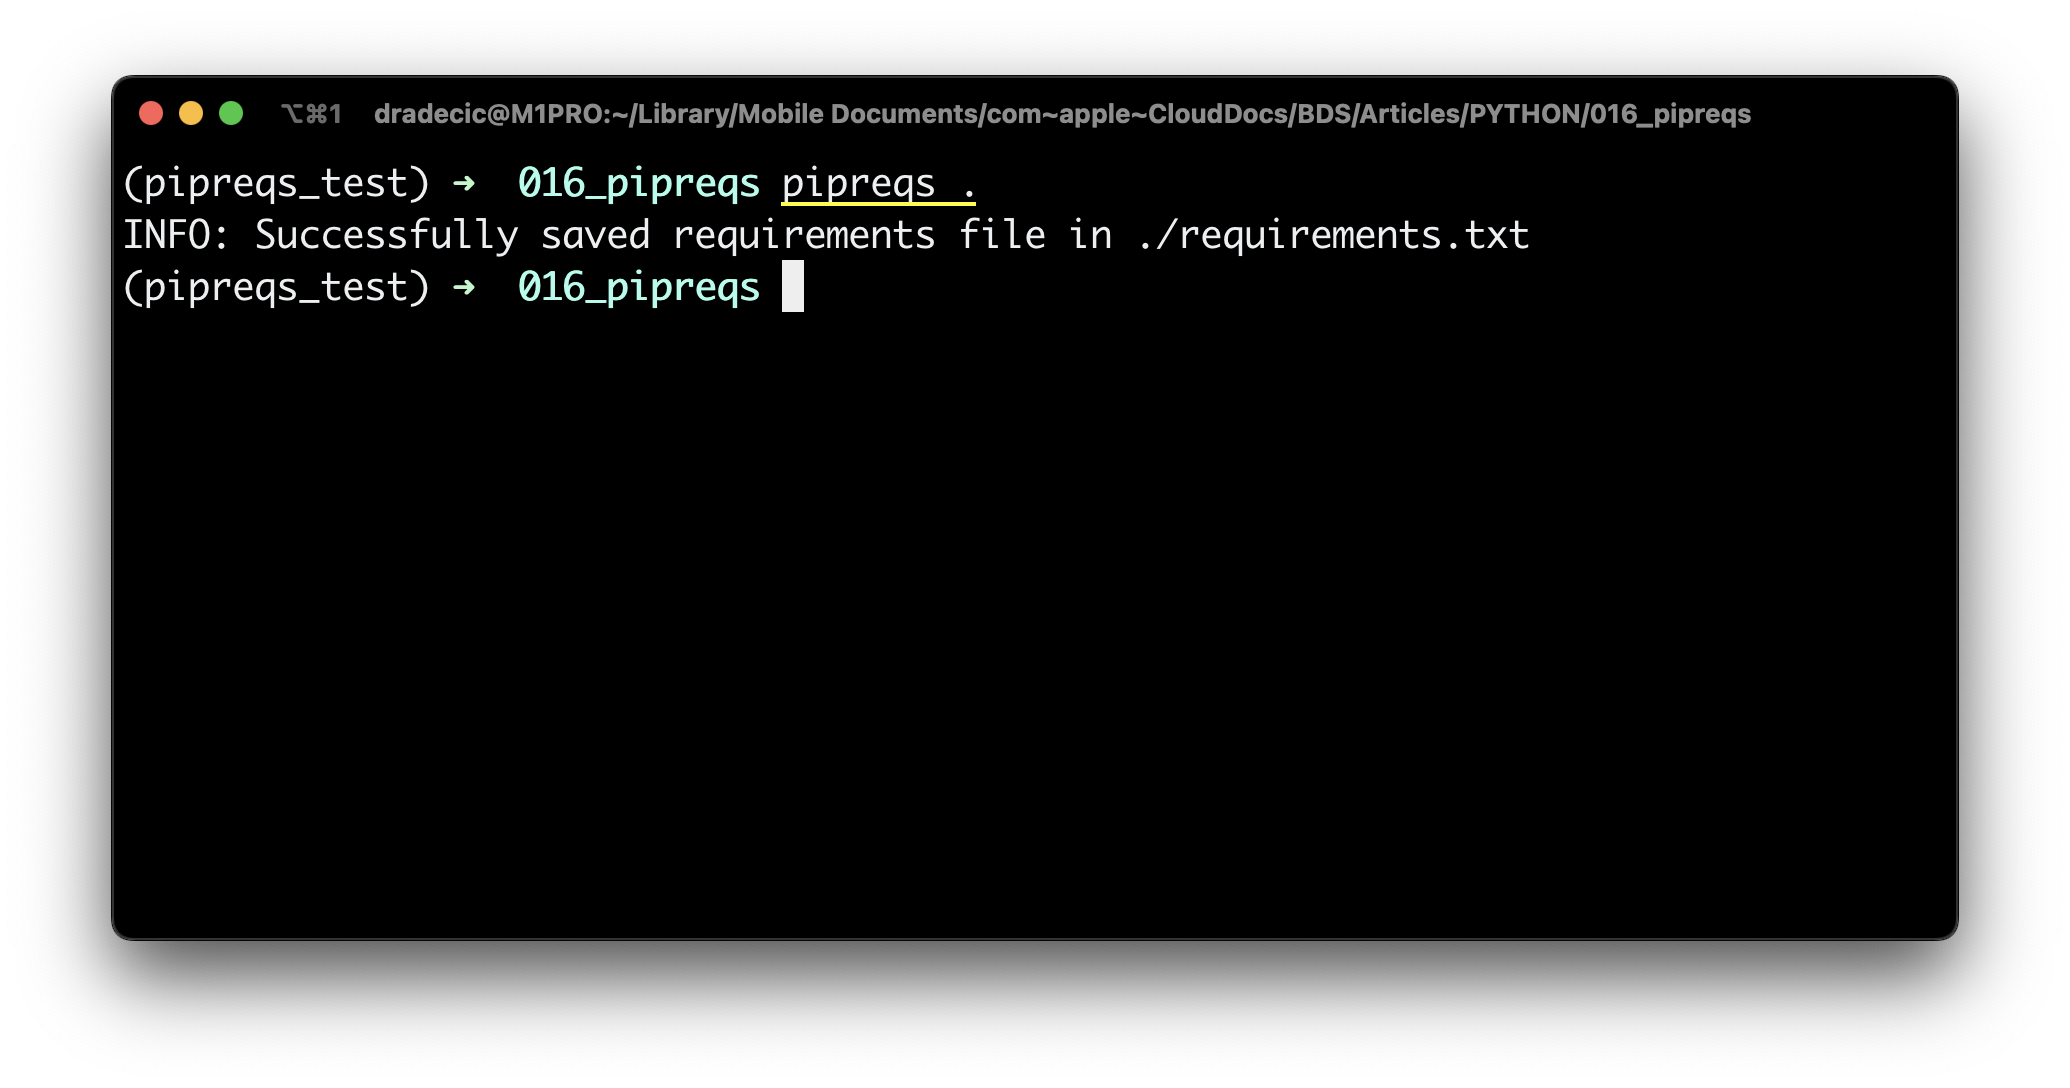
Image 4 - Using pipreqs to create requirements.txt file (image by author)
The dependencies are now saved to requirements.txt, so let’s see what’s inside:
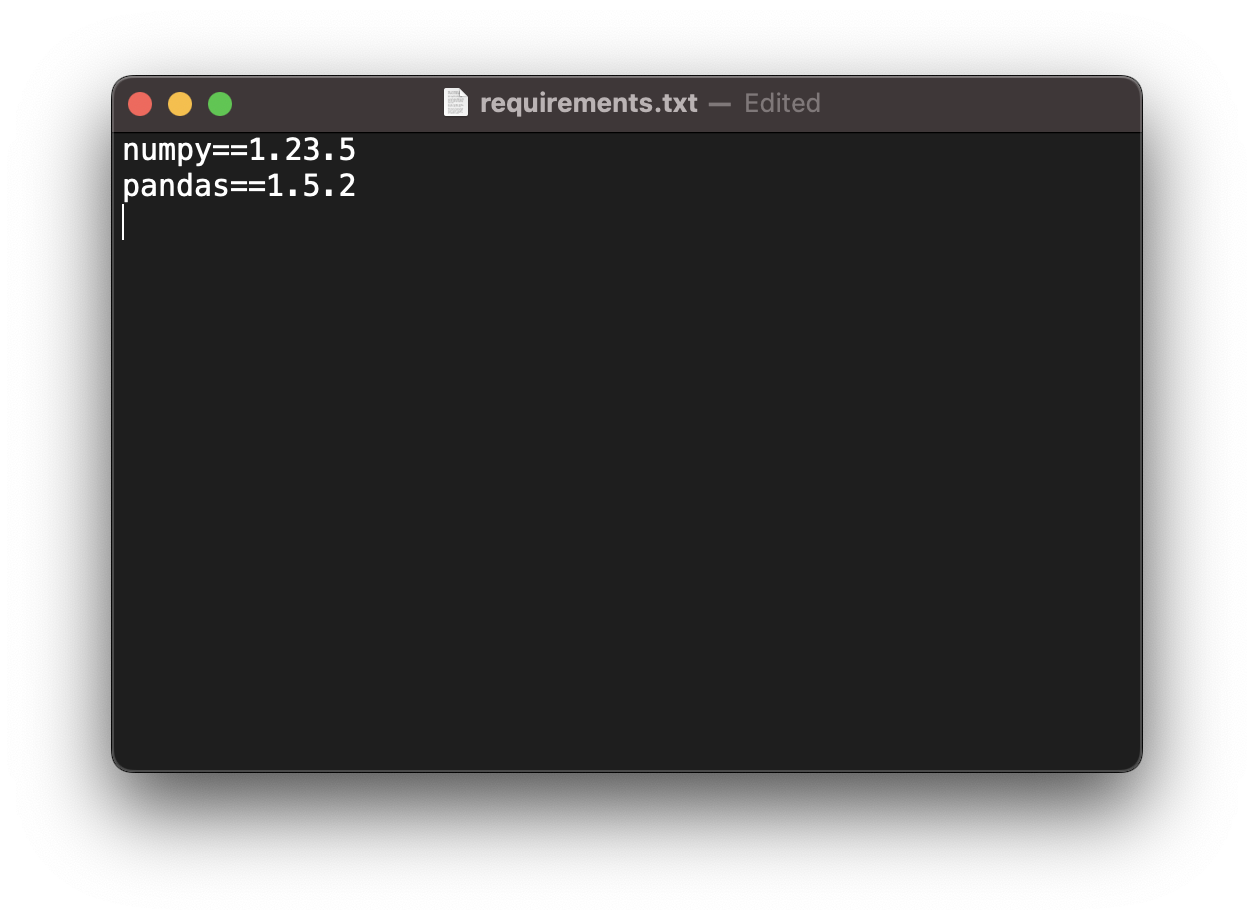
Image 5 - Requirements file generated with pipreqs (image by author)
Amazing - only Numpy and Pandas were included! These are all the dependencies you need to run the project on a new machine or a new environment.
But is that all you can do with Pipreqs? Let’s go over a couple of “advanced” use cases next.
What Else Can You Do With Pipreqs?
You can just check which libraries are used in the project by printing them to the console:
pipreqs <path-to-folder> --print
Here are the results:

Image 6 - Print dependencies (image by author)
This won’t write the dependencies to a file, so keep that in mind.
You can also force overwrite the requirements.txt file. This command is needed if you already have the requirements file present, as running pipreqs . alone won’t overwrite it:
pipreqs <path-to-folder> --force
The updated requirements.txt file is now saved:
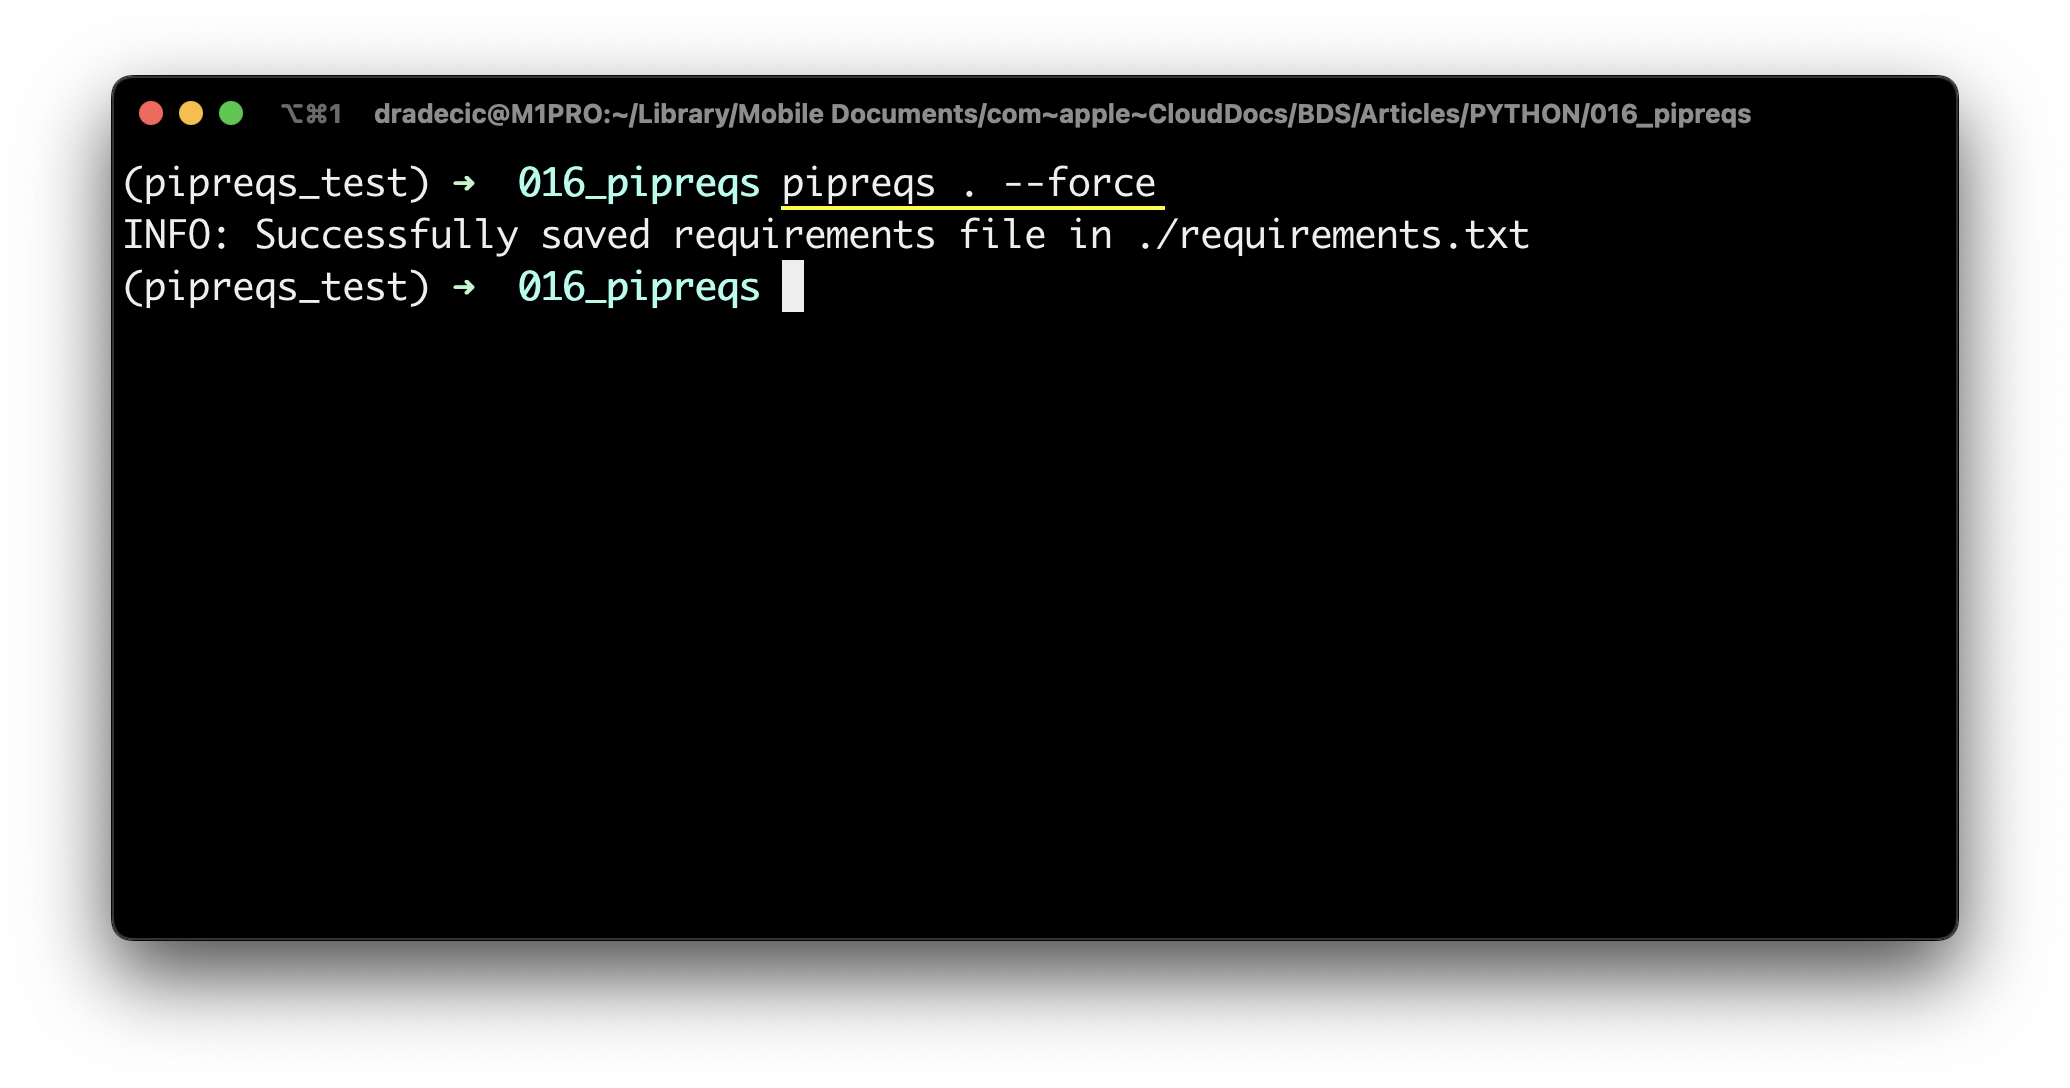
Image 7 - Force overwrite requirements.txt file (image by author)
You can also save the requirements.txt file to a different destination. Just make sure to include the full file path including the file name:
pipreqs <path-to-folder> --savepath <path-to-file>
Here’s how I saved the file to the Desktop:
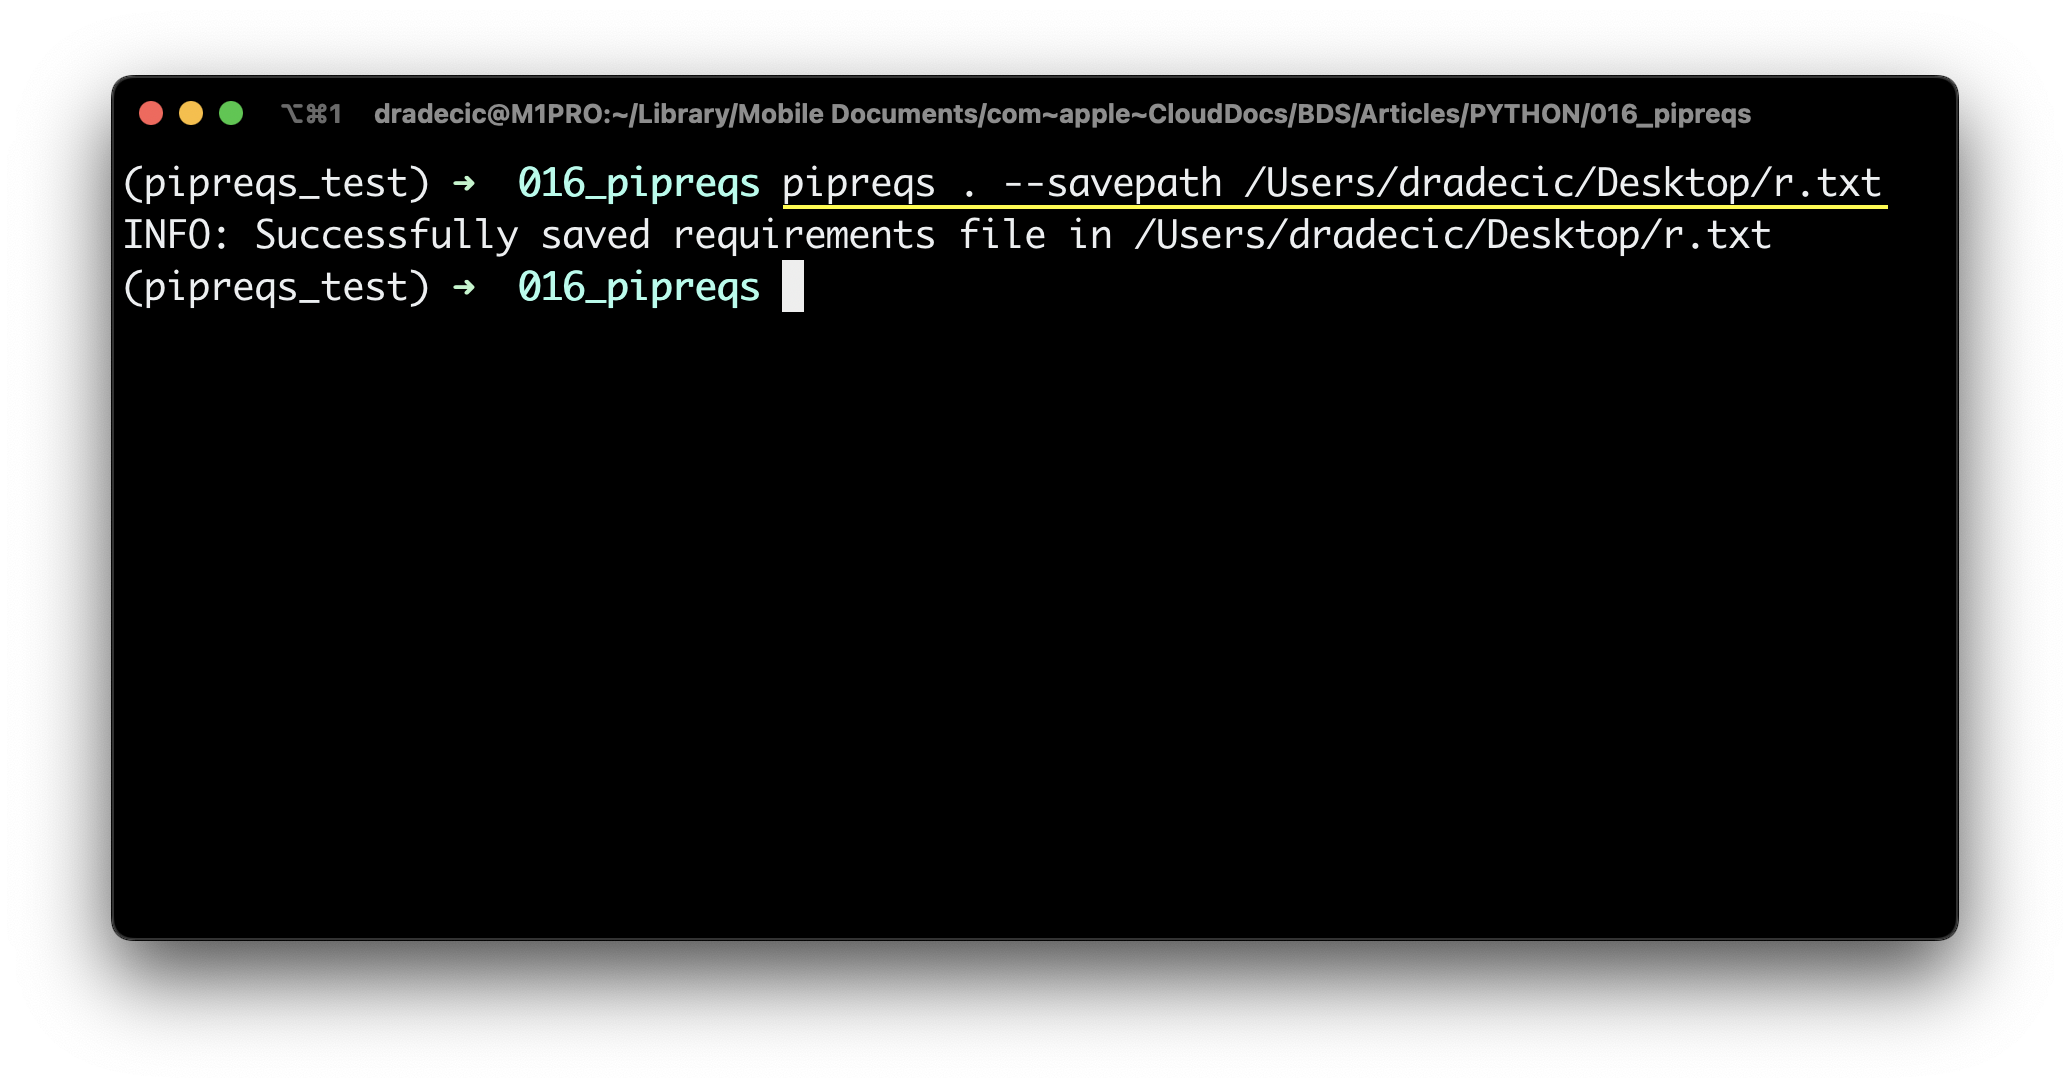
Image 8 - Saving requirements.txt to a different location (image by author)
And that’s pretty much all you can do with Pipreqs. There are some additional options and parameters, but these are the ones you’ll use 99% of the time.
Let’s make a short recap next.
Summing up Python Pipreqs
There’s nothing wrong with generating requirements files the old way via pip freeze. It just includes a bunch of unnecessary libraries and their dependencies, as everything installed in an environment (or God forbid, globally) gets picked.
Pipreqs solves this inconvenience by scanning Python files in a given project folder and looking for libraries that were actually imported. It’s not something groundbreaking, but it will make your projects tidier, which is always welcome.
What do you use to kee track of project dependencies? Do you see Pipreqs as a better alternative? Let me know in the comment section below.
Recommended reads
- 5 Best Books to Learn Data Science Prerequisites (Math, Stats, and Programming)
- Top 5 Books to Learn Data Science in 2022
- 7 Ways to Print a List in Python
Stay connected
- Hire me as a technical writer
- Subscribe on YouTube
- Connect on LinkedIn