Learn the basics of Kafka Console Producers & Consumers with this hands-on article and video.
In a world of big data, a reliable streaming platform is a must. That’s where Kafka comes in. You already have it installed and configured with Docker. If that’s not the case, read this article or watch this video before continuing.
Today you’ll learn all about Kafka Topics, console Producers, and Consumers. You’ll master the Kafka shell, and by the end of the article you’ll be ready for more advanced examples, such as working with Kafka in Python.
The best part is — the video guide is available once again:
Today’s article covers the following:
- Kafka topics in a (nut)shell
- Kafka console Producers
- Kafka console Consumers
- Summary & Next steps
Kafka topics in a (nut)shell
Start by opening a new Terminal window and connecting to Kafka shell. You should have Zookeeper and Kafka containers running already, so start them if that’s not the case:
docker exec -it kafka /bin/sh
Here’s what you should see:

Image 1 — Opening a Kafka shell (image by author)
Navigate to the Kafka bin folder, as that’s the folder in which all Kafka shell scripts are located.
cd /opt/kafka_<version>/bin
ls
Here are all the scripts you should see:
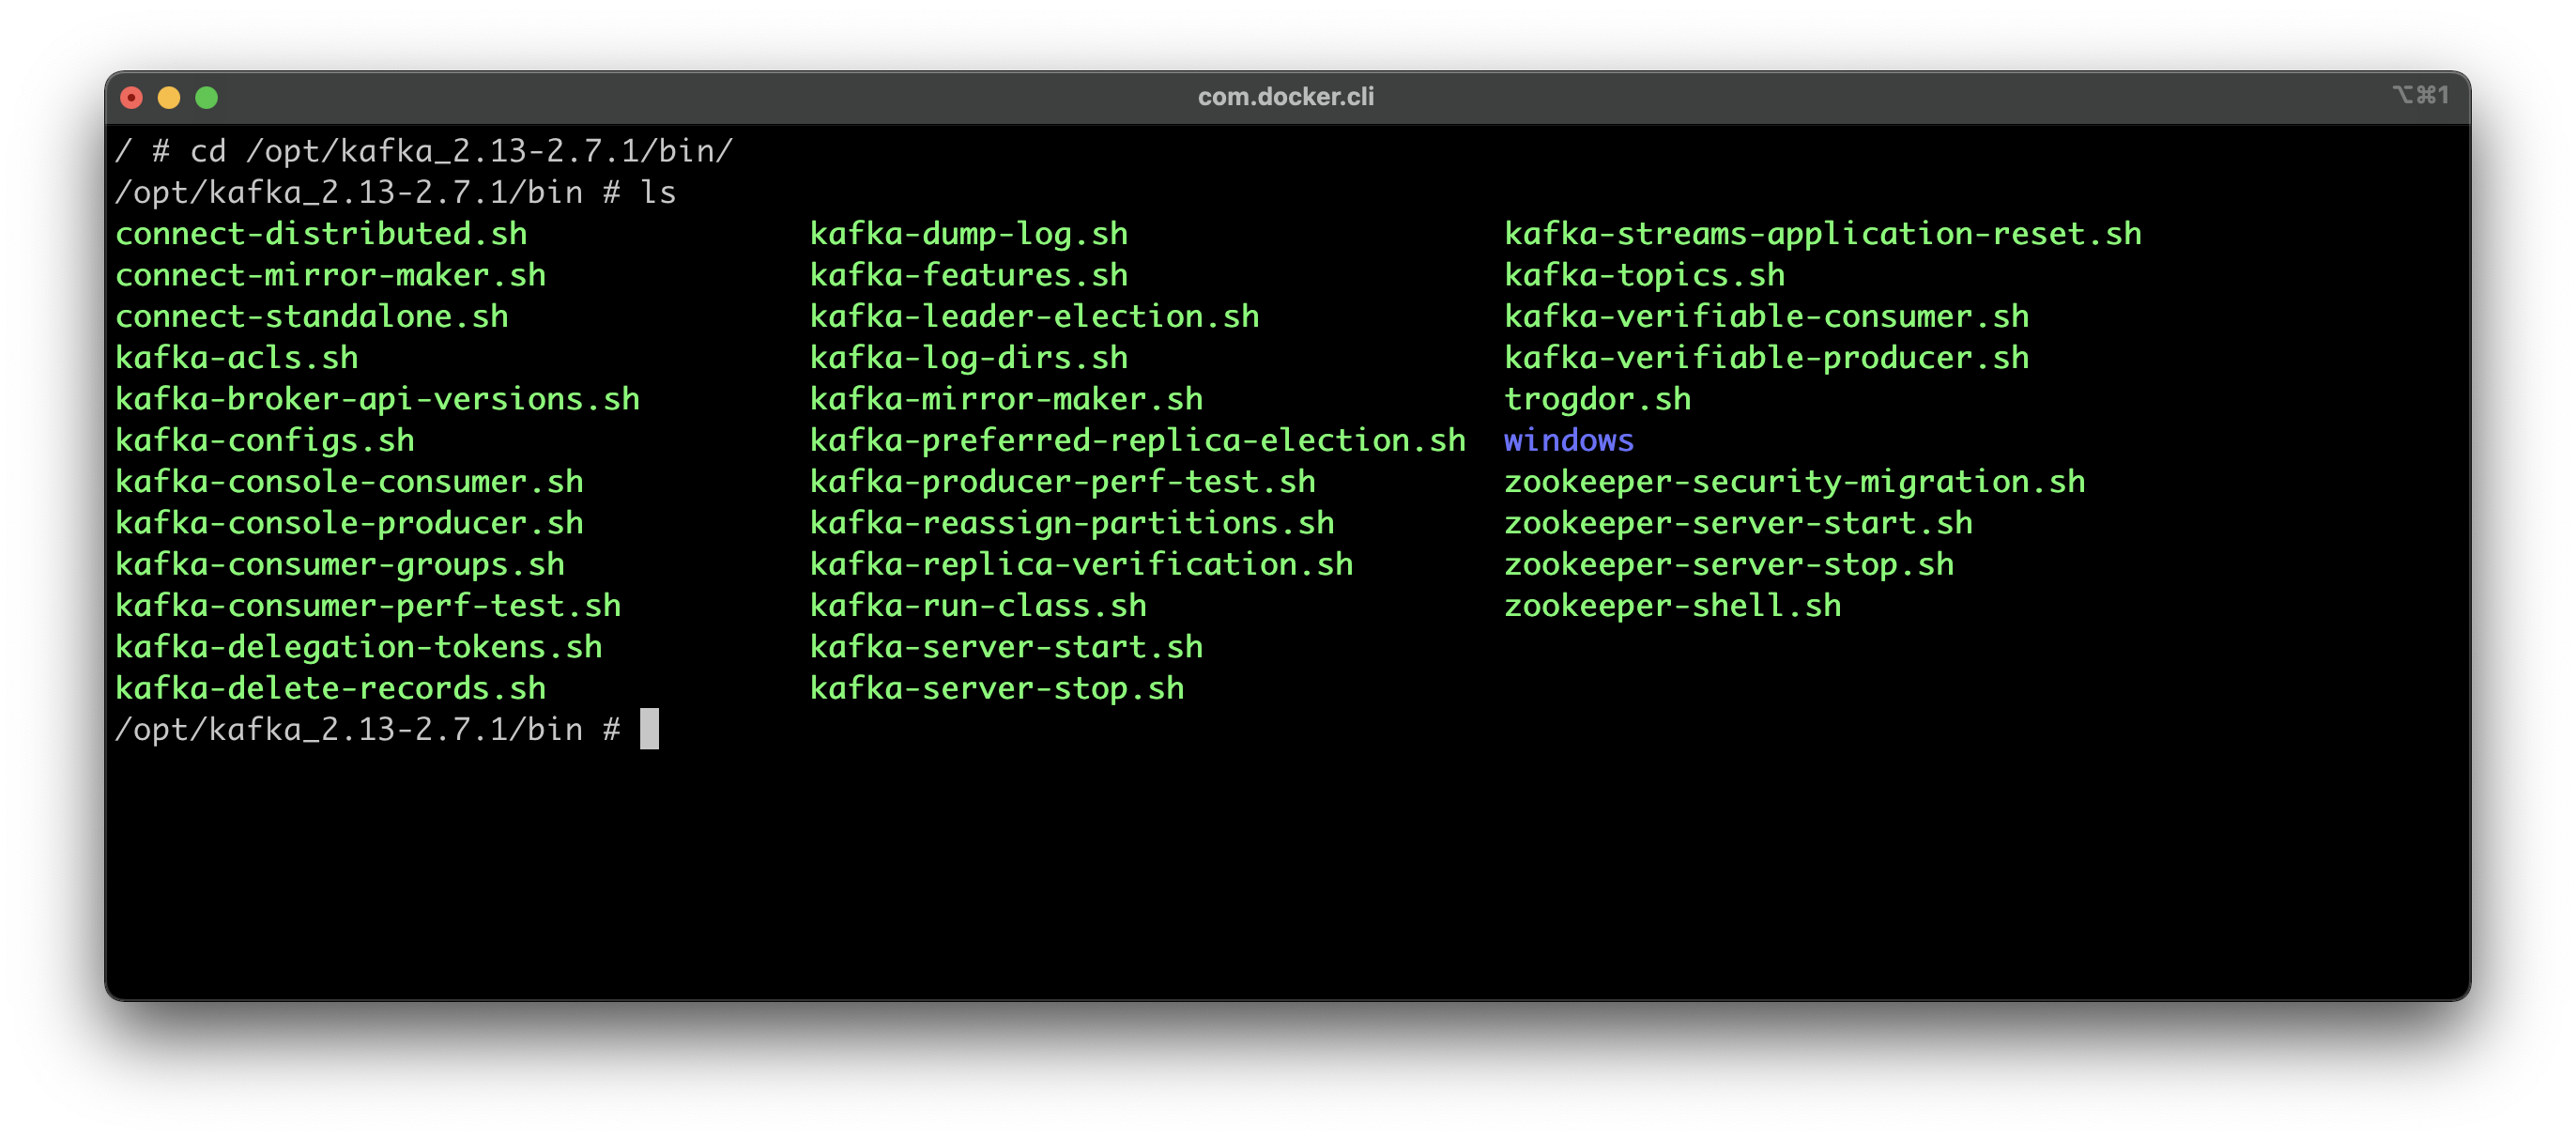
Image 2 — Kafka bin folder (image by author)
Creating a topic
Next, let’s create a topic to play around with. The following command will create a topic called dummy_topic. The replication factor and partitions are set to 1, since this is a dummy environment:
kafka-topics.sh --create --zookeeper zookeeper:2181 --replication-factor 1 --partitions 1 --topic dummy_topic
You’ll see the following output printed to the console, indicating the topic was created successfully:
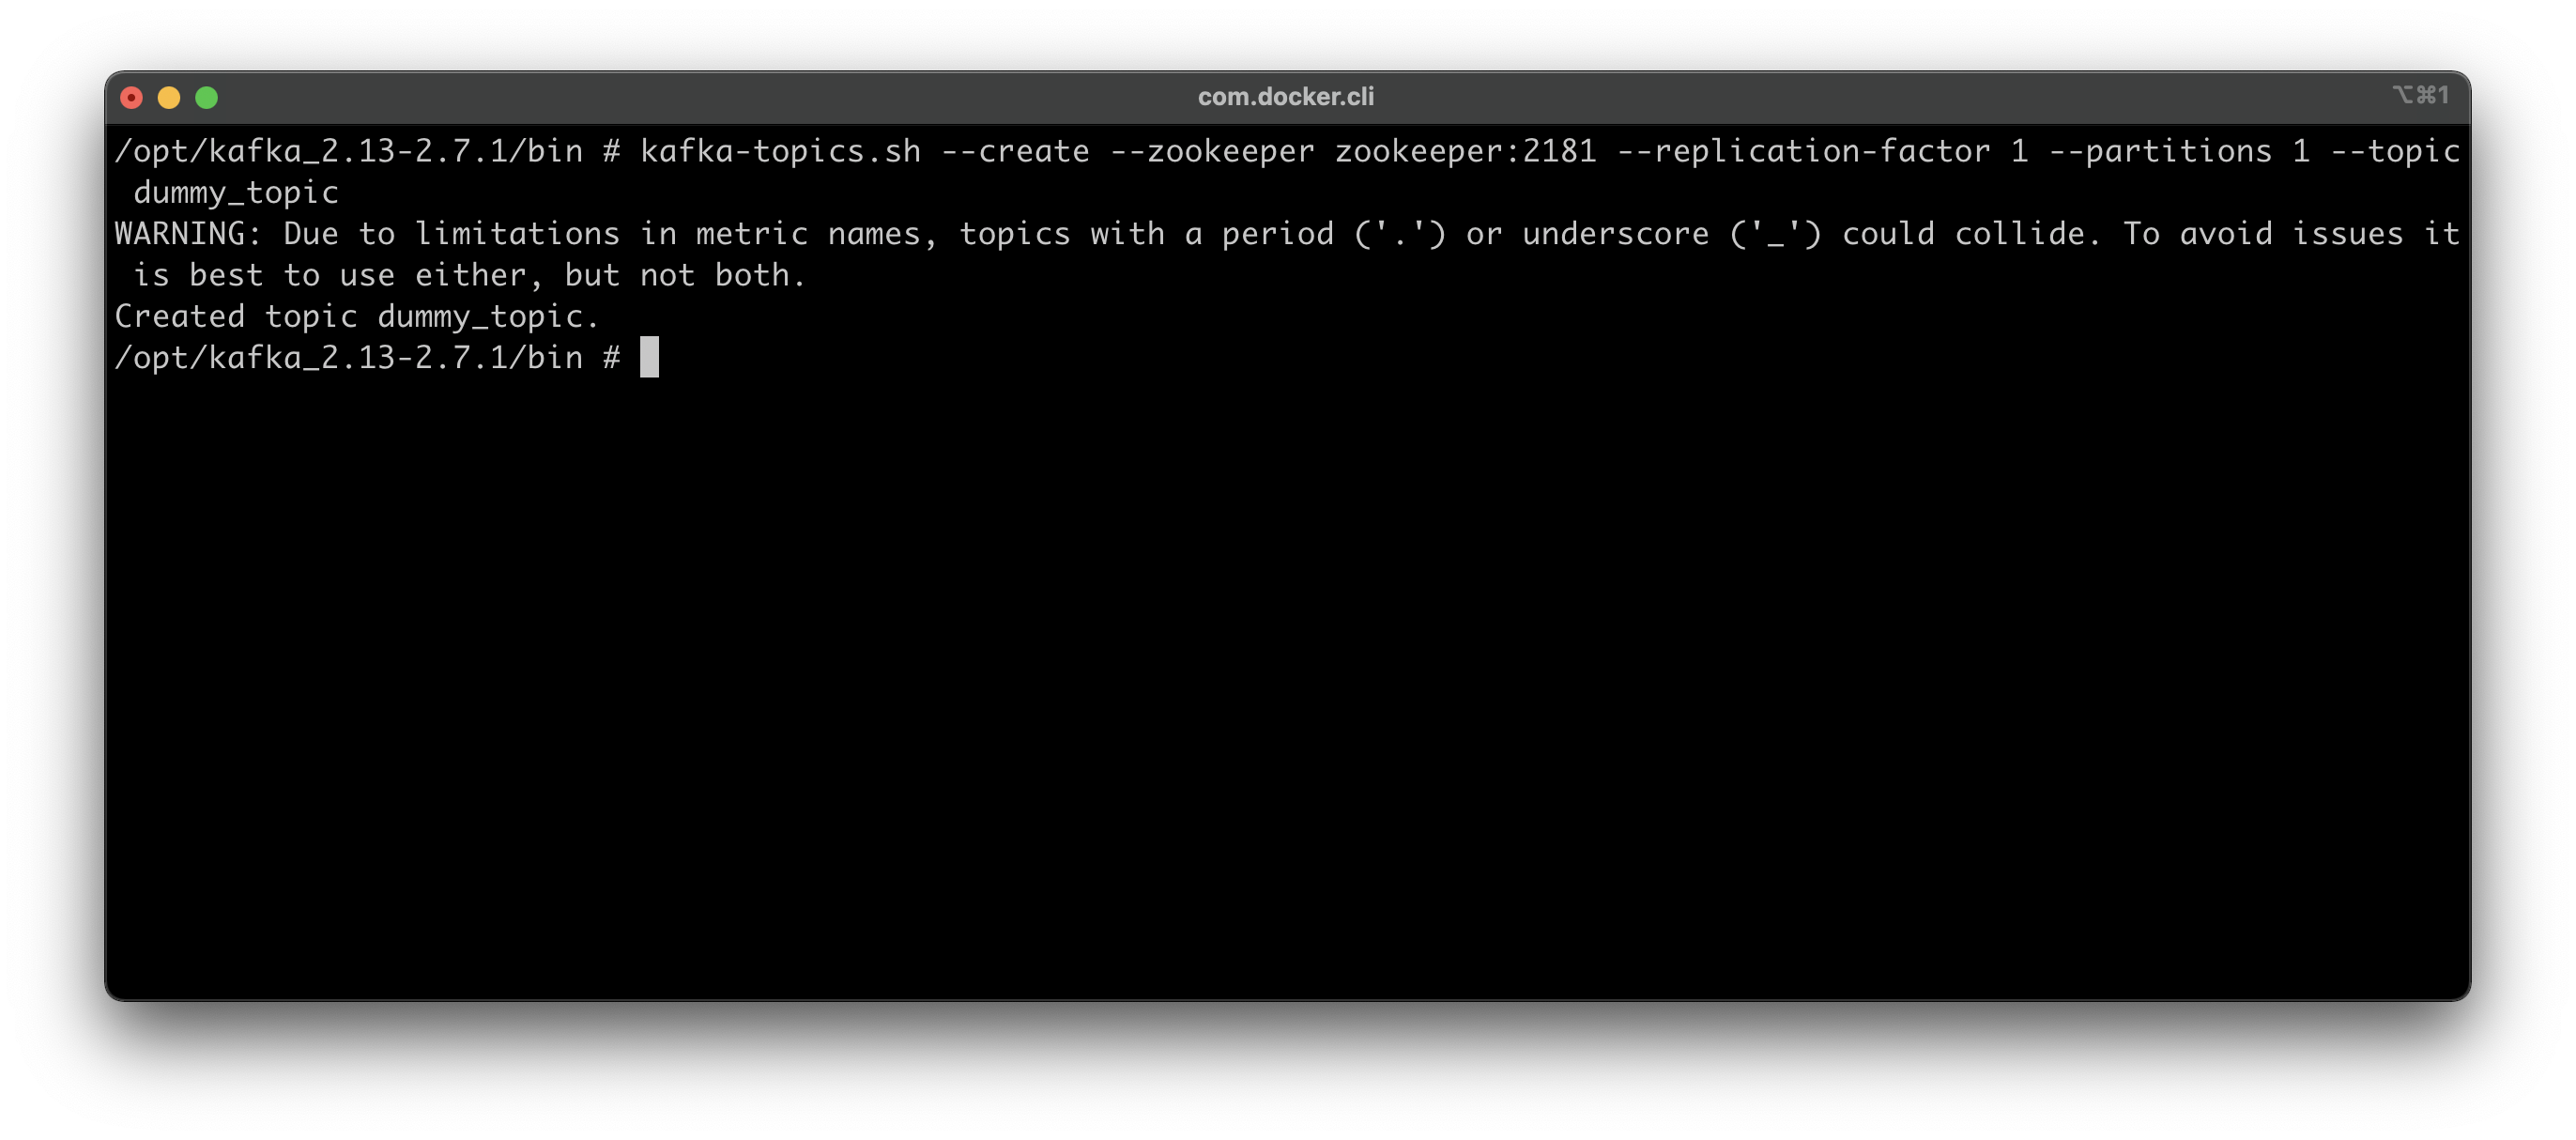
Image 3 — Creating a Kafka topic (image by author)
Listing Kafka topics
Let’s verify the topic was created successfully by listing all Kafka topics. You can use the following command to do so:
kafka-topics.sh --list --zookeeper zookeeper:2181
The command will take a couple of seconds to execute, but once done, you’ll see the following topics listed:

Image 4 — Listing Kafka topics (image by author)
Getting details on a Kafka topic
The following command is used for gathering information on a topic, such as partition count, replication factor, and additional config. It’s called --describe, and here’s how you can use it. You already know pretty much everything about this topic since you had created it a minute ago:
kafka-topics.sh --describe --zookeeper zookeeper:2181 --topic dummy_topic
Here’s what it prints out:
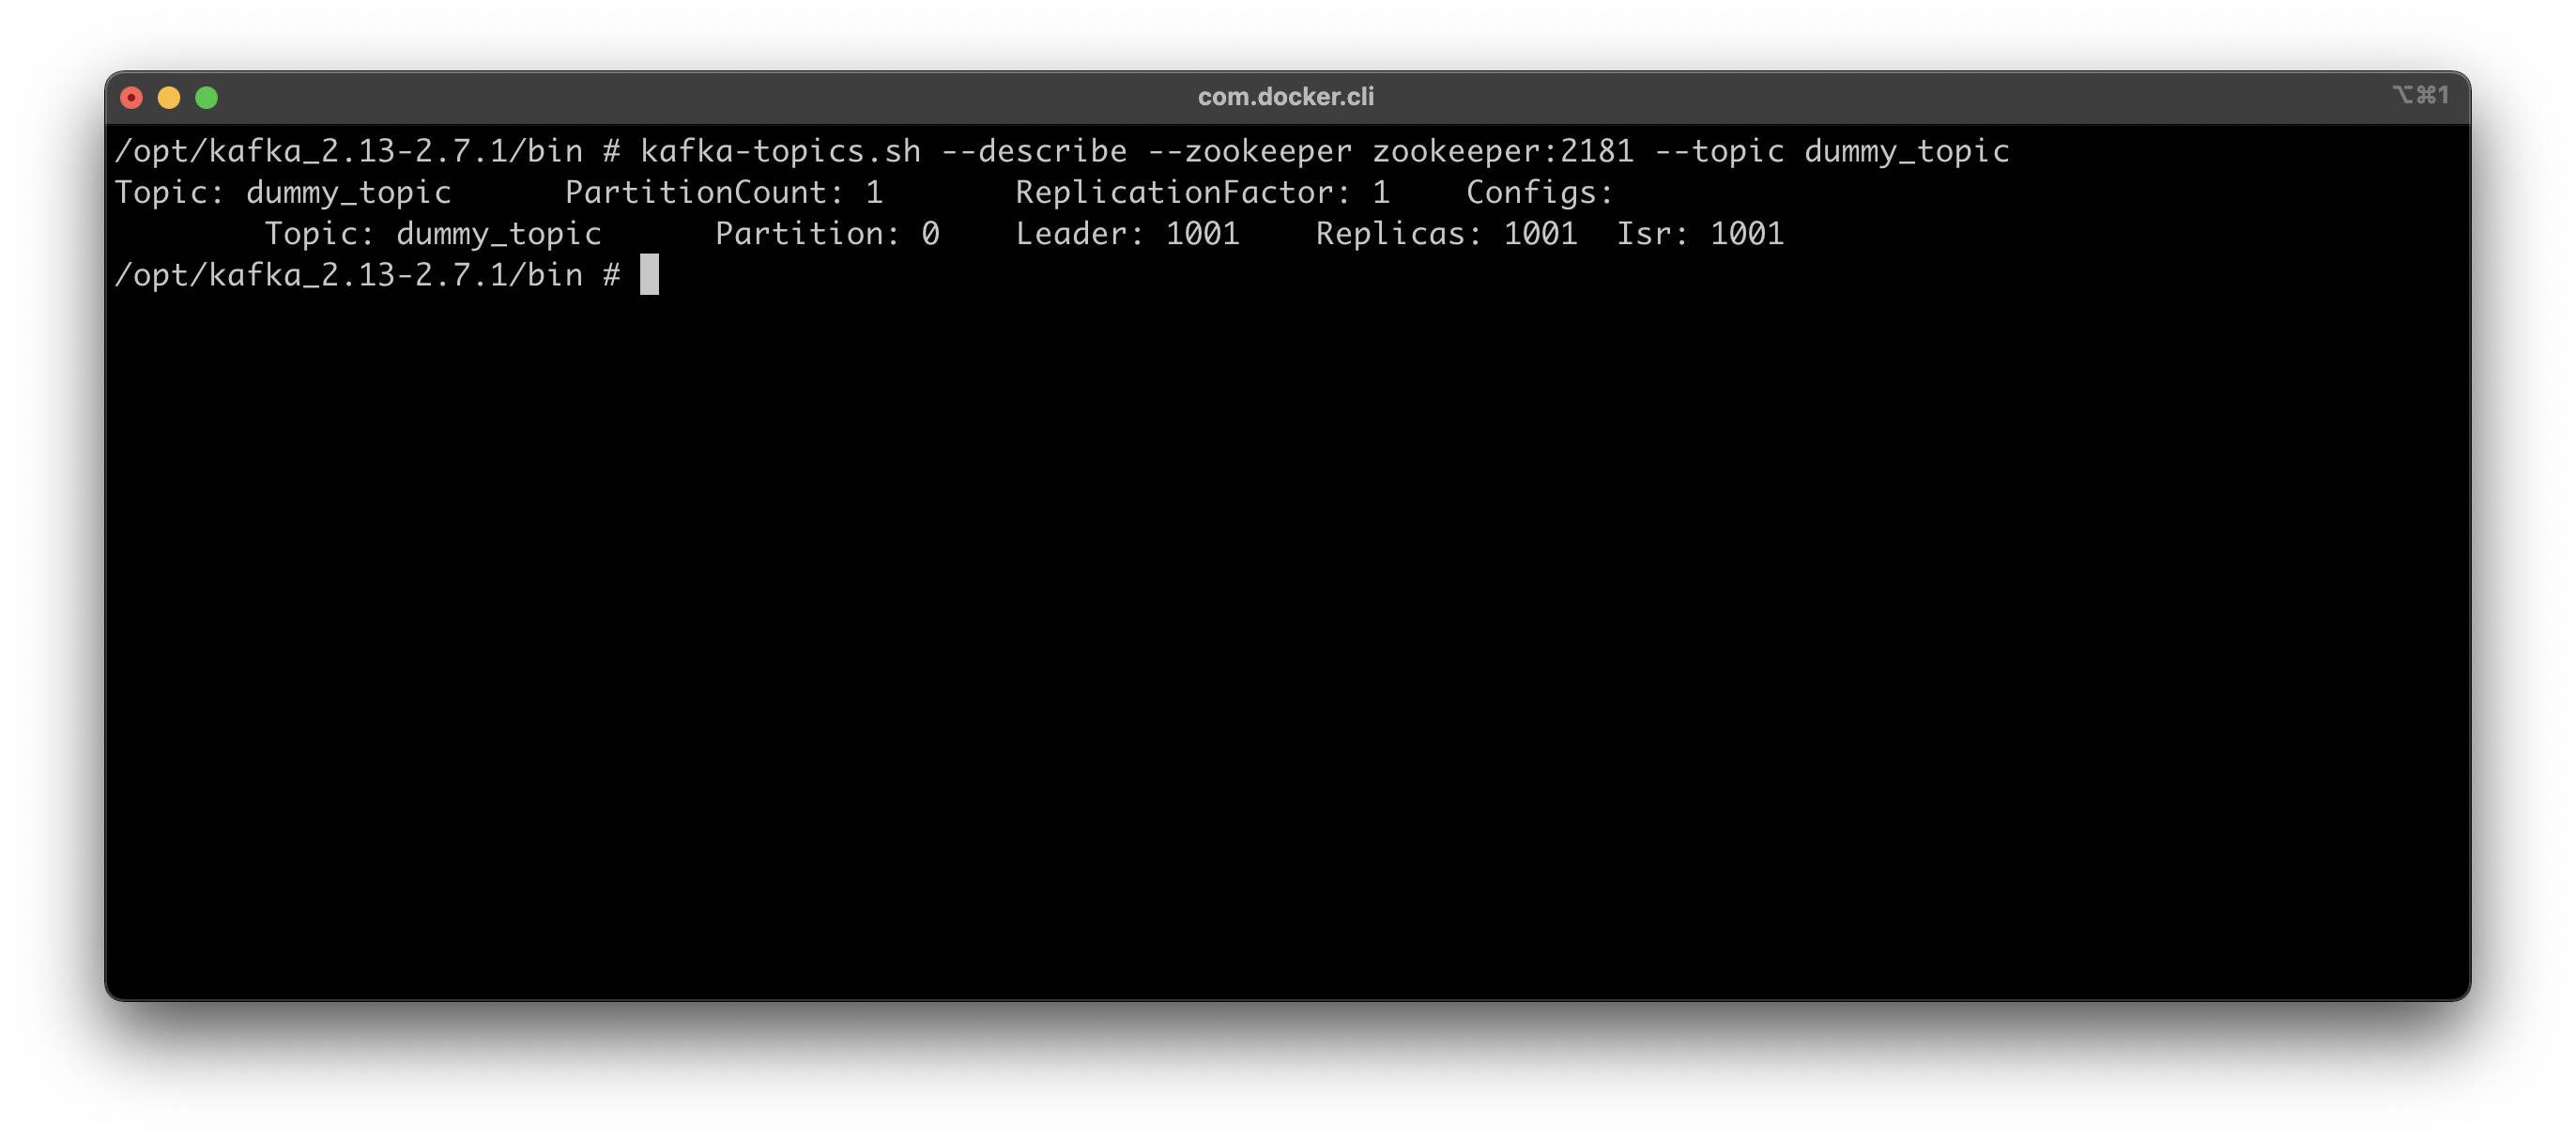
Image 5 — Getting info on a Kafka topic (image by author)
Deleting a Kafka topic
And finally, let’s see how to delete a topic. The command is identical to the previous one; the only difference is the --delete argument instead of --describe:
kafka-topics.sh --delete --zookeeper zookeeper:2181 --topic dummy_topic
Here’s the output you should see:
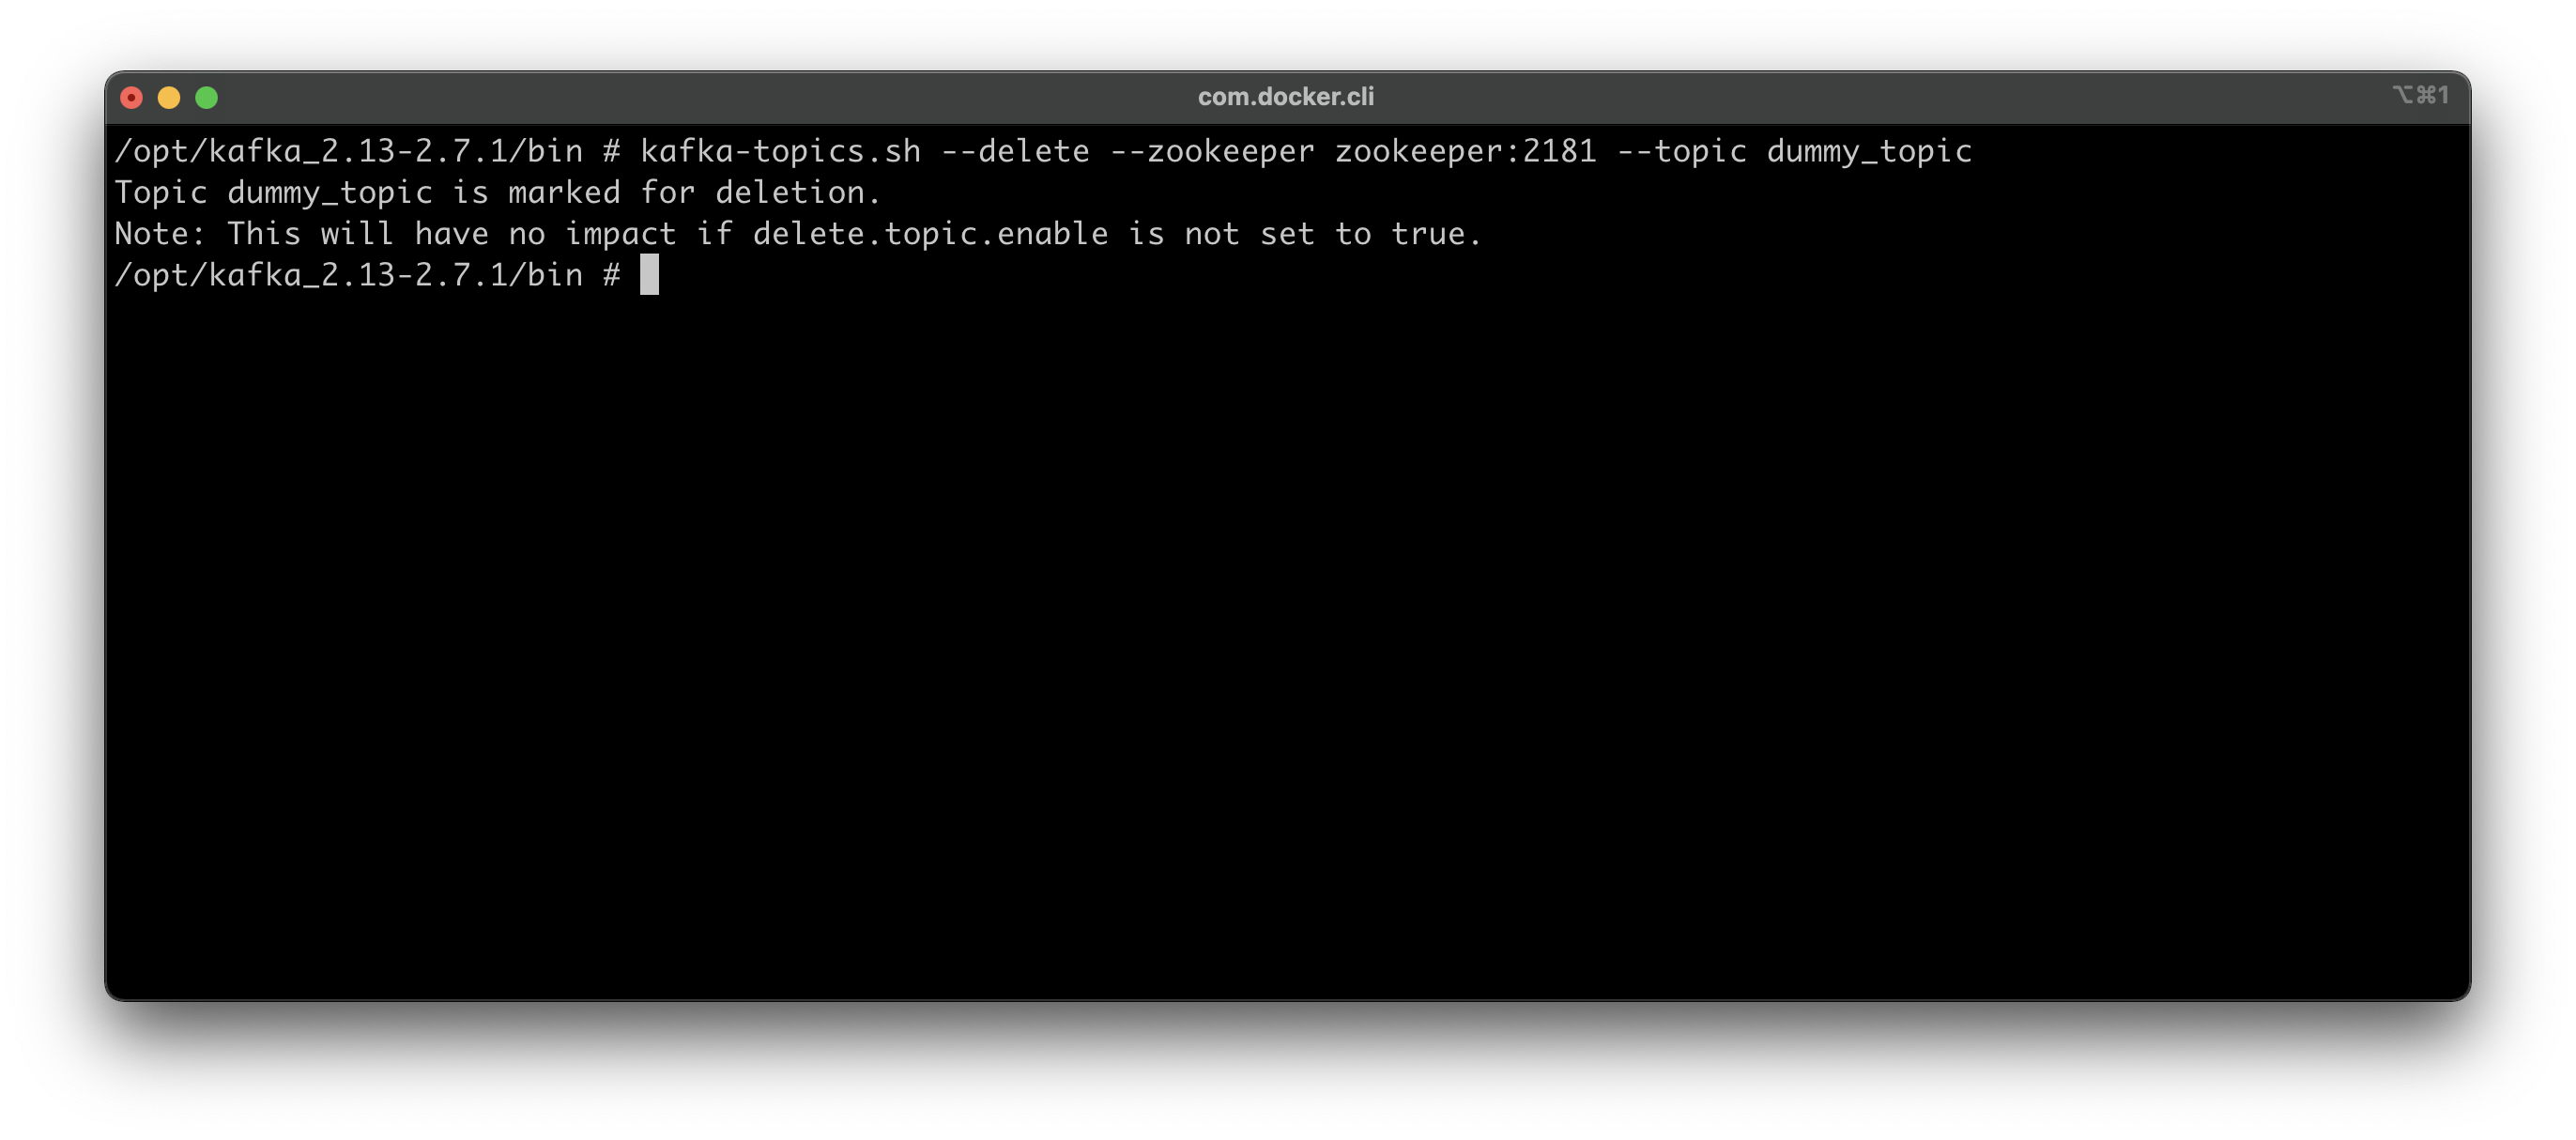
Image 6 — Deleting a Kafka topic (image by author)
Deleting a topic will take a couple of seconds, but once done you can list all the topics to verify.
And that’s pretty much all you should know for now on basic Kafka Topic commands. Next, let’s cover Kafka console producers.
Kafka console Producers
This is where we dive into the good stuff. To start, you’ll create a new topic named Messages, which will imitate a chat between multiple users. You already know the command for creating a topic:
kafka-topics.sh --create --zookeeper zookeeper:2181 --replication-factor 1 --partitions 1 --topic messages
Here’s the output:
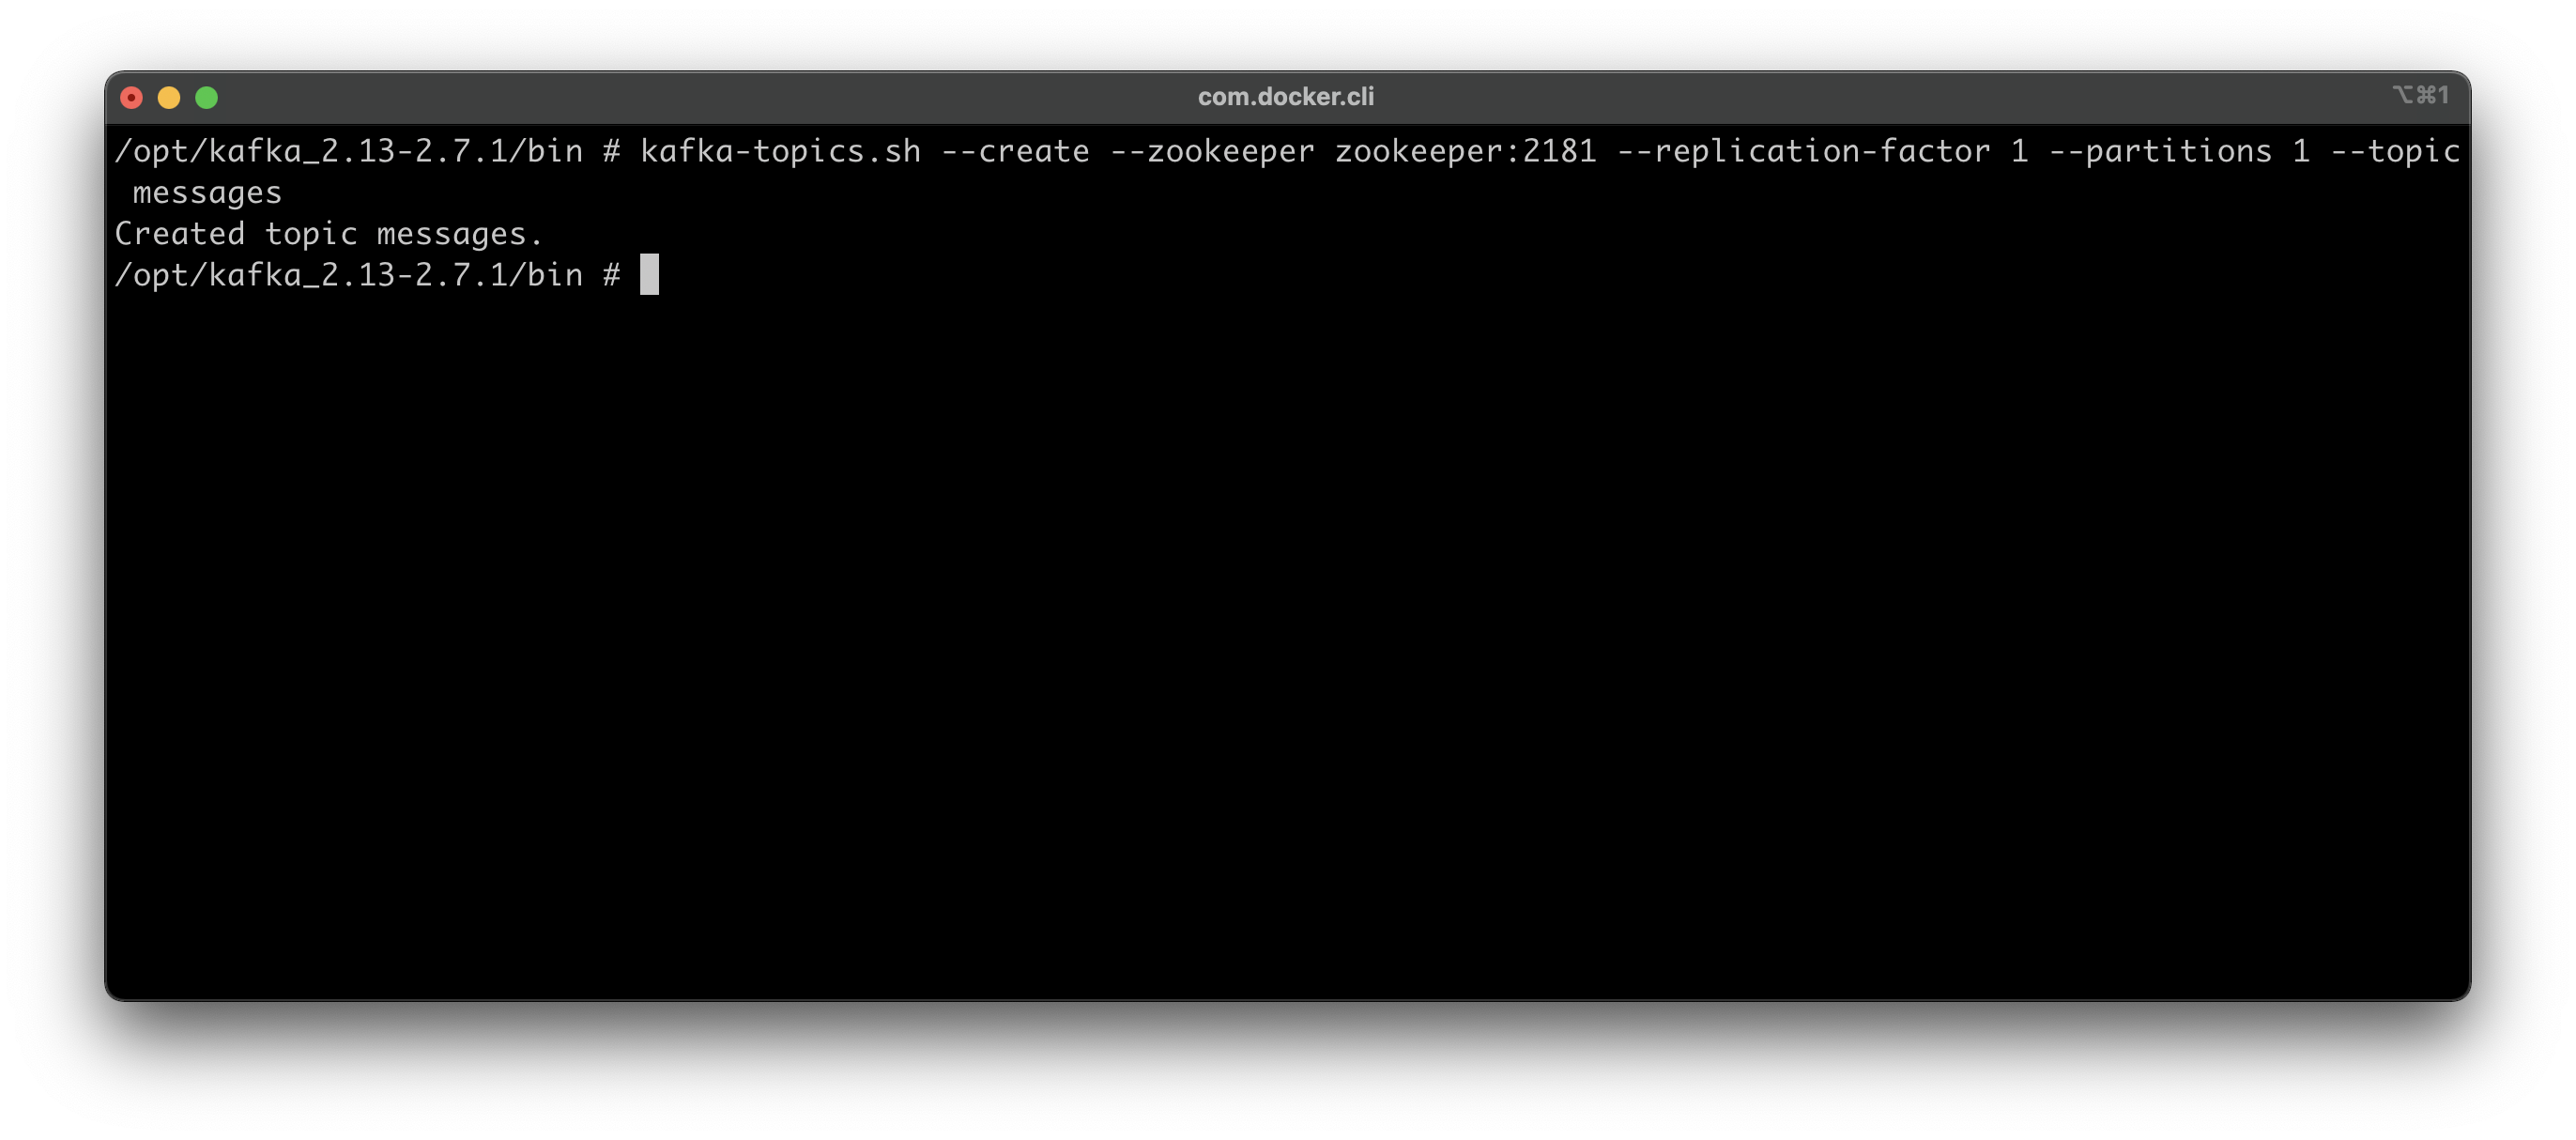
Image 7 — Creating a new topic for storing messages (image by author)
Now you’ll step away from kafka-topics.sh file and use kafka-console-producer.sh instead. The only new attribute here is the broker list, and you’ll use it to specify Kafka’s location. If you’ve followed the previous video step by step, your Kafka is located on port 9092. Finally, you need to specify the topic for which you want to produce messages.
Here’s the entire command:
kafka-console-producer.sh --broker-list kafka:9092 --topic messages
You’ll see the internal shell open up next. You don’t have to stick to any message convention, but I’ll enter two messages formatted as JSON. You’ll have the User ID, Recipient ID, and the Message itself. Once you’re done, press CTRL+C to close the producer shell:
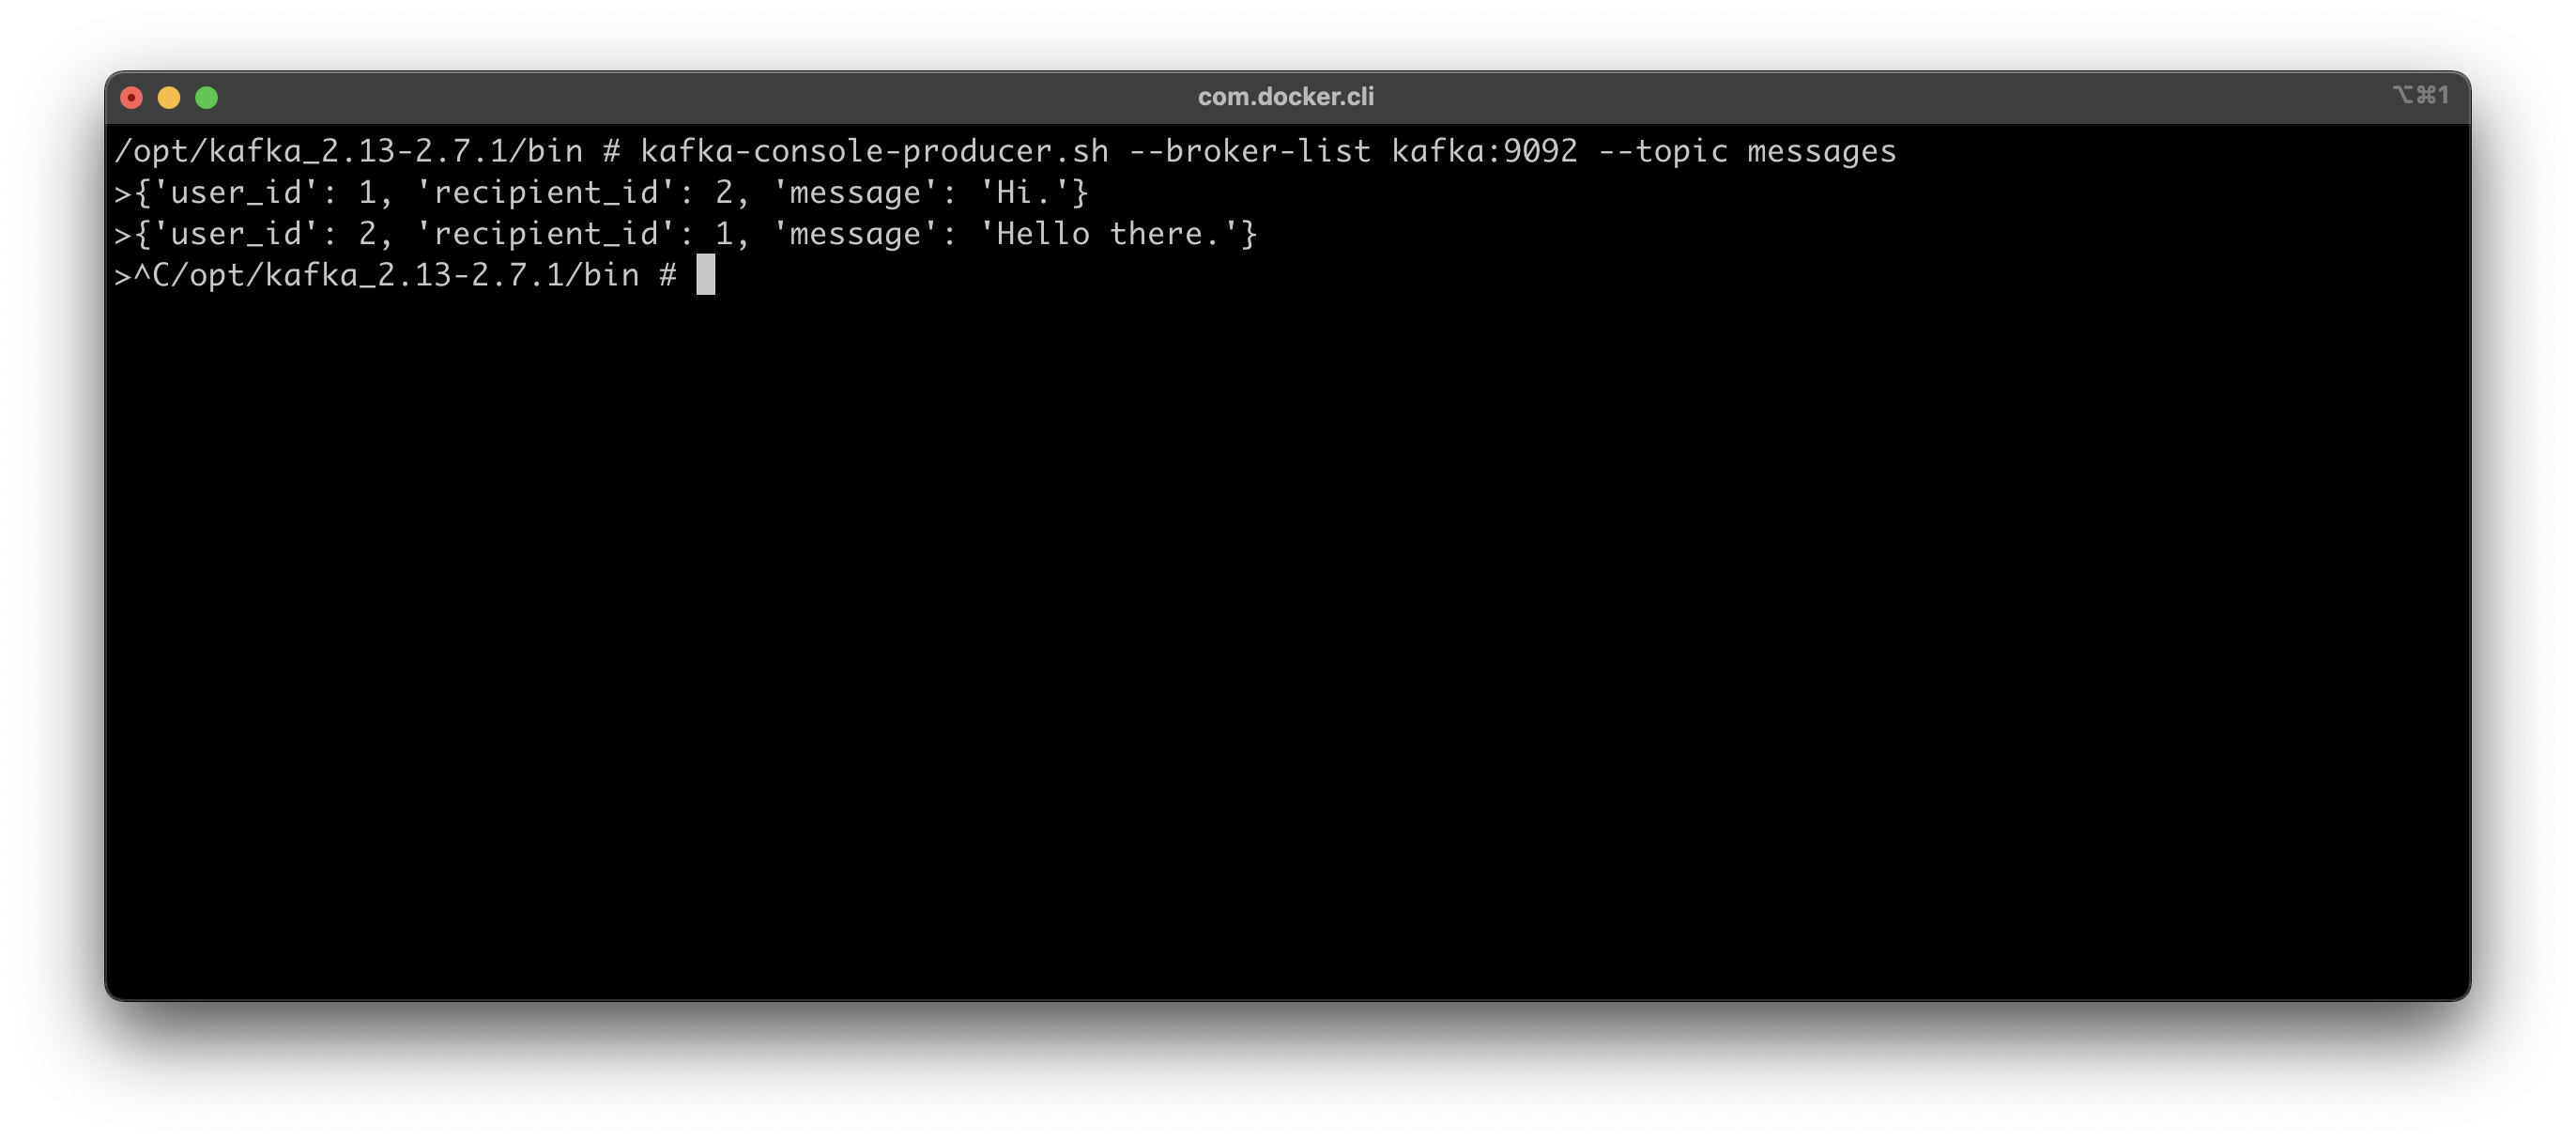
Image 8 — Producing messages with Kafka (image by author)
So as of now, nothing has happened, but I guarantee that the messages were produced successfully. You’ll need to learn about Kafka console Consumers to verify that claim.
Kafka console Consumers
It’s best for consumers and producers to run simultaneously, so open up a new Terminal tab and connect to the same Kafka container:
docker exec -it kafka /bin/shcd /opt/kafka_<version>/bin
On the left tab, you can start the Kafka producer again, and on the right tab you can start the Consumer. You’ll have to use the kafka-console-consumer.sh file with the --bootstrap-server argument to consume messages sent to a specific topic.
In a nutshell, you should have two Terminal windows opened — one (left) for the producer and the other (right) for the consumer. Start both of them with the following commands:
Producer (left):
kafka-console-producer.sh --broker-list kafka:9092 --topic messages
Consumer (right):
kafka-console-consumer.sh --bootstrap-server kafka:9092 --topic messages
As you can see, nothing really happens once you start the consumer:
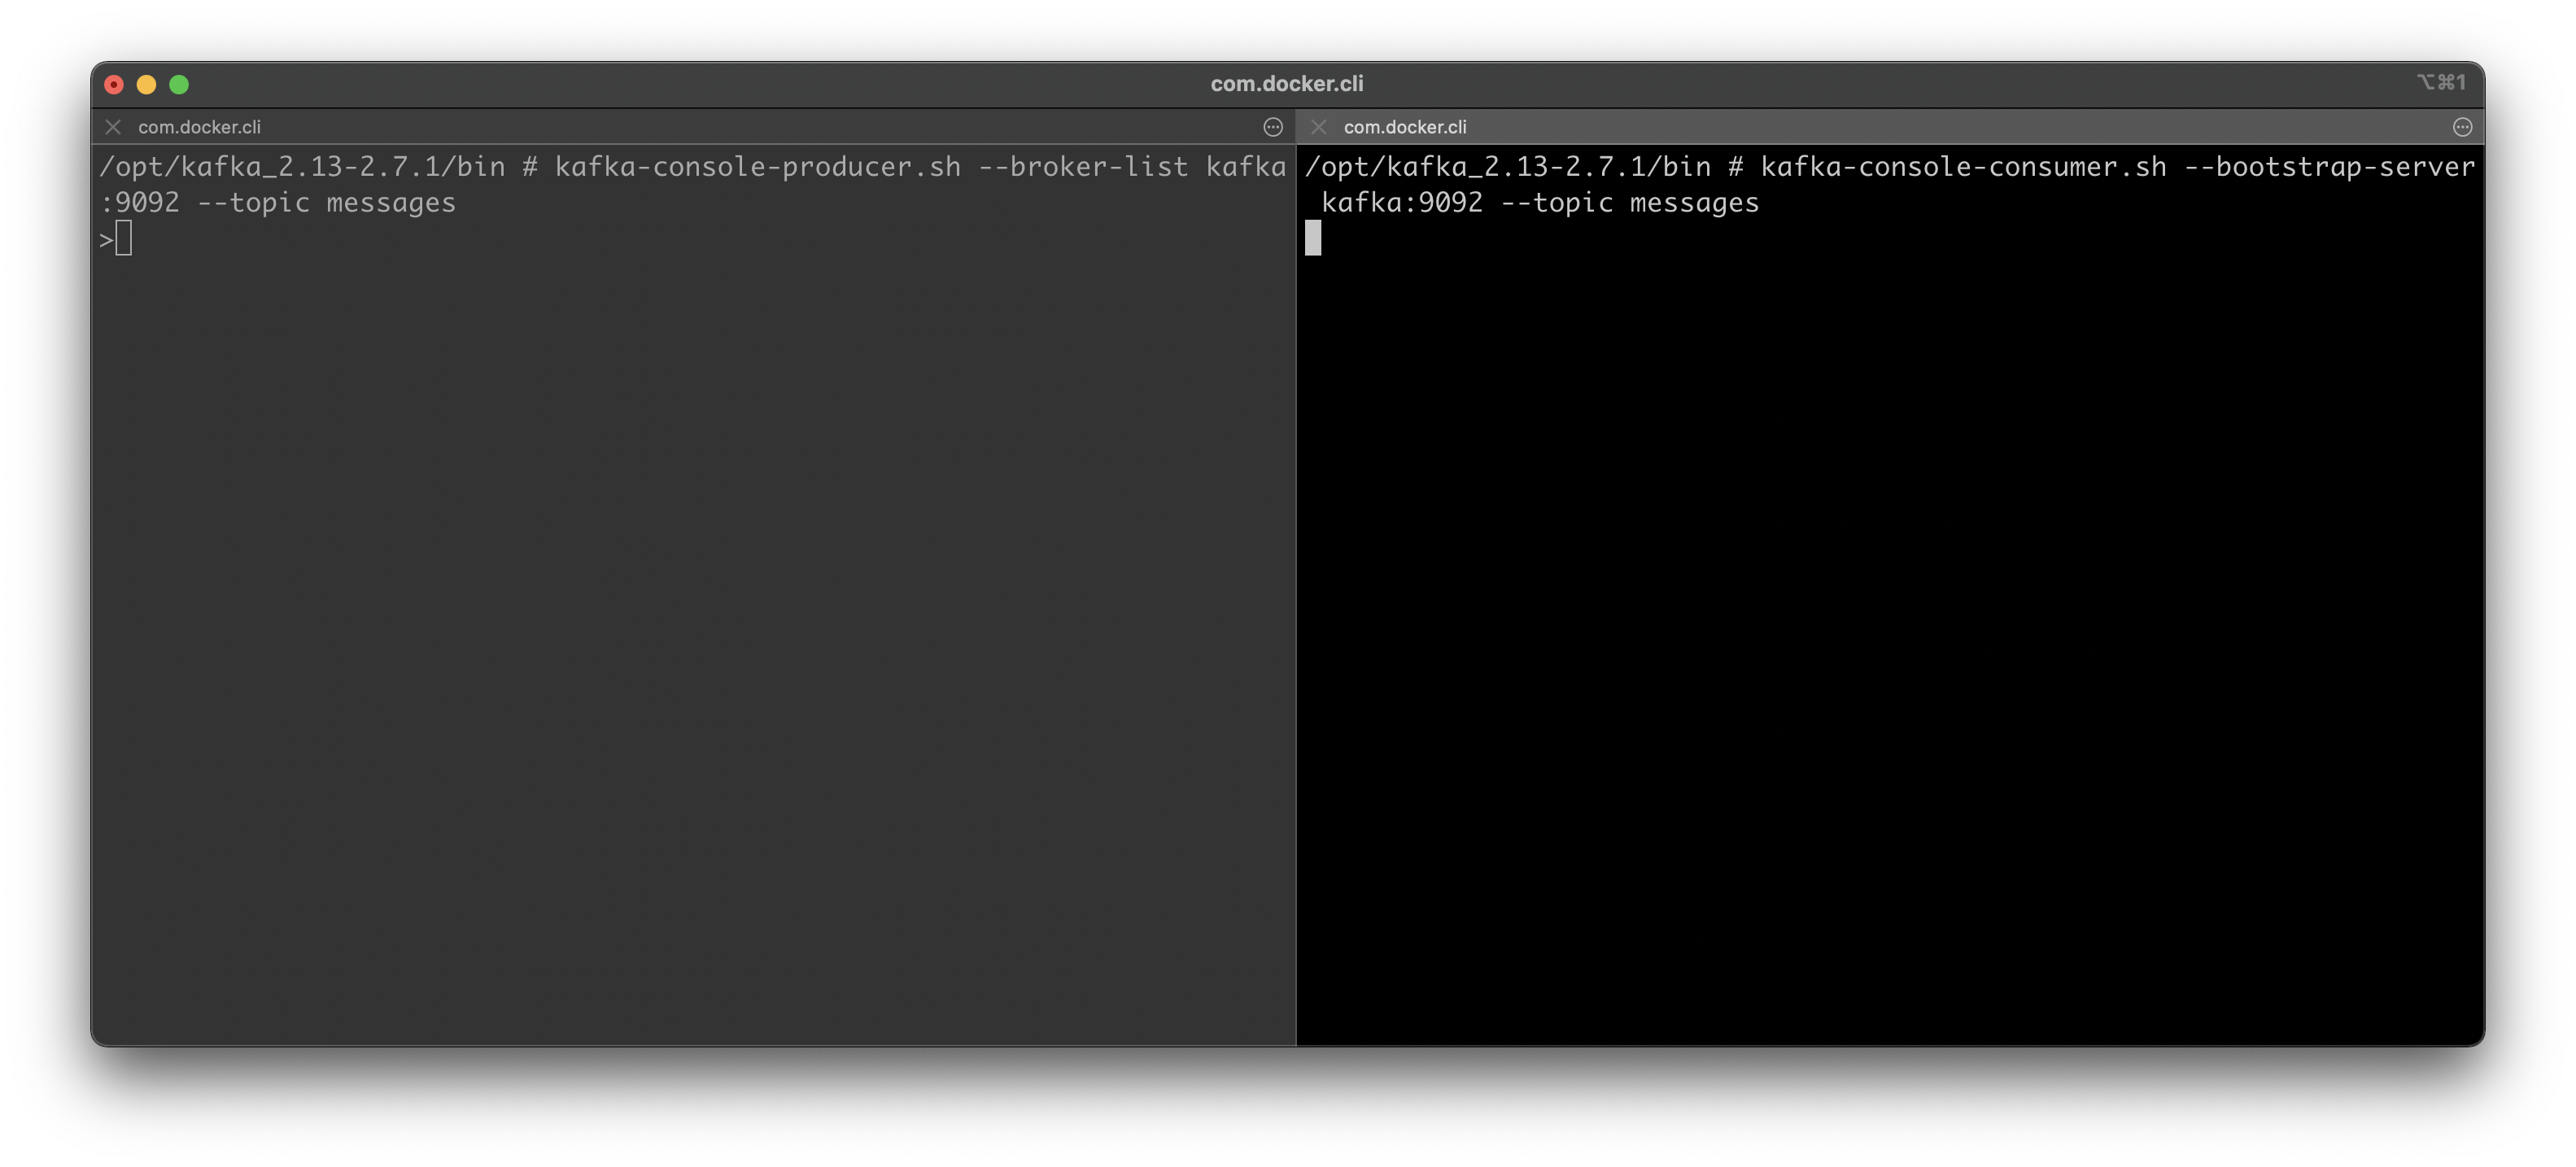
Image 9 — Starting Kafka Consumer and Producer (image by author)
That’s because the consumer, by default, won’t list old messages but will instead show only the incoming ones. Let’s verify that by entering yet another message to the producer:
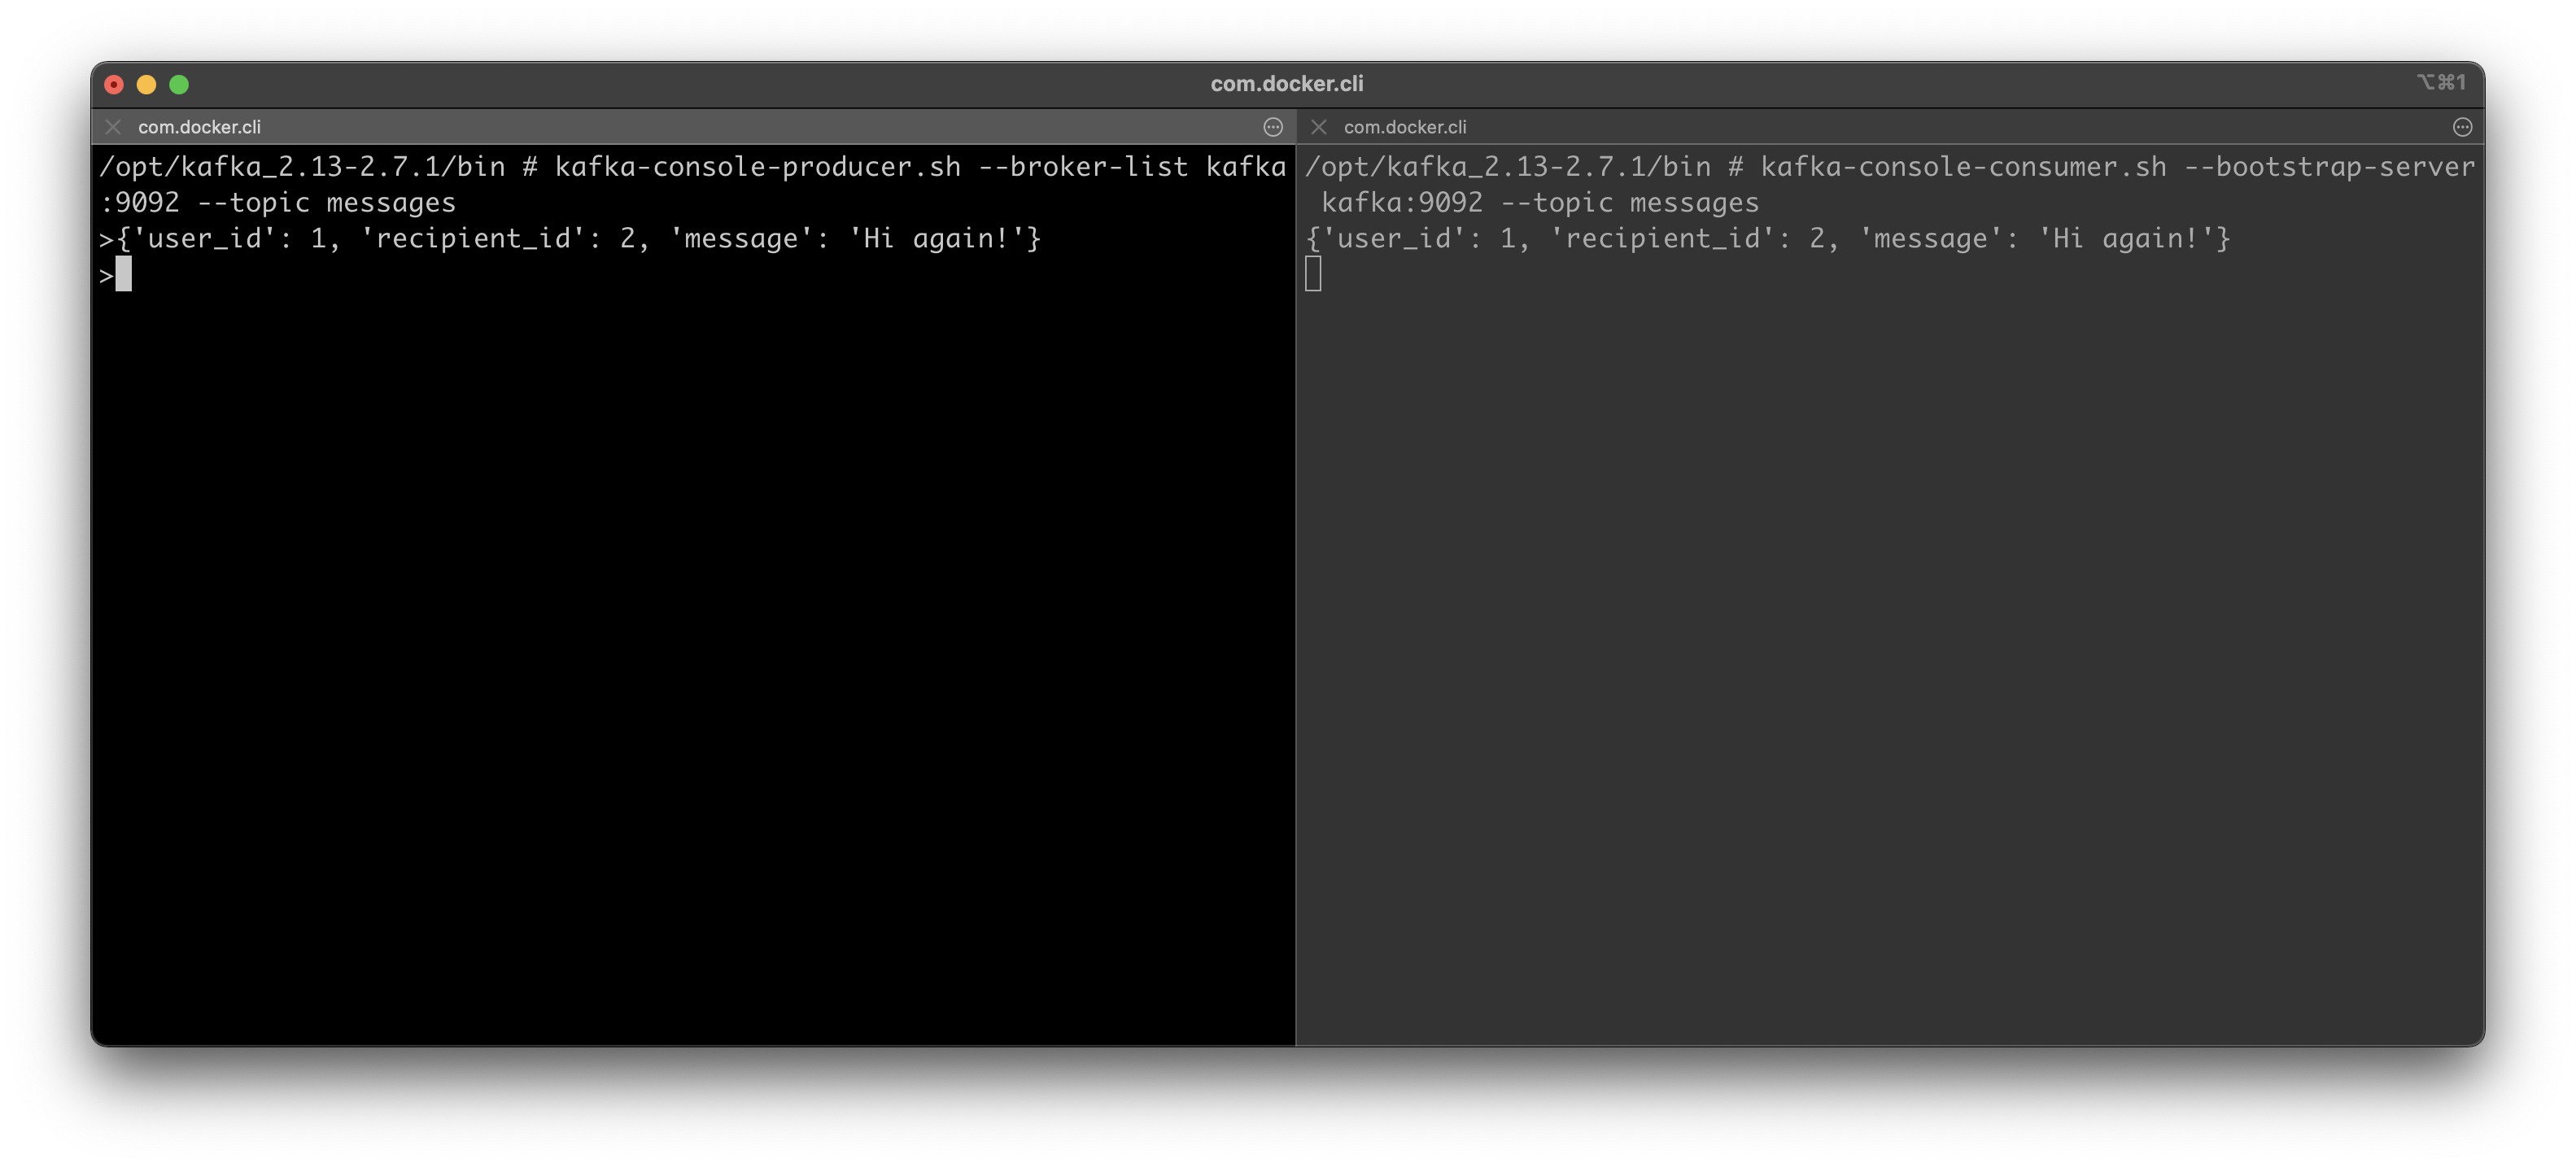
Image 10 — Producing and consuming new messages (image by author)
And there you have it, the message is immediately shown in the consumer tab. That’s the thing you need to remember with console consumers. You need to have them open at all times if you want to see the messages.
But what if you want to list all produced messages for a specific topic? Turns out you can do that as well. You can close the producer as you don’t need it anymore.
To list all messages in a specific topic, you can reuse the previous consumer command. But you’ll have to add an argument to specify you want to list all messages. Here’s how:
kafka-console-consumer.sh --bootstrap-server kafka:9092 --topic messages --from-beginning
Here’s the output:
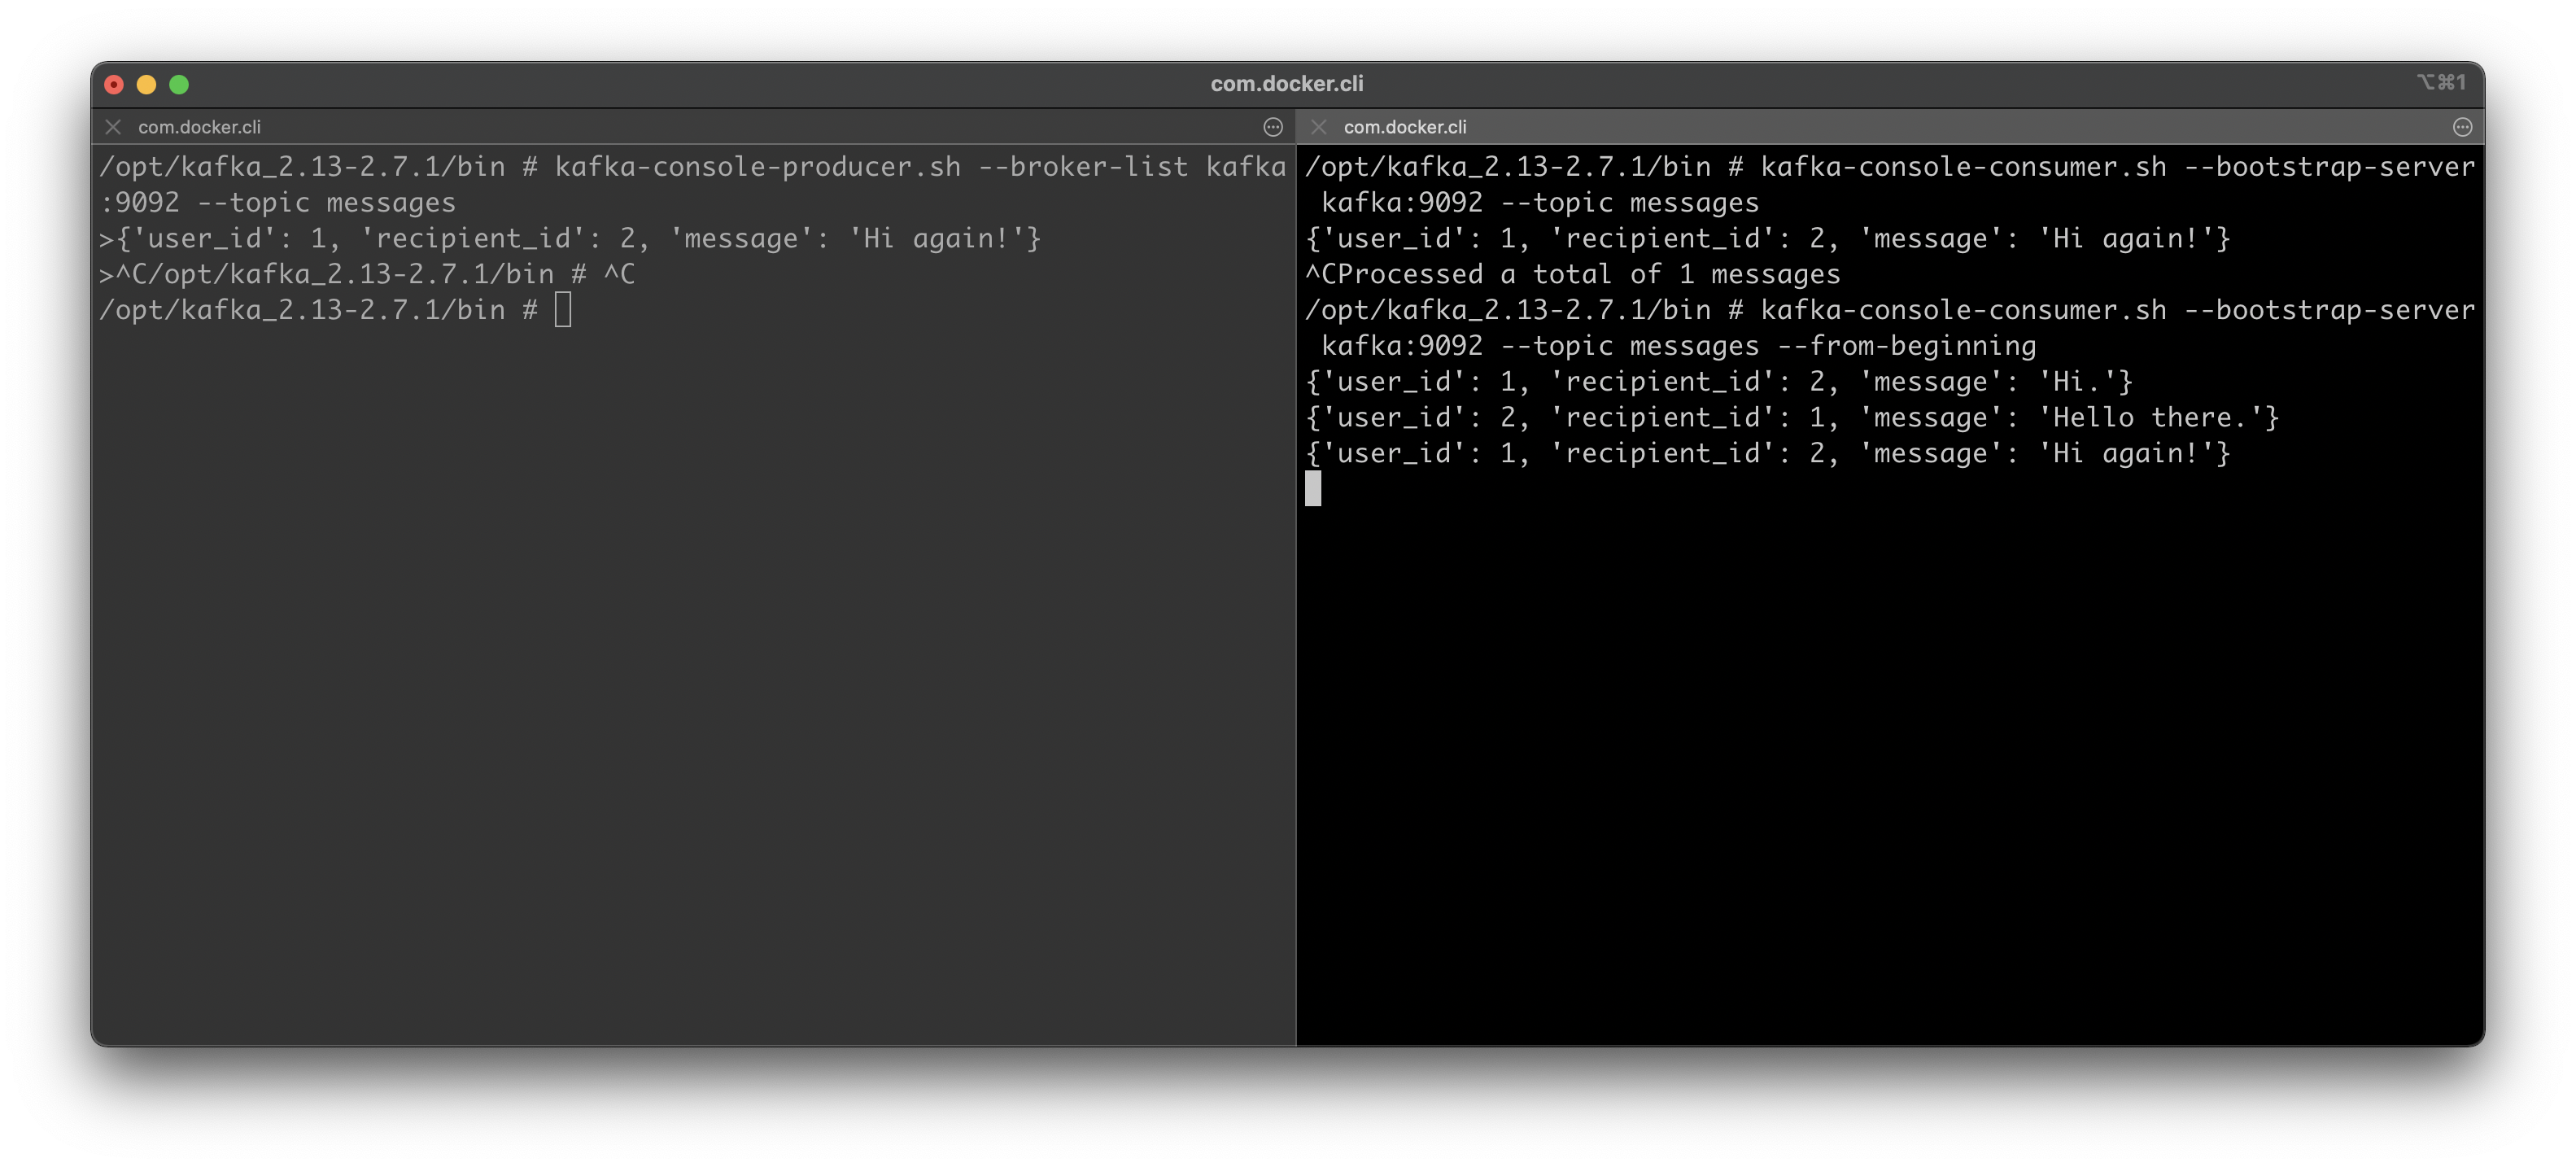
Image 11 — Consuming all messages in a Kafka topic (image by author)
As you can see, all three messages are displayed in the consumer console.
Summary & Next steps
That’s the basic idea behind Kafka. You send messages to one central place and distribute them among topics, and then you write consumer code that does whatever is needed to that messages.
Refer to the video if your shell commands failed somewhere, as the video is a bit easier to follow along.
You’ll see how to write actual Producer and Consumer code in Python in the following article, so stay tuned if you want to learn more about Kafka.
Stay connected
- Follow me on Medium for more stories like this
- Sign up for my newsletter
- Connect on LinkedIn