
Apache Airflow allows you to manage complex data pipelines and run tasks in parallel - even distributed among many nodes - but not by default. The stock Airflow configuration comes with SQLite metadata database and SeqentialExecutor. As the name suggests, it runs tasks sequentially, one after the other.
In plain English, this means your Airflow installation is not production-ready by default. Today we’ll fix that by migrating the Airflow metastore database to Postgres and enabling parallel execution on a single machine with LocalExecutor. If you plan to distribute your workload among different nodes, try CeleryExecutor, but that’s a topic for another time.
Don’t feel like reading? Watch my video instead:
Modify Airflow Configuration File (airflow.cfg)
If you were to open the Airflow webserver homepage, you’d see the following two warning messages:
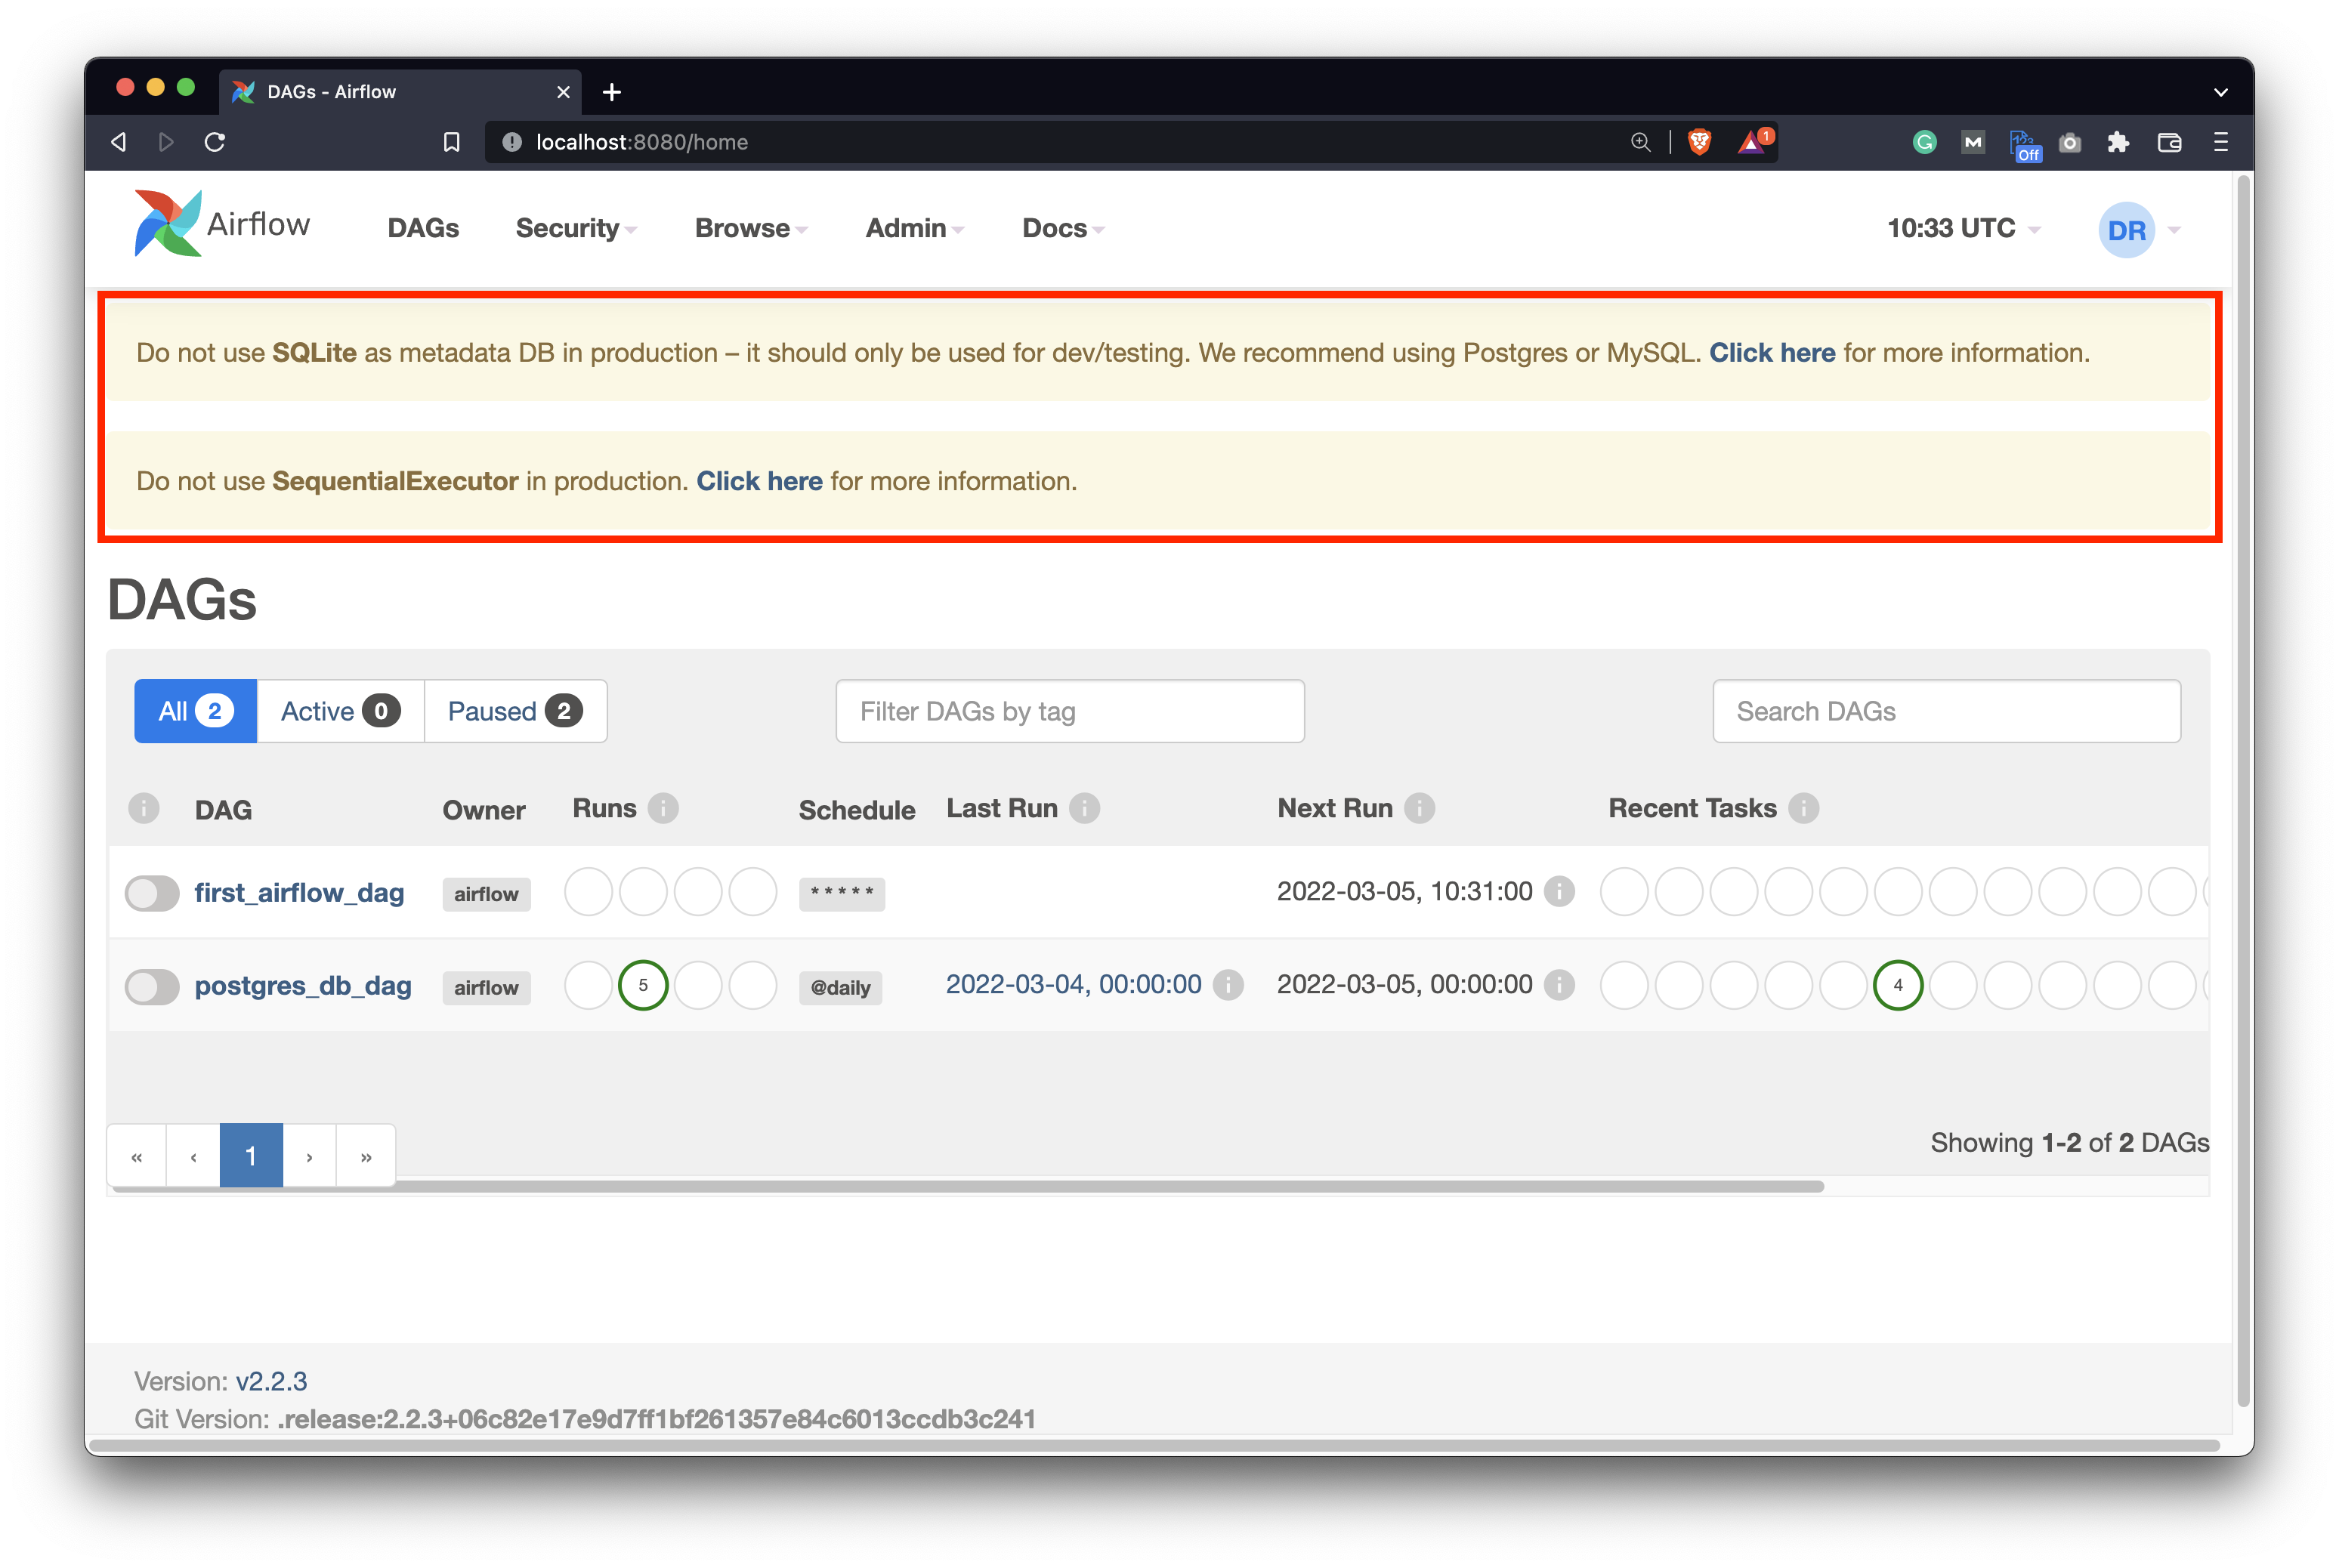
Image 1 - Current warning messages on Airflow (image by author)
It complains about the metadata database, as SQLite shouldn’t be used in production. It also doesn’t fancy the SequentialExecutor, for obvious reasons. We’ll have to migrate the metadata database before addressing the executor, because the SQLite database doesn’t support parallelism.
Open airflow.cfg file that’s located in your root Airflow directory. In there, starting at line 24, you’ll see the following two values specified:
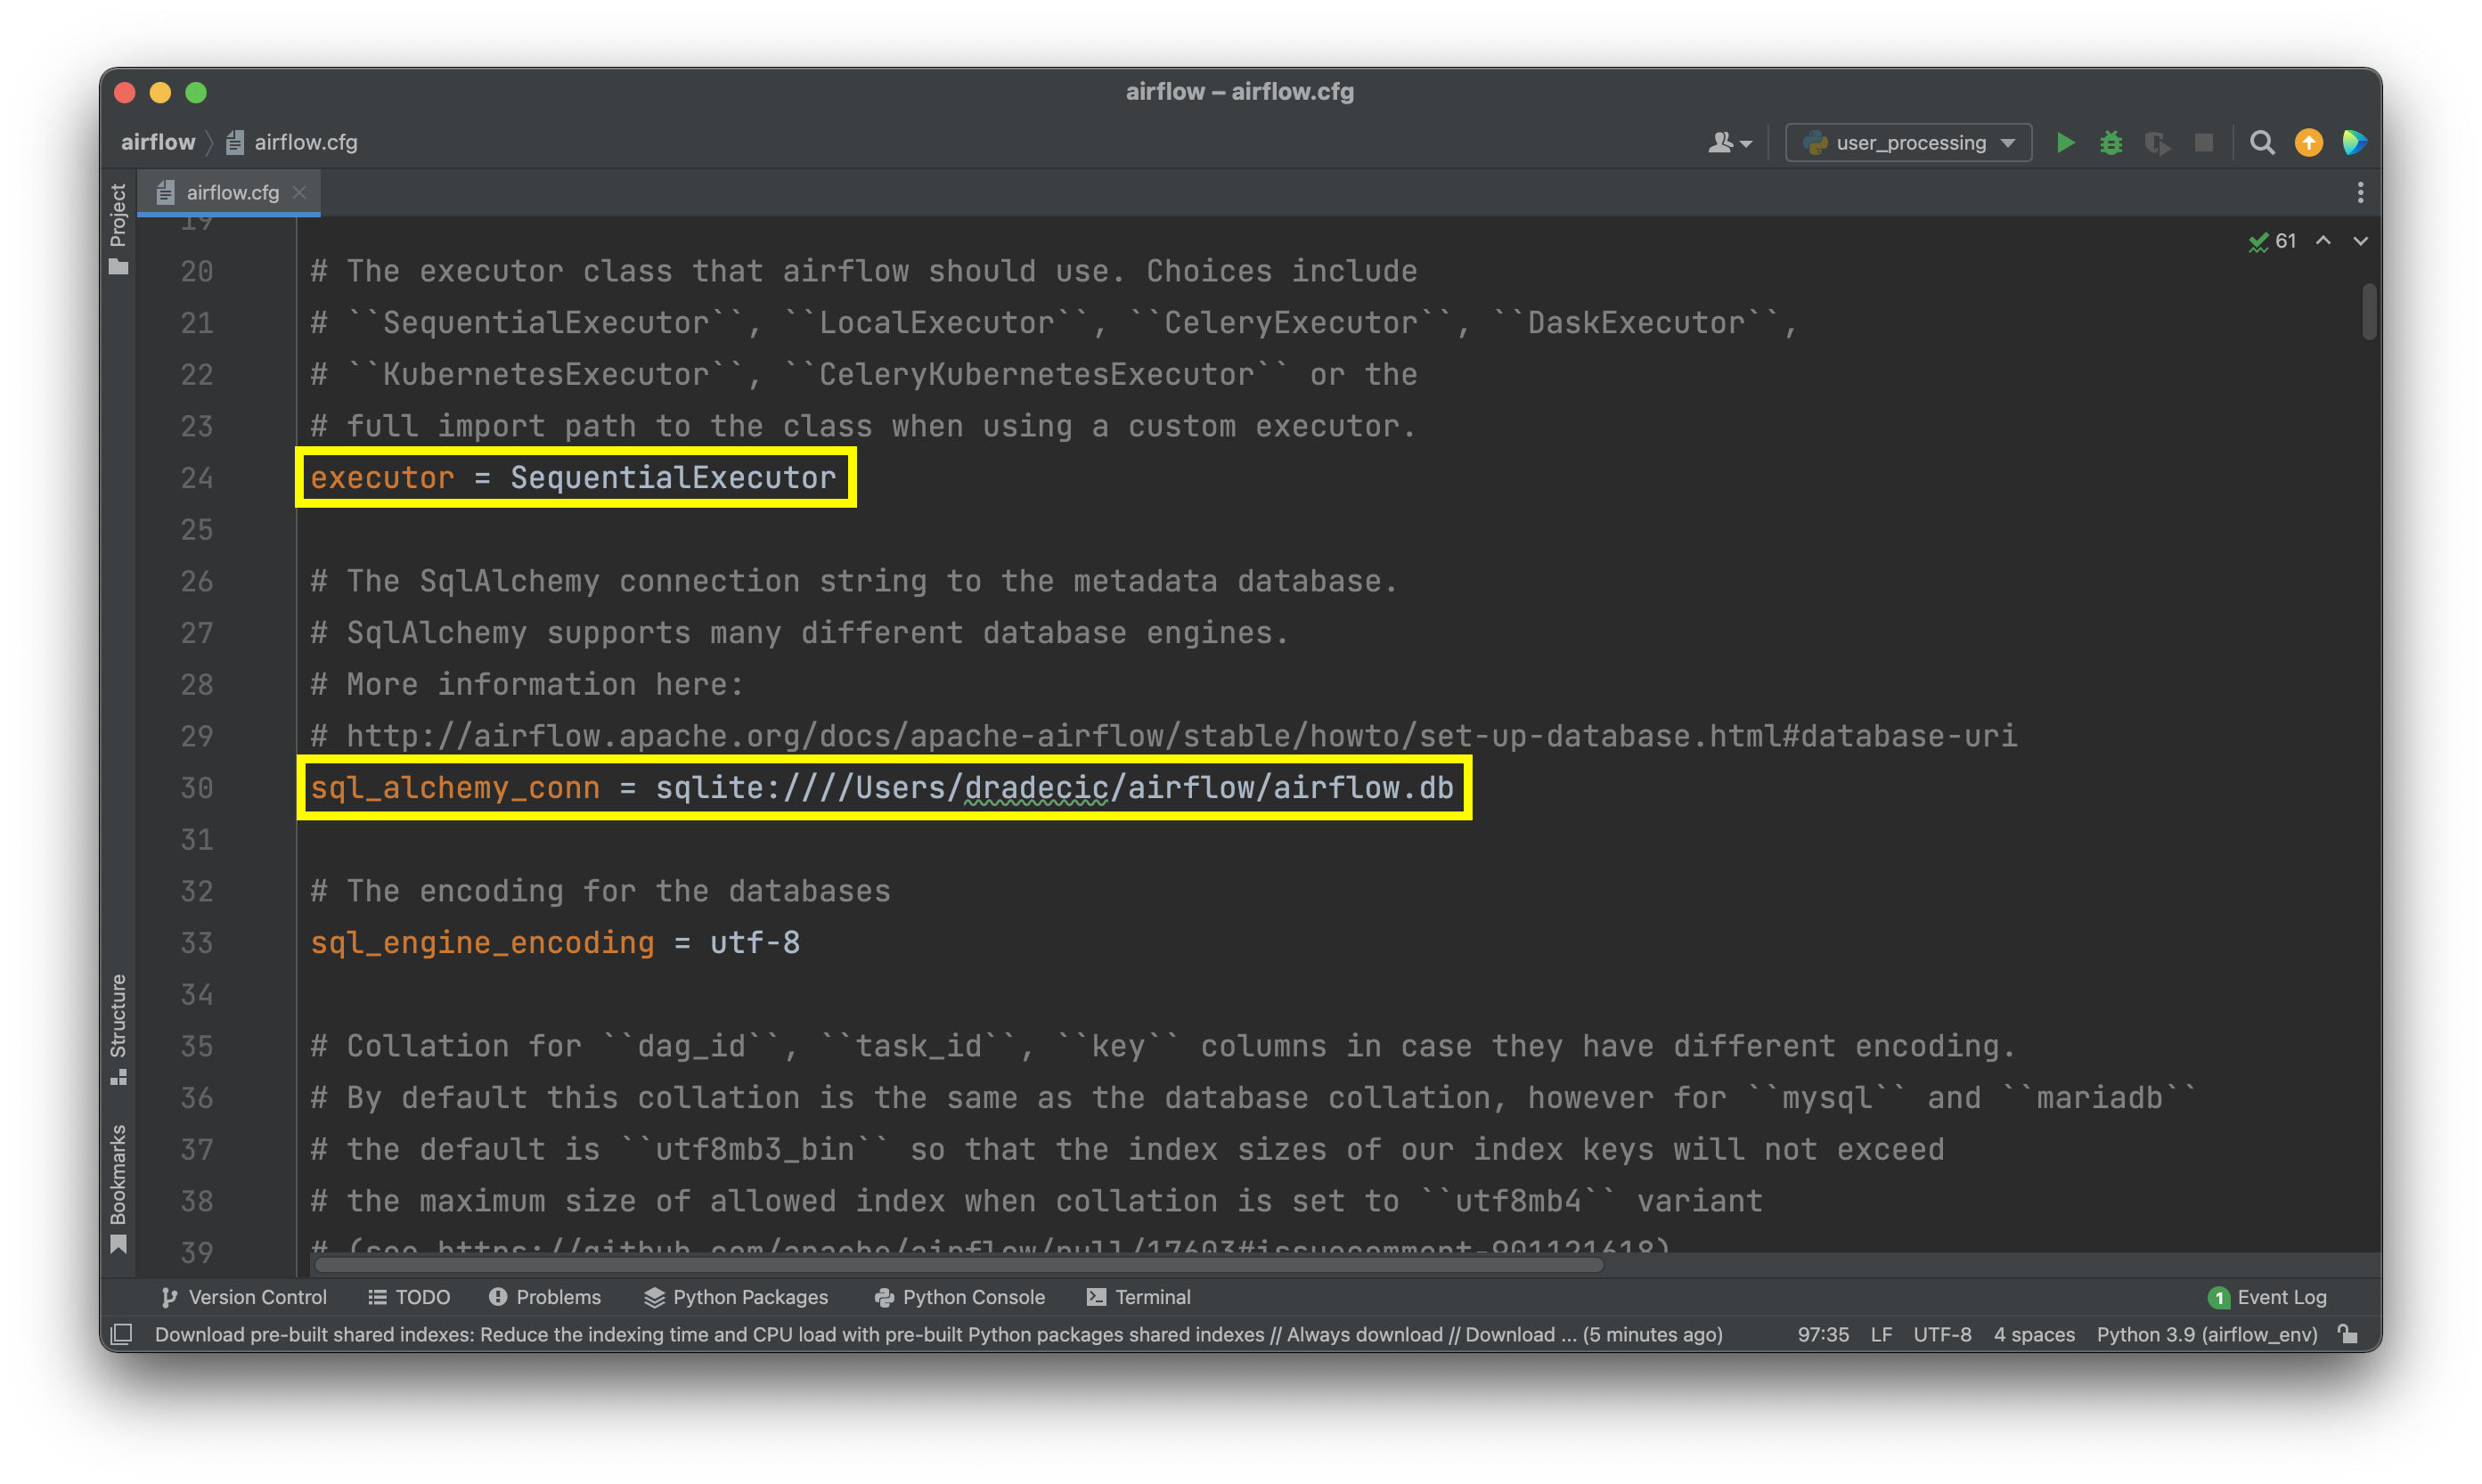
Image 2 - Executor and Database configuration values (image by author)
Change the values as follows:
executor = LocalExecutor
sql_alchemy_conn = <postgres_connection>
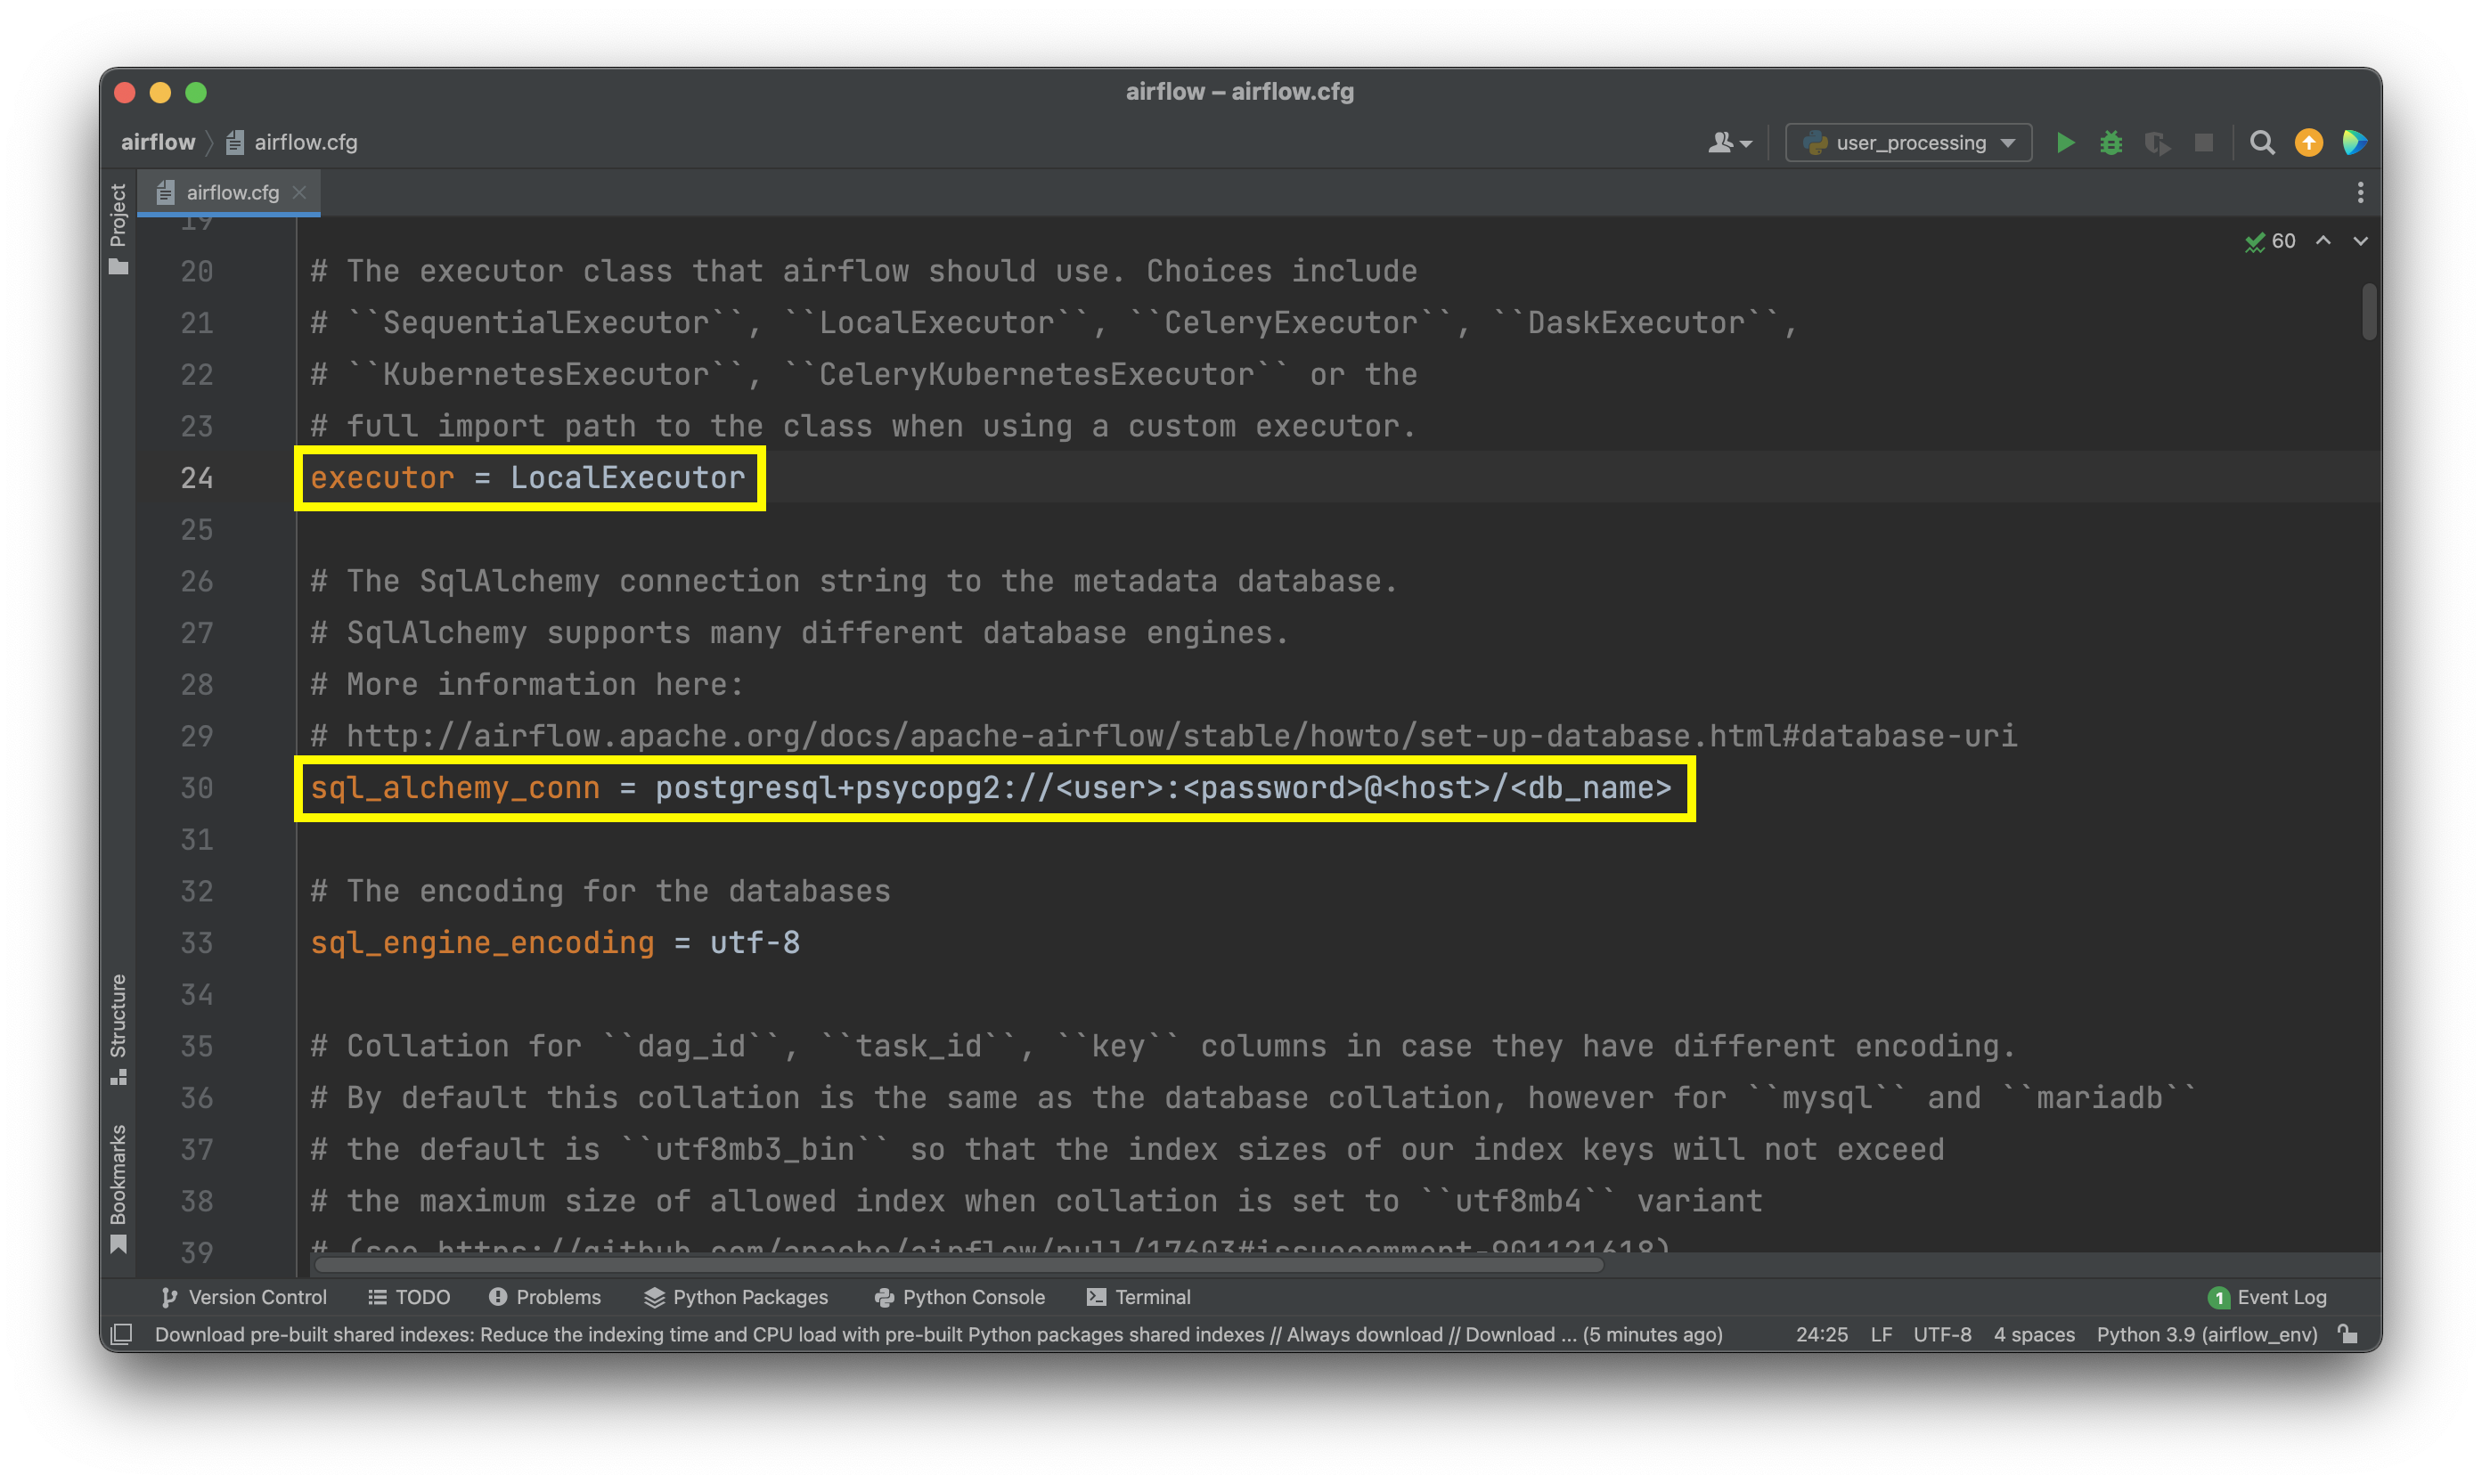
Image 3 - Updated Executor and Database configuration values (image by author)
Yes, you’ll need Postgres installed and you’ll need to create a new database for Airflow. What you see above is just a template you can use to write the connection string.
Once done, you’ll have to initialize the database and create the Admin user. Let’s do that next.
Initialize Airflow Database and Create the User
There’s no optimal way to stop a process that’s running in the daemon mode. However, we know it’s running on port 8080. Use the lsof command to list the processes running on a specific port and then kill them:
lsof -i tcp:8080
kill <pid>
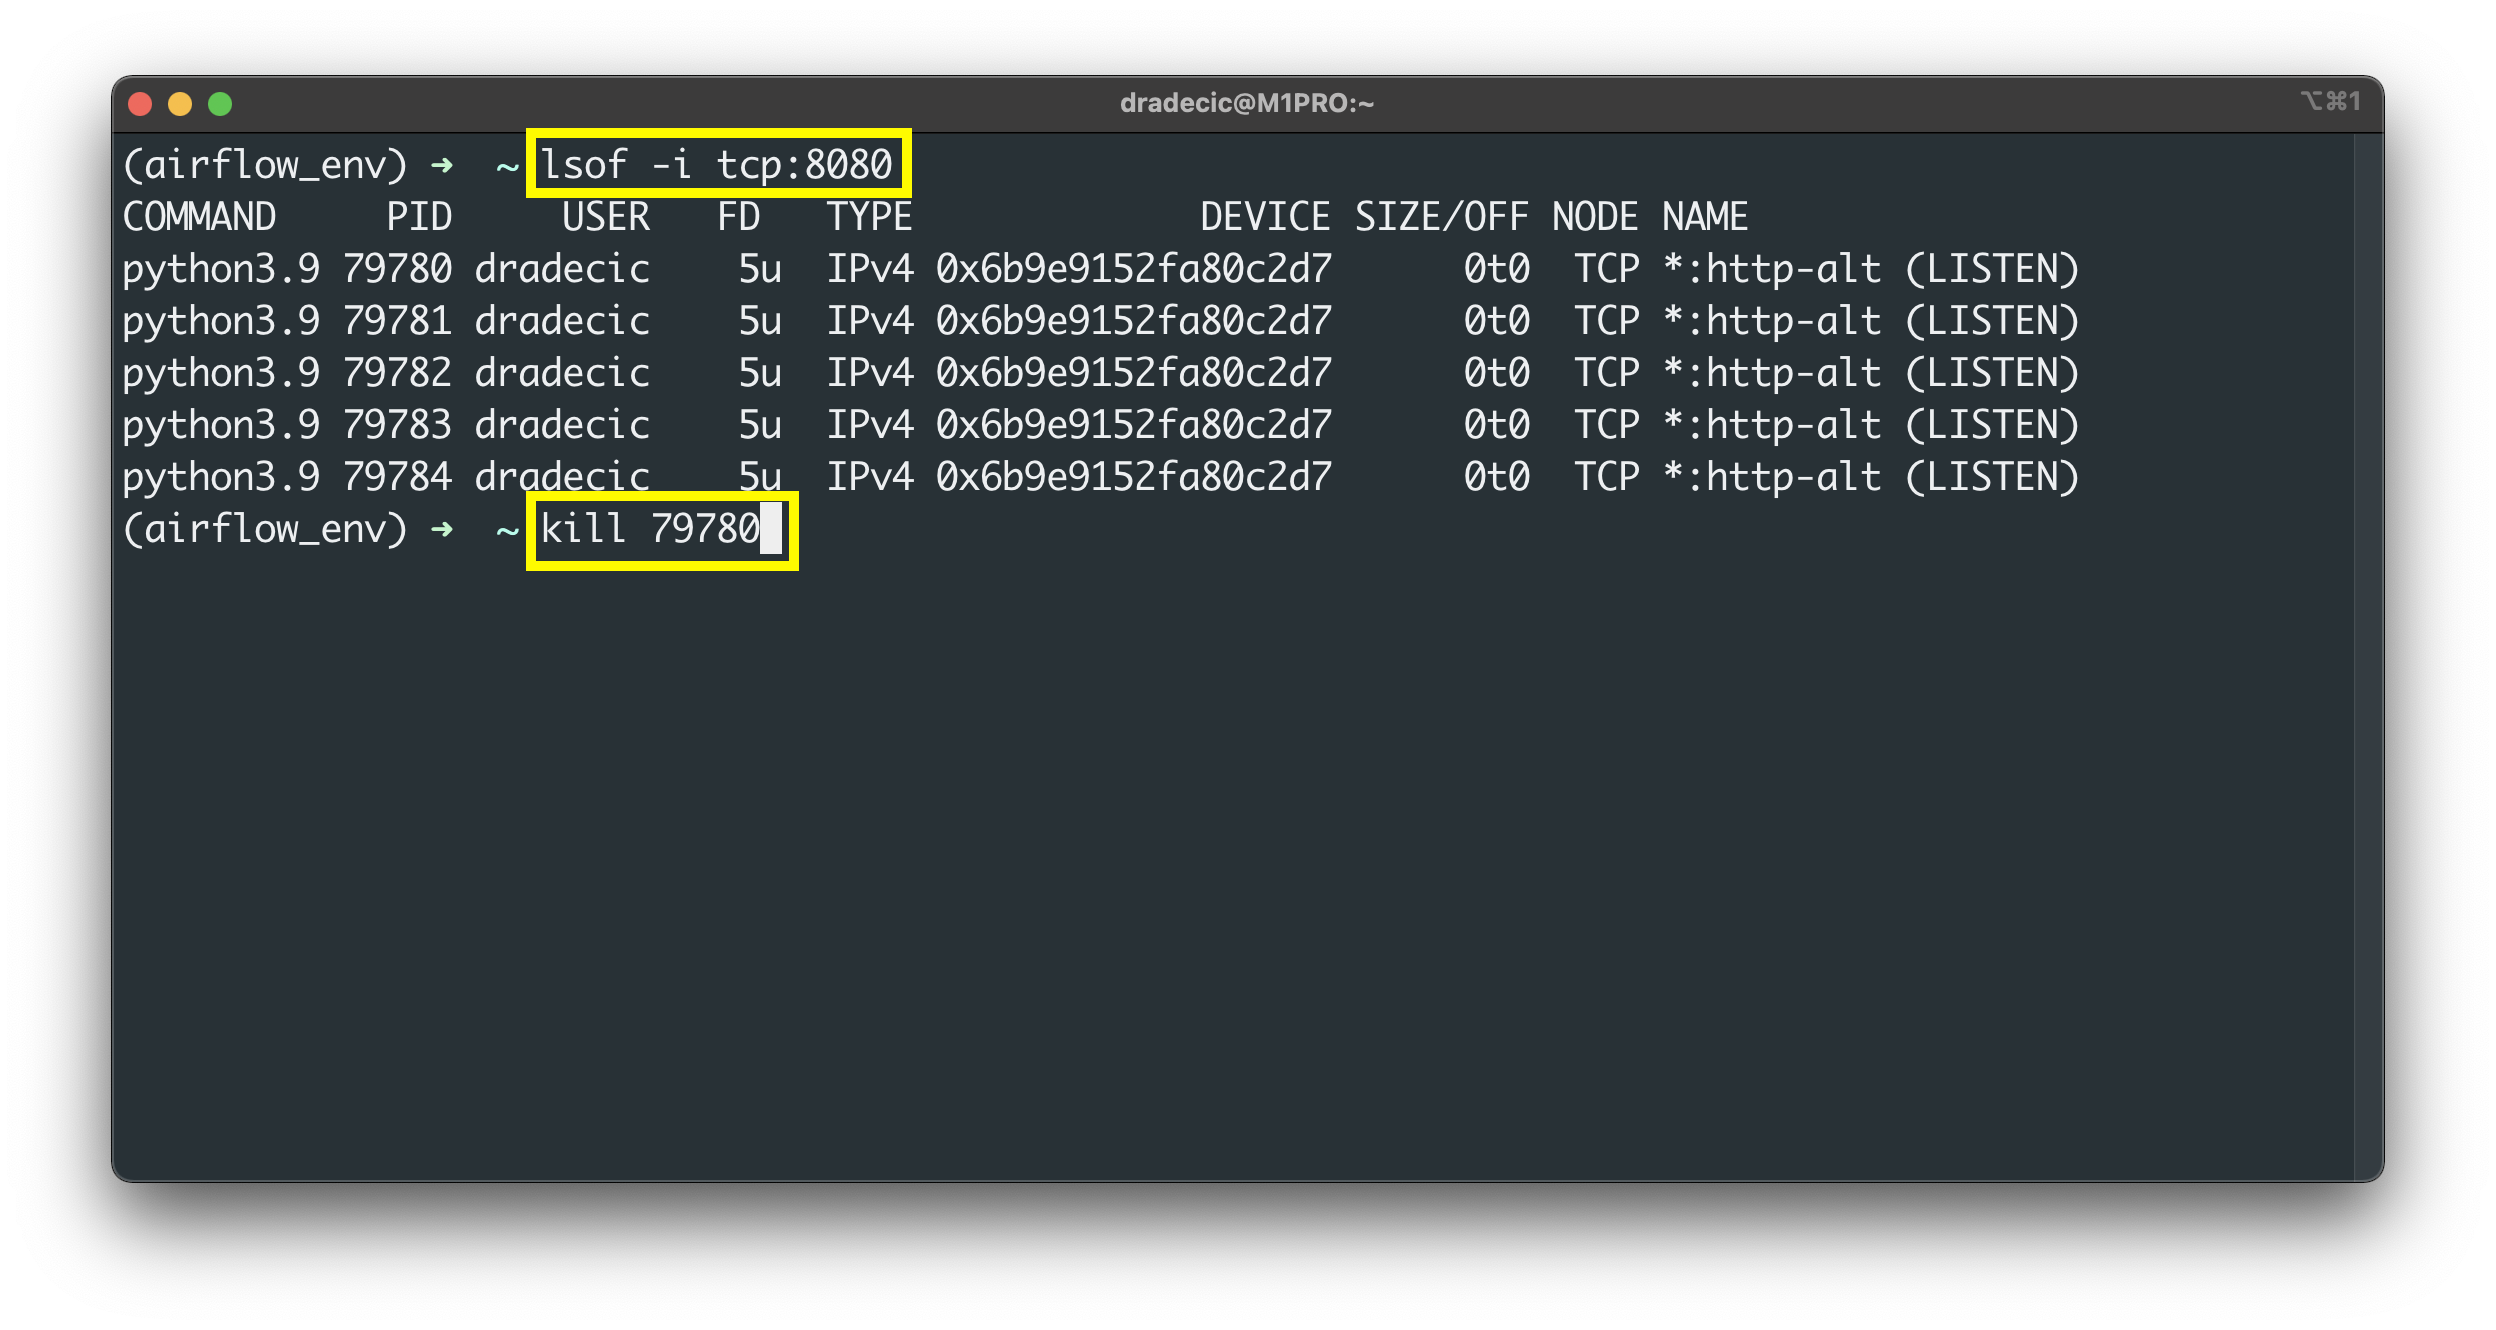
Image 4 - Kill Airflow through the Terminal (image by author)
You should only kill the first process, and the others running on the same port will be terminated automatically.
From here, run the following command to initialize the database:
airflow db init
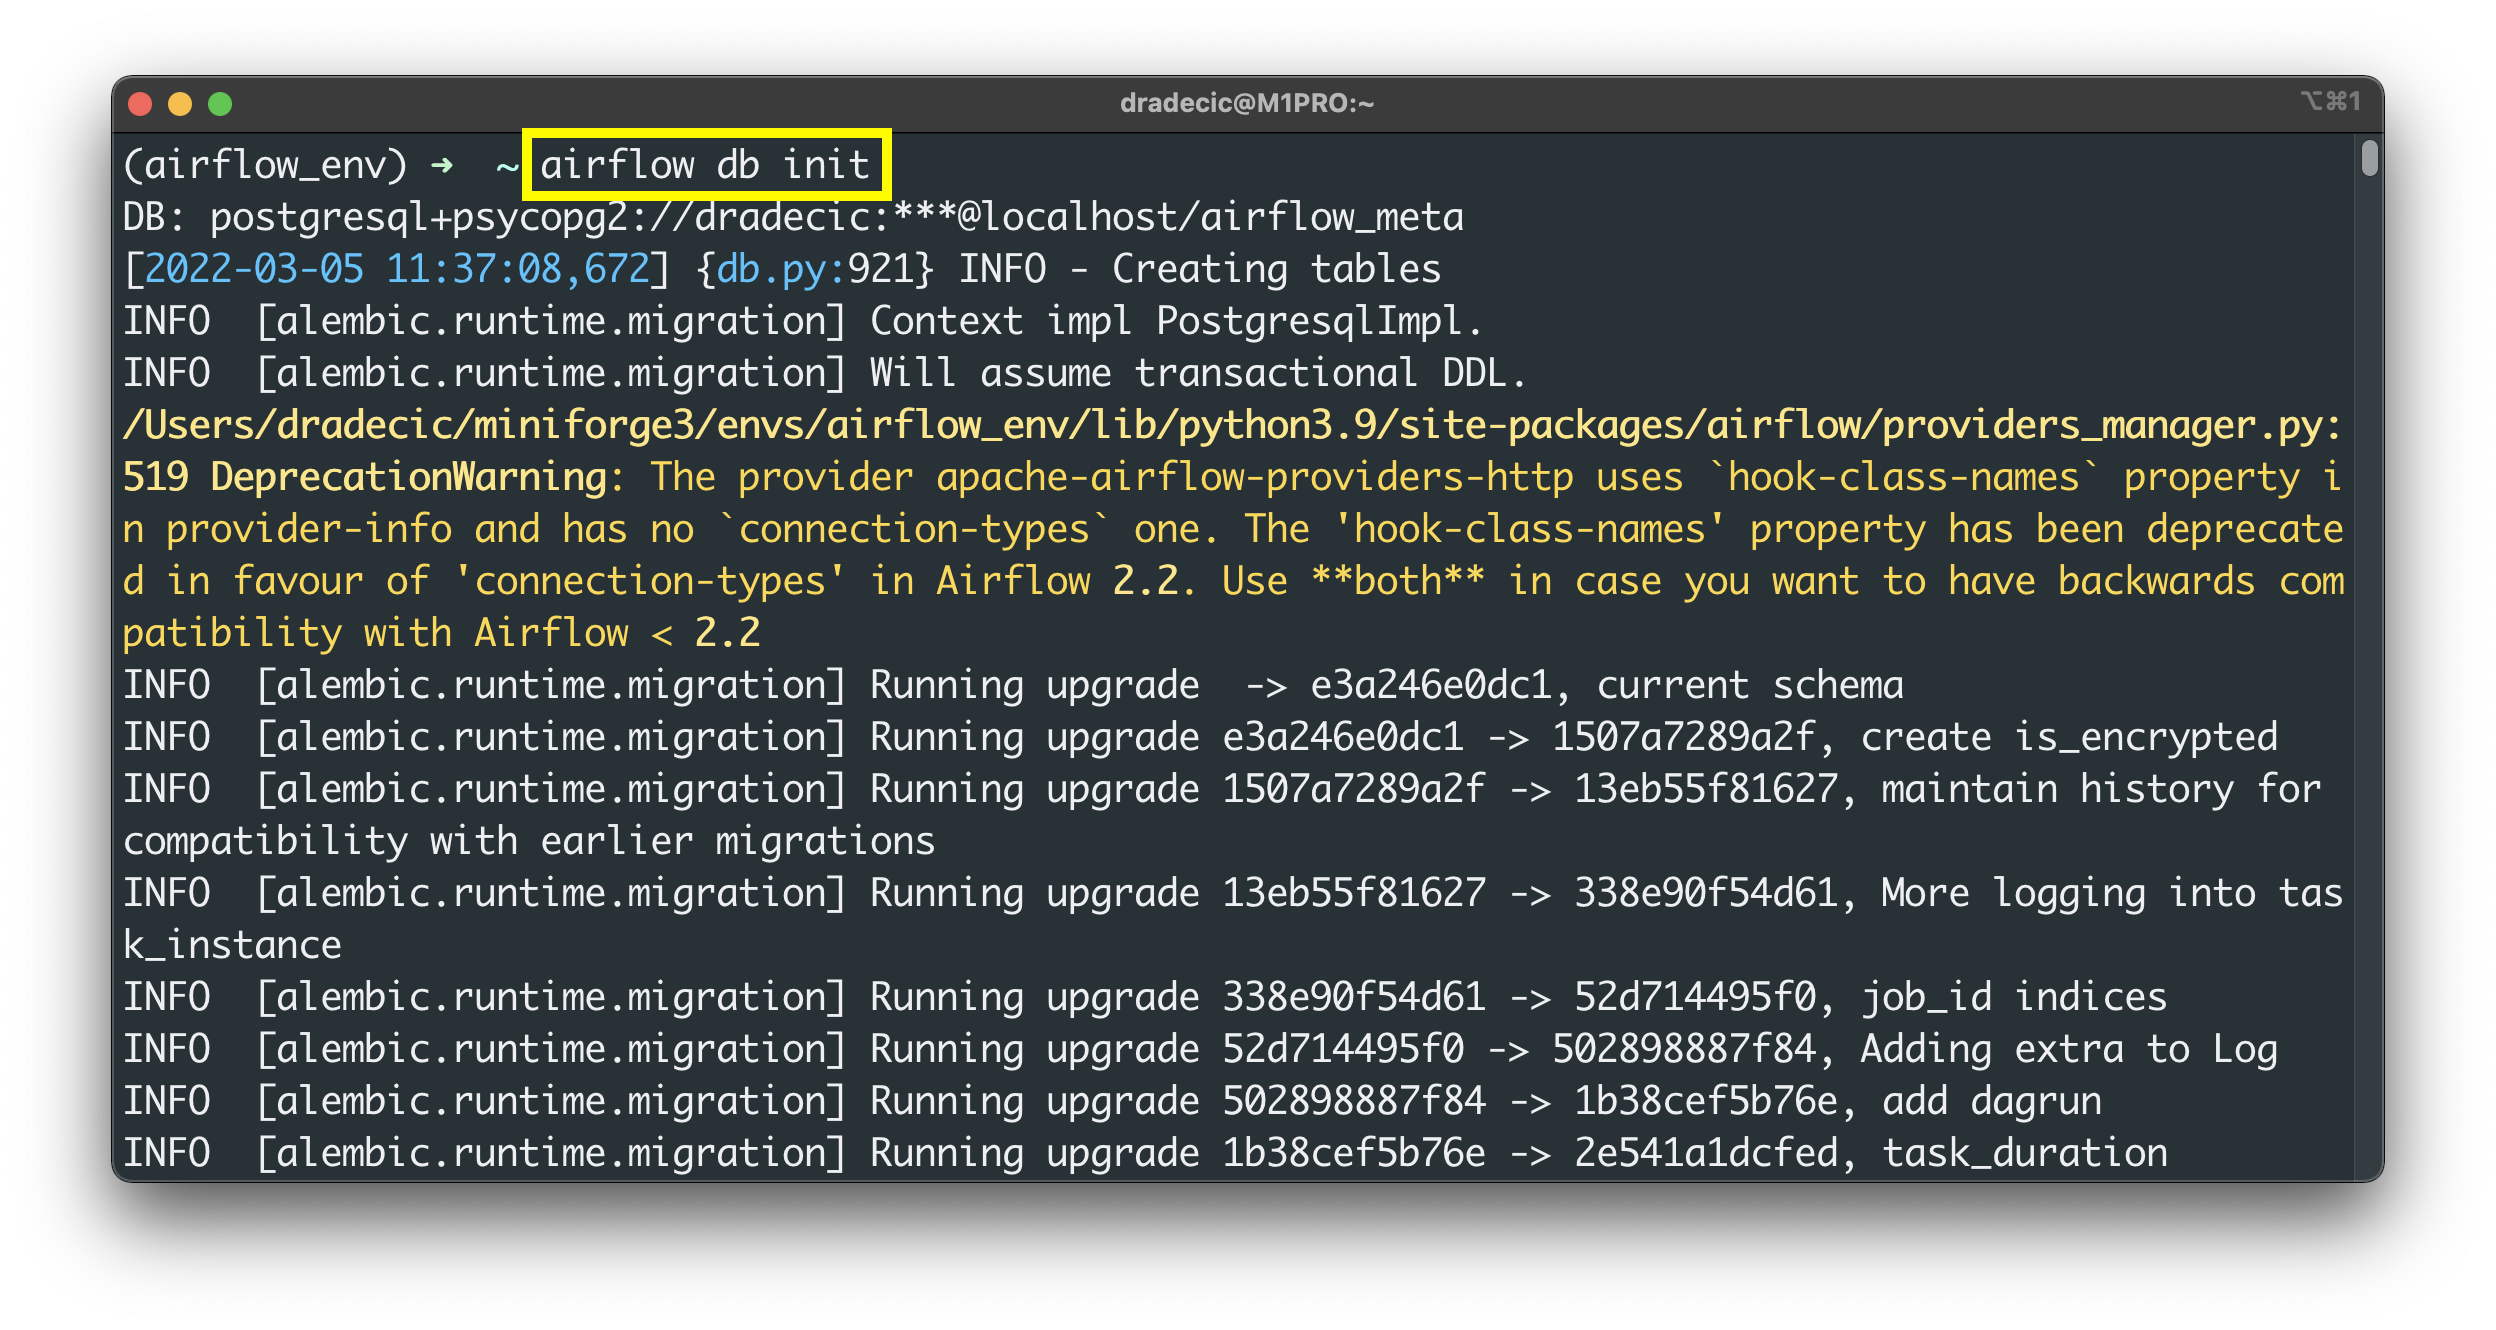
Image 5 - Initialize Airflow database (image by author)
The initialization process will complete after a couple of seconds, which means we can create the Admin user next:
airflow users create --username admin --password admin --role Admin --firstname <fname> --lastname <lname> --email <email>
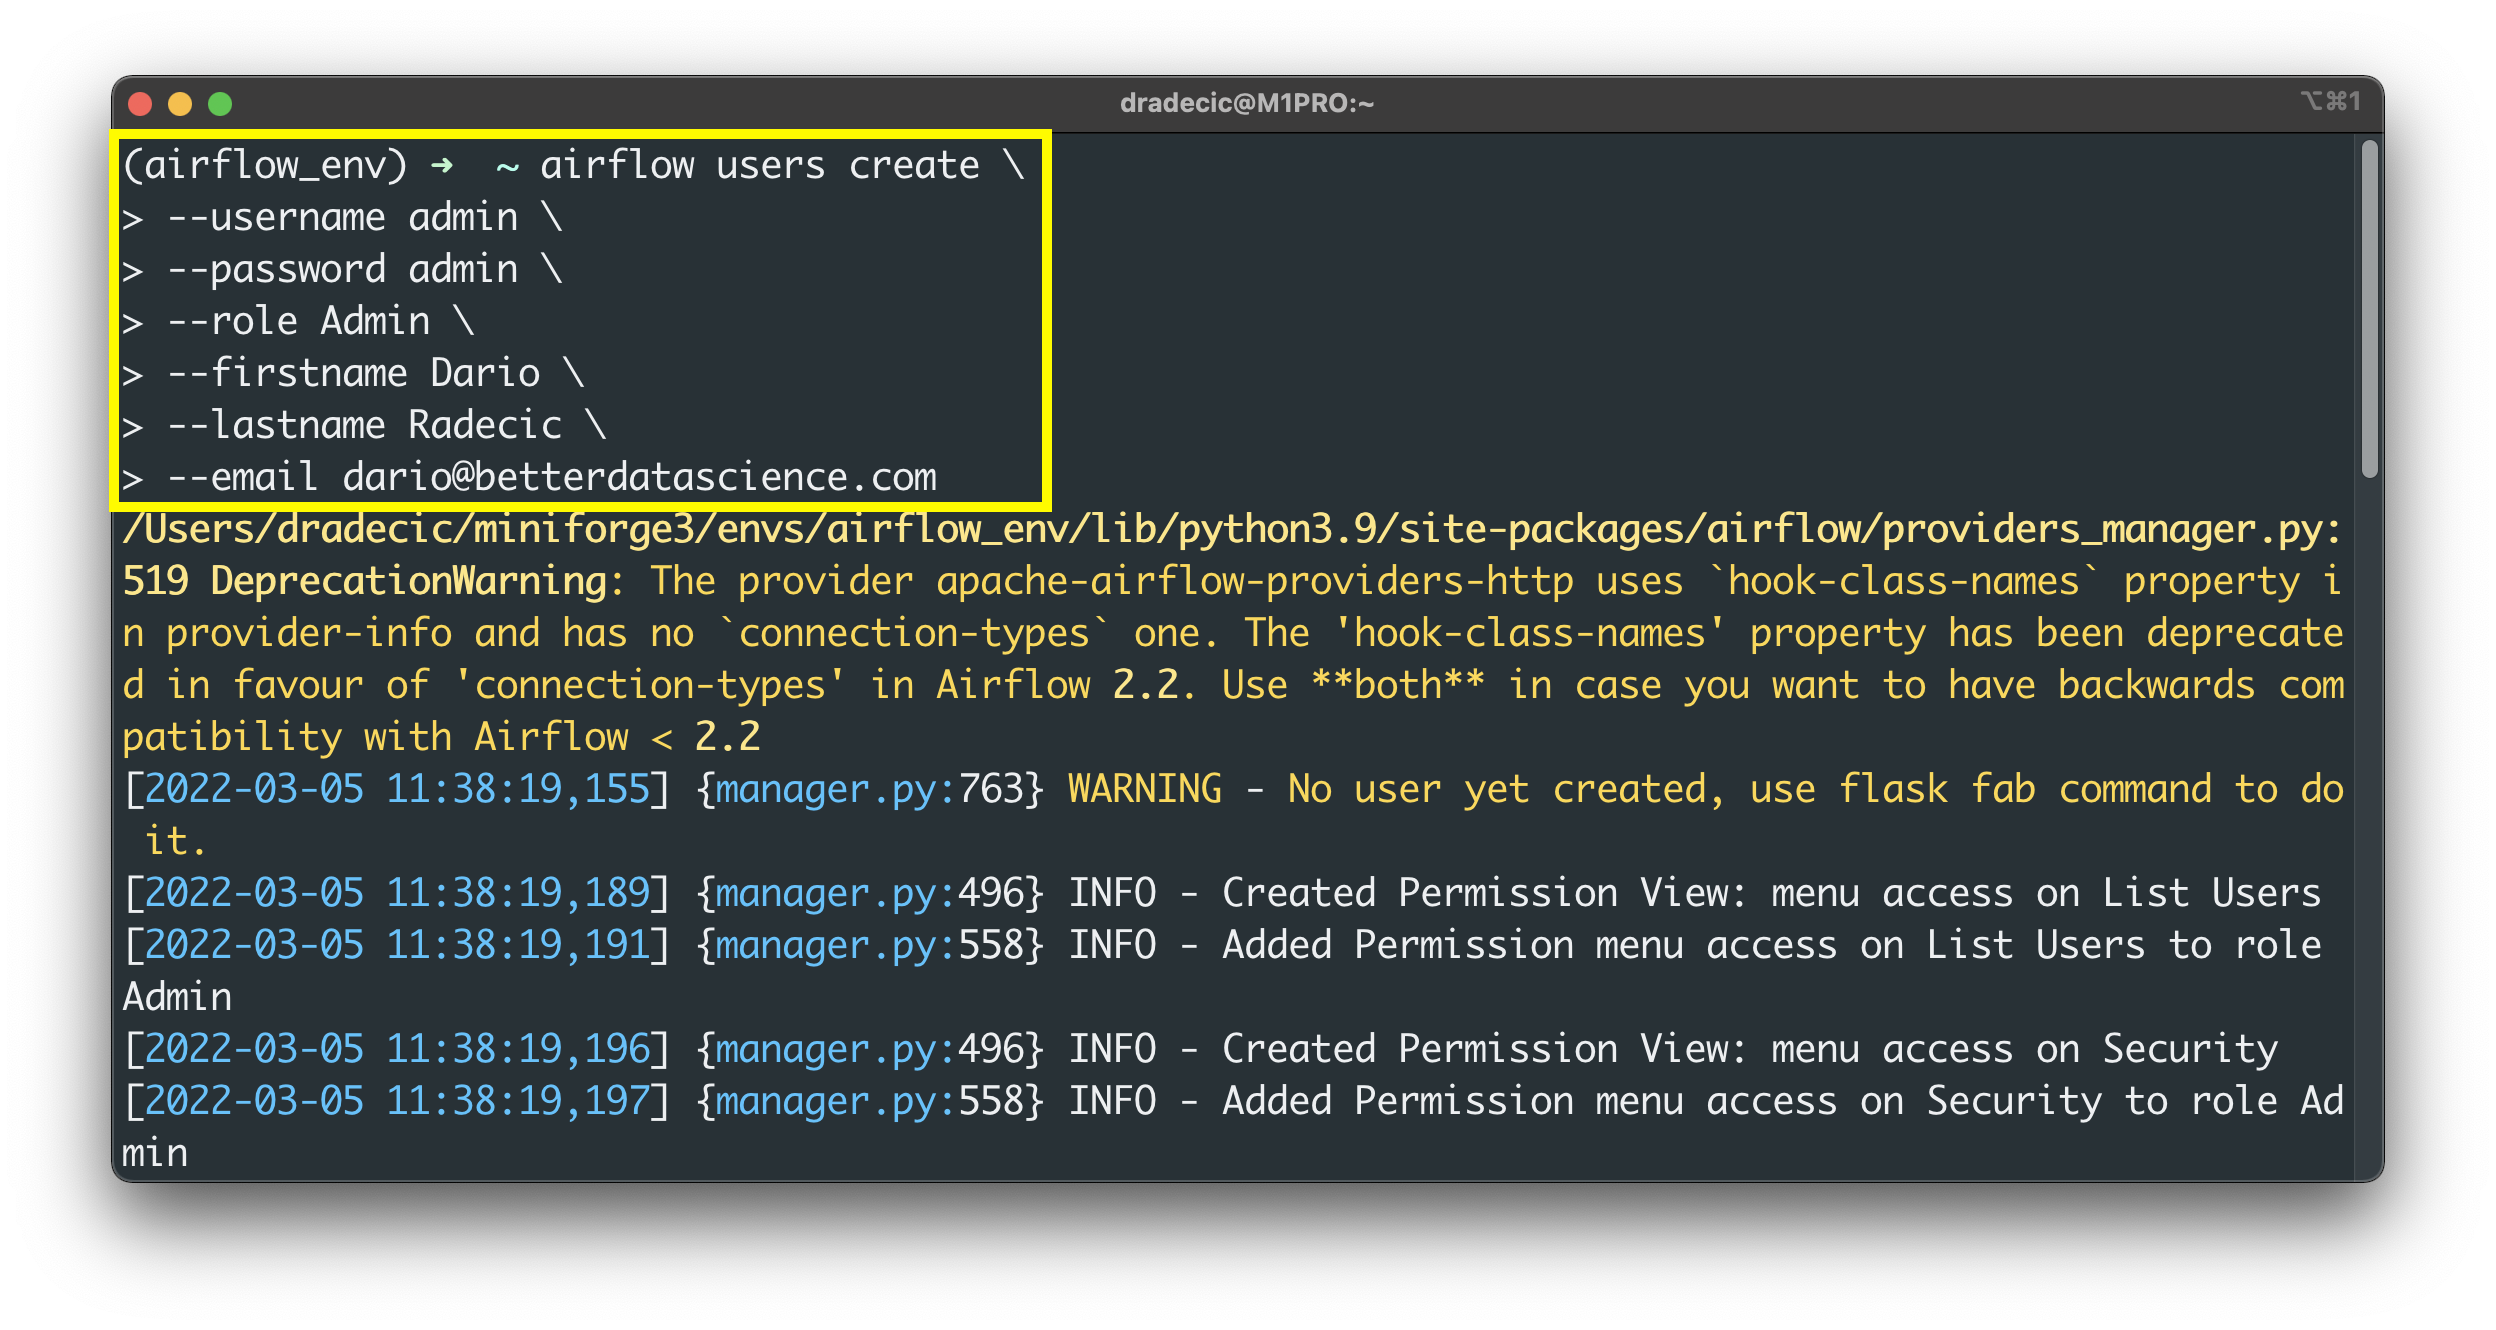
Image 6 - Create a database admin user (image by author)
You should see the following success message after a couple of seconds:
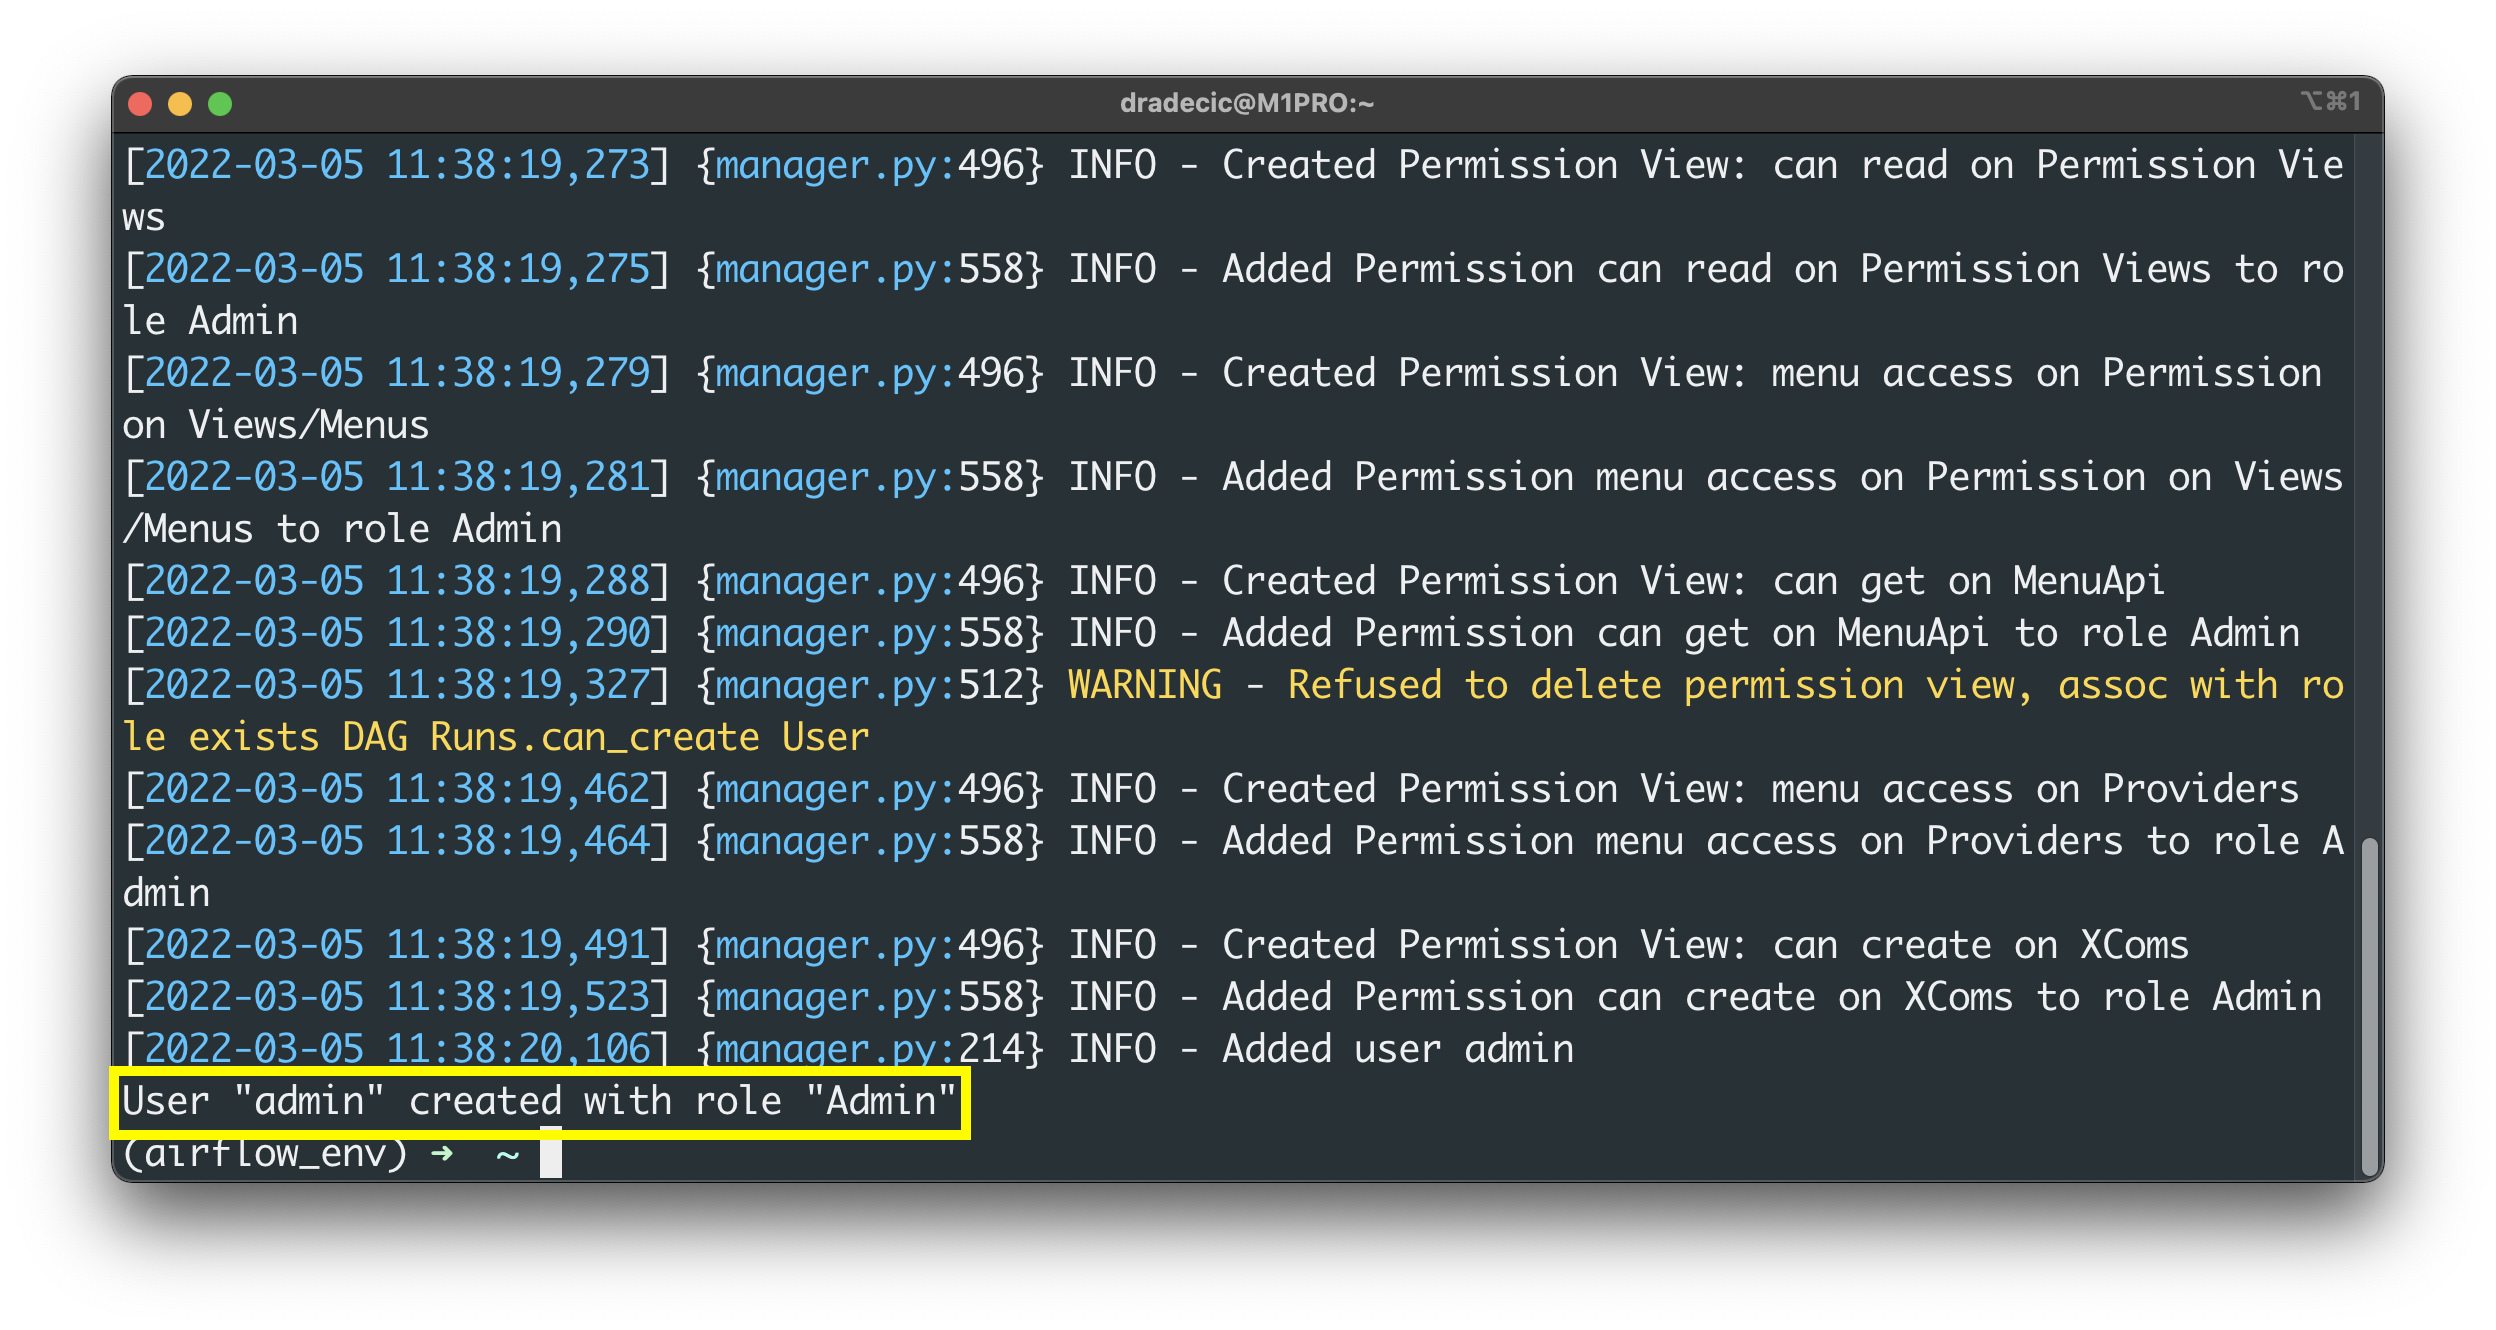
Image 7 - Create a database admin user (2) (image by author)
Amazing - we’ve successfully migrated the database and created the Admin user. The only thing left to do is to restart the Airflow webserver and scheduler, so let’s do that next.
Restart Apache Airflow
Run the following two commands to run the Airflow webserver and scheduler in the daemon mode:
airflow webserver -D
airflow scheduler -D
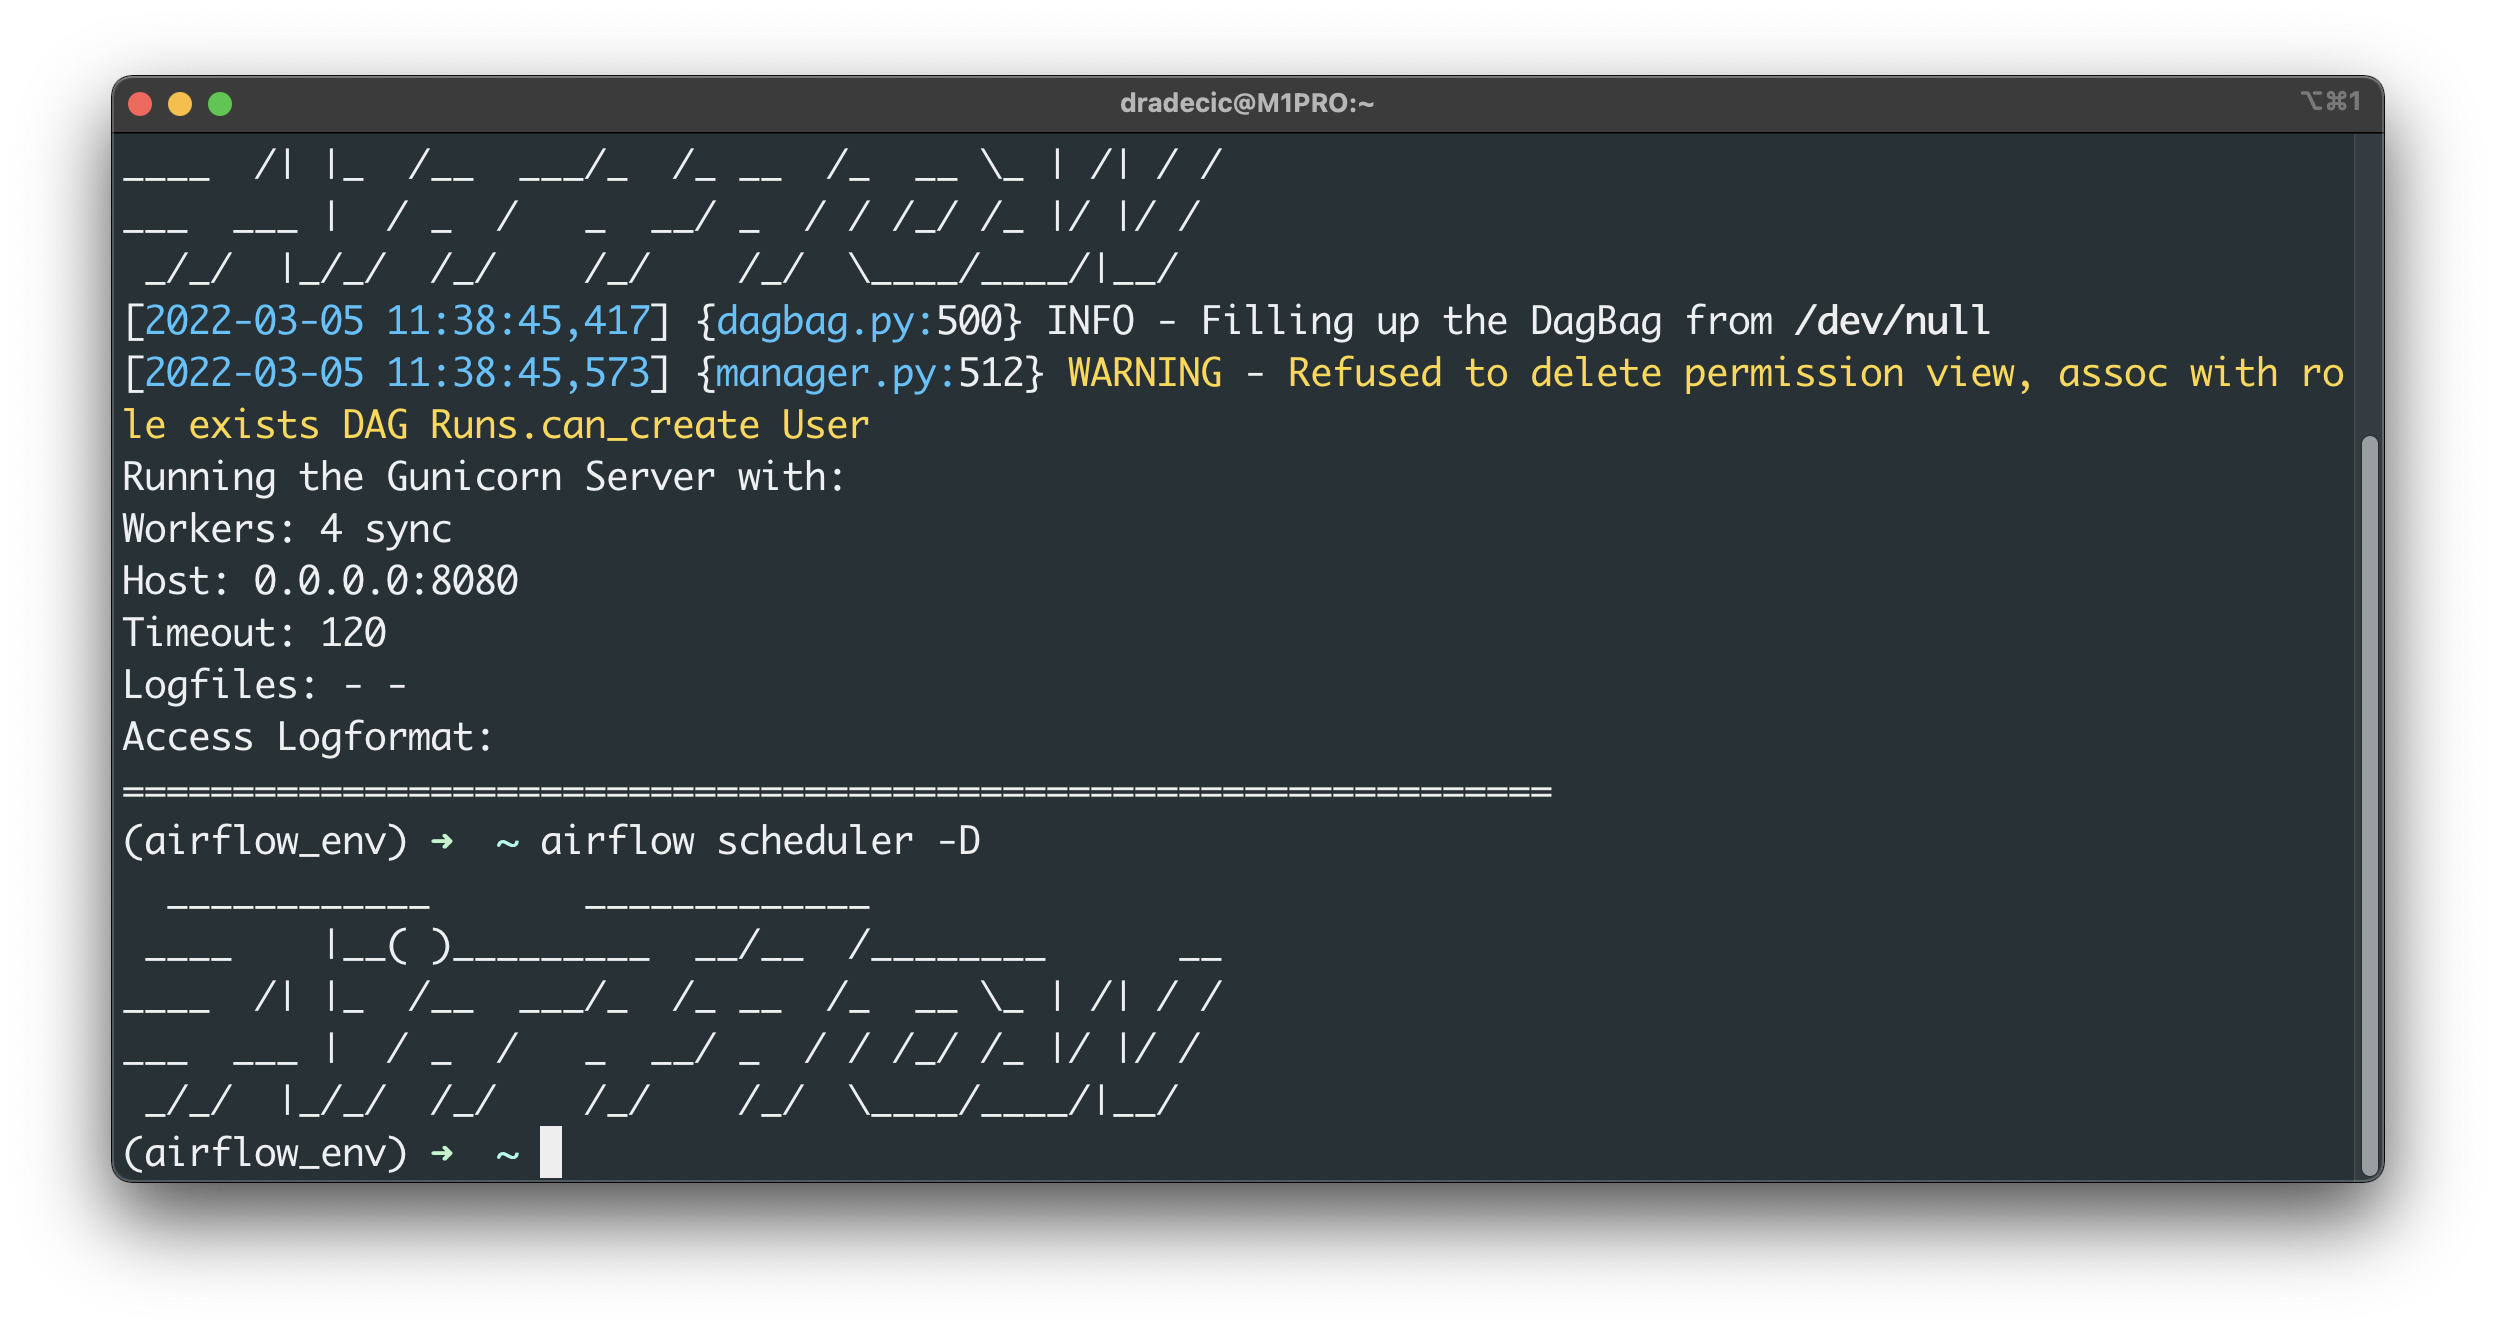
Image 8 - Start Airflow and Scheduler (image by author)
Once you open the homepage, you won’t see any warning messages:
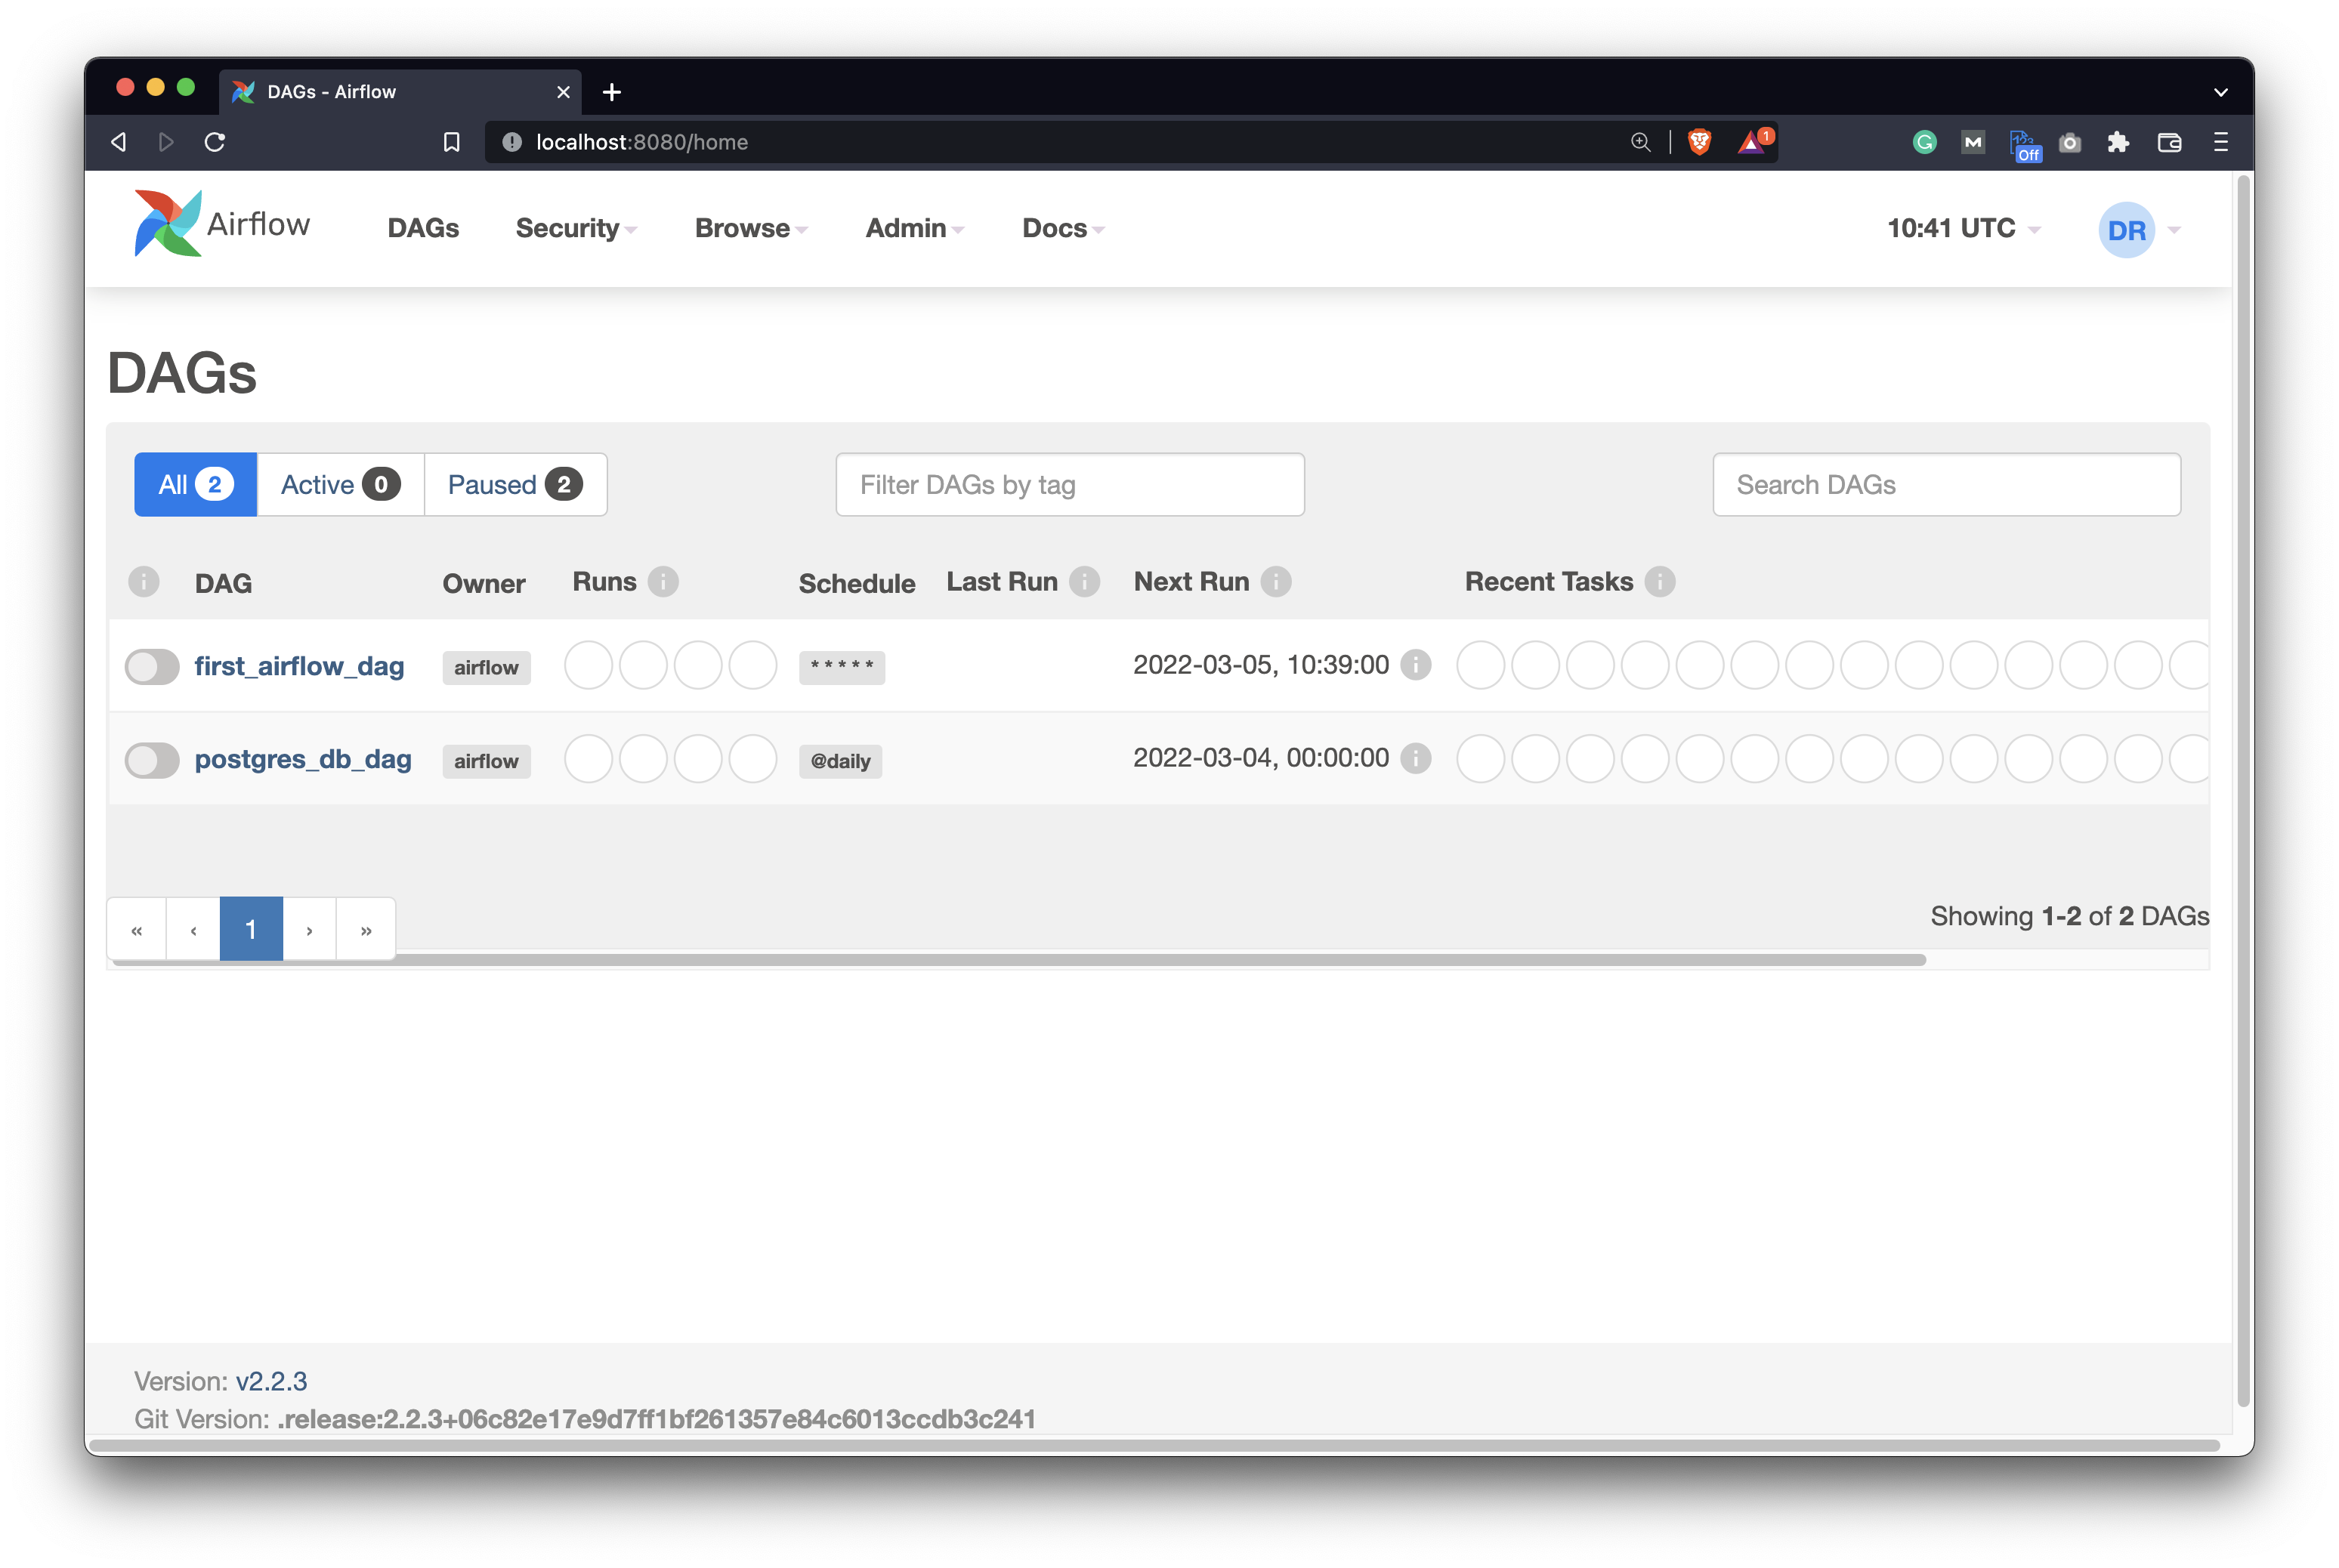
Image 9 - Airflow homepage - no warning messages (image by author)
The metadata database migration and the change of Airflow executor were successful, which means you’re ready to run tasks in parallel on a single machine.
But what did Airflow actually store in the metadata database? A lot of tables, as it turns out. These are responsible to keep Airflow up and running:
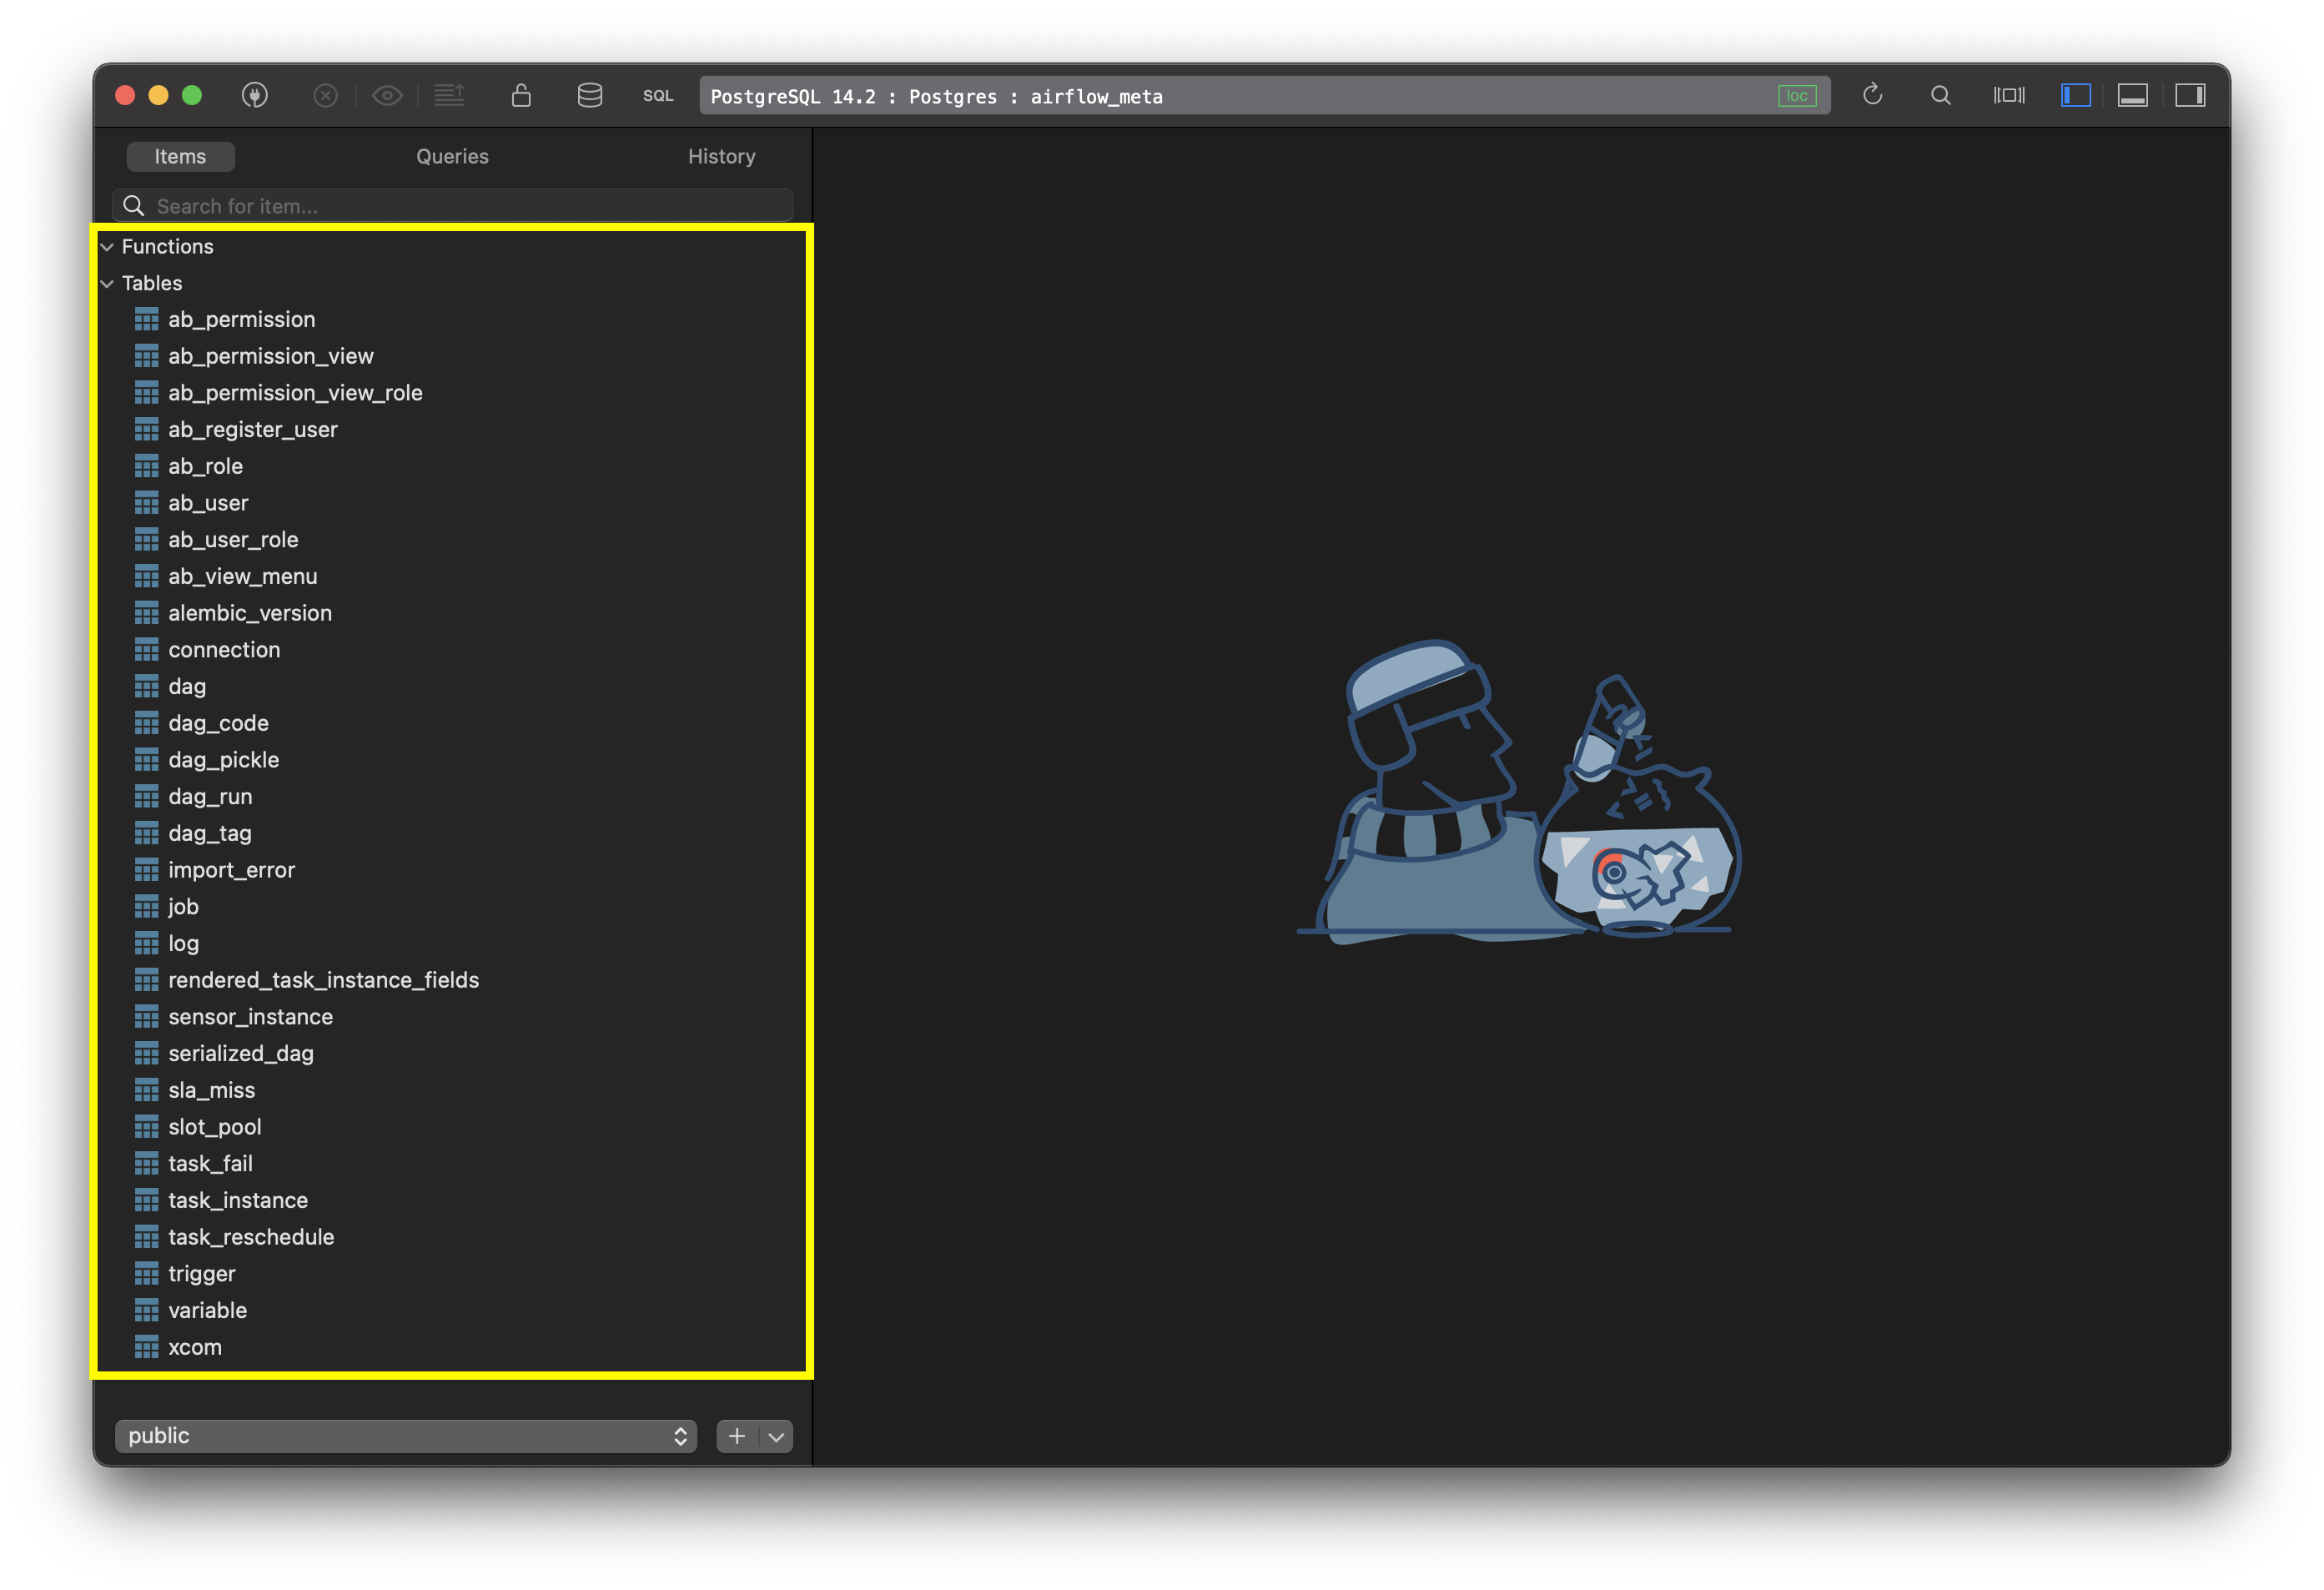
Image 10 - Tables created in Airflow metastore (image by author)
That’s all I wanted to cover today, so let’s wrap things up next.
Conclusion
Yes, I know, we haven’t written any code today - but that’s the point. You already know how to write a basic data pipeline with Airflow, and the number one issue you’re facing is speed. For example, there’s no point in scraping five individual pages one after the other. You can parallelize the process and save yourself some time.
Well, now you can parallelize the process, as we took care of the maintenance and configuration tasks. In the following article, you’ll write your first DAG that leverages parallelism, so stay tuned for that.
Recommended reads
- 5 Best Books to Learn Data Science Prerequisites (Math, Stats, and Programming)
- Top 5 Books to Learn Data Science in 2022
- How to Install Apache Airflow Locally
Stay connected
- Hire me as a technical writer
- Subscribe on YouTube
- Connect on LinkedIn